

The Marksman: a Mortal Shell 2 ranged build
Break things from across the room and never close the gap.
This Mortal Shell 2 ranged build turns the sidearm from a chip-damage tool into the way you actually win: the Slayer Seal makes every sidearm shot deal Break Damage, and the Forgotten Crossbow — which accepts more Tarstones than any other sidearm — turns that into a volume game. It is for players who would rather solve a room before entering it, and the Seal is the only piece that truly gates it.
The loadout
- ShellProxima the Broodseeker
Grafted Armor mitigates ranged and melee damage alike and prevents the stagger, so the punishment for being caught aiming is much smaller.
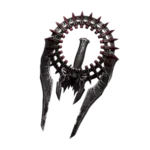
- SealSlayer Seal
It states the case plainly: sidearms deal Break Damage. Without it, no amount of shooting breaks anything.
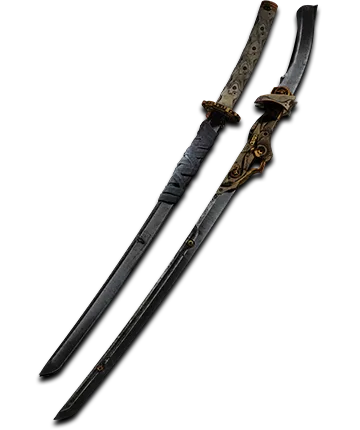
- WeaponAxatana
Morph Attack gives you two weapon shapes in one slot, which matters when the melee slot is a fallback rather than a plan.
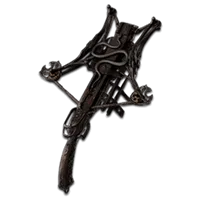
- SidearmForgotten Crossbow
No gimmick to work around and the widest stone pool in the slot, so this is the sidearm you build rather than the one you cope with.
When it comes togetherComes alive the moment the Slayer Seal is yours; everything after that is a matter of which stones you have found.
Tarstones
Listed in priority order — slot them in this sequence as you find them rather than waiting for the full set. Every stone below is one the named gear actually accepts.
Axatana
Weapon socketTied to the primary, so changing weapon means revisiting this list.
Hexapod CoreAbilityslot first
An Axatana exclusive, and the reason to carry the Axatana rather than something heavier.
Duality StoneCombat
Doubles the light combo, which is how a secondary weapon buys back the seconds your sidearm needs.
Voltaic CrownInfusion
Lightning infusion, and the one Tarstone in the game that fits a primary and a sidearm both.
Forgotten Crossbow
Sidearm socketDrawn from a pool the melee slot mostly cannot touch.
Rupturing StoneCombatslot first
Critical projectiles deal Break Damage of their own, stacking on top of what the Seal already grants.
Ironpiercer's StoneCombat
Bolts pierce up to five targets, so a line of enemies costs the same Resolve as one.
Myriad StoneCombat
Seven projectiles per shot at no extra Resolve — the single largest increase in shots fired anywhere in the slot.
Deadeye StoneSupport
Forty percent more ranged critical damage, which is what the Rupturing Stone needs to trigger on.
Confessor's KeepsakeAbility
A charged shot at three and a half times damage, for the moment volume is not enough.
Charged StoneSupport
Half again as much charging speed, so the expensive shot is one you can actually land under pressure.
Marksman's StoneSupport
Ranged critical chance, which is the input every other stone on this list multiplies.
Siegebreaker's StoneSupport
More than triple the ranged Stagger Damage at level four. That is posture rather than Break — the Break comes from the Seal and the Rupturing Stone — so the two meters fill at once and the enemy opens on whichever gets there first.
Skill tree priorities
Nodes from Proxima the Broodseeker's own tree, in the order they are worth spending Glimpses on.
Biohuntertake first
A permanent damage increase against anything Proxima has Biosampled, so the opening move pays off for the rest of the fight.
Exoshell
Improves Grafted Armor, and Grafted Armor is what buys you the time to aim.
Collector
Lets Proxima harvest Specimens from the dead, which suits a build that kills at a distance and walks over afterwards.
How to play it
Biosampler the largest thing in the room first — the damage bonus lasts, so it should start early.
Fire into groups rather than at individuals; piercing bolts and a seven-shot spread both reward bad crowd control.
Watch the Resolve bar rather than the health bar. This build runs out of shots long before it runs out of life.
Fall back to the Axatana to earn Resolve when the bar empties — melee is how you reload here.
Spend the charged shot on something already broken.
If you have not found it yet
Each of these plays close enough to the piece it replaces that the rest of the page still holds.
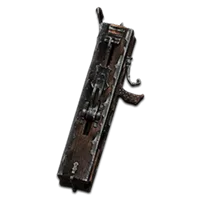
Ballistazookainstead of the Forgotten Crossbow
It trades the crossbow's volume for the hardest single hit in the slot, and still takes the Rupturing, Deadeye, Charged and Confessor's stones.
Smert the Apostateinstead of Proxima the Broodseeker
Miracle stops time outright, which answers being cornered more reliably than a 15% mitigation chance does. Read our Shell ranking before you take it, though: Deadly Revelation only switches on at 10% Health, and we rank Smert the worst body to learn the game in.

What it is bad at
Every shot competes with your weapon ability for the same Resolve, and an enemy that closes the distance meets a build that deliberately under-invested in melee.