
Break and Riposte: a Mortal Shell 2 break damage build
Fill the break bar from three directions, then collect.
This Mortal Shell 2 break damage build exists to end fights at the riposte rather than the health bar: Eredrim, the Obsidian Hammer and the Untarnished Seal each deal Break Damage on their own, and stacking all three breaks enemies faster than they can be worn down normally. It suits patient, defensive players, and every piece of it is available well before the late game.
The loadout
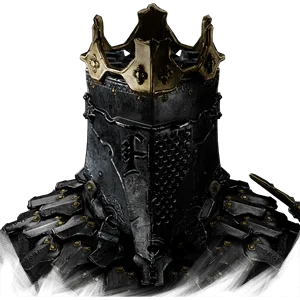
- ShellEredrim the Venerable
Executioner turns each Riposte into a Slaughterer stack, so the payoff of a break makes the next break more rewarding.
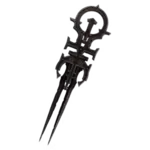
- SealUntarnished Seal
A Perfect Guard deals Break Damage, which means the safest possible answer to an attack is also progress toward the break.
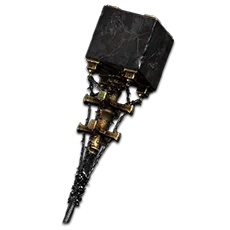
- WeaponObsidian Hammer
The heaviest primary in the game, and Break Damage is the one number that scales with weight rather than speed.
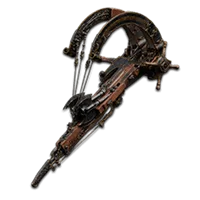
- SidearmSalvaged Trebuchaxe
It throws on a slow arc and wants a target that is not moving — which is precisely what a broken enemy is.
When it comes togetherThe Seal and the Shell come early; the build turns a corner when the Shattering Stone and the Obsidian Hammer are both in hand.
Tarstones
Listed in priority order — slot them in this sequence as you find them rather than waiting for the full set. Every stone below is one the named gear actually accepts.
Obsidian Hammer
Weapon socketTied to the primary, so changing weapon means revisiting this list.
Clerik's StoneCombatslot first
A dedicated heavy combo finisher, and by level four it carries thirty percent more critical chance than the swing it replaces.
Colossus StoneAbility
Shockwaves through the ground hit everything standing near the target, so a crowd breaks at roughly the same time.
Lost ClotstoneAbility
A spinning release that covers the full circle, for when the crowd has finished surrounding you.
Wretchcaller's StoneInfusion
Trauma on the weapon, which is damage the enemy carries while you are busy guarding rather than swinging.
Shattering StoneSupport
The largest Stagger figure the catalog records: more than triple the Stagger Damage on every melee hit at level four. Note the meter — Stagger fills posture where the Seal fills Break, so this is a second way of opening the same enemy rather than more of the first.
Retribution StoneSupport
Half again as much Riposte damage, collected at the exact moment the build has been working toward.
Salvaged Trebuchaxe
Sidearm socketDrawn from a pool the melee slot mostly cannot touch.
Shuddering StoneCombatslot first
Extra pressure from the ranged slot on a build whose whole purpose is filling one bar.
Squall StoneCombat
The thrown axe stays where it lands and keeps spinning, which is free damage on an enemy that cannot walk out of it.
Tarred FragmentAbility
Tethered projectiles at high speed, and the Trebuchaxe is the only sidearm that takes it.
Skill tree priorities
Nodes from Eredrim the Venerable's own tree, in the order they are worth spending Glimpses on.
Massacretake first
Improves Executioner, which is the node that makes Slaughterer stacks worth chasing.
Tank
Slaughterer stacks start providing damage reduction, so a good run of ripostes makes you harder to punish.
Resonance
Adds an effect to enemies broken by the Ethereal Diapason, which is how you break more than one thing at once.
How to play it
Guard rather than dodge, and aim for the Perfect Guard window — a blocked hit that deals Break Damage is a free swing.
Answer with heavy attacks; the finisher is worth more to the break bar than two light hits.
Use Shoulder Bash to close distance, because the approach itself deals Break Damage.
Save the Ethereal Diapason for a group, where one shockwave breaks several at once.
Riposte the moment anything breaks, and bank the Slaughterer stack.
If you have not found it yet
Each of these plays close enough to the piece it replaces that the rest of the page still holds.
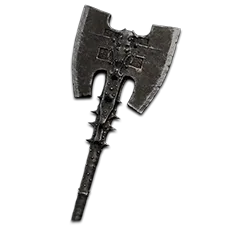
Veteran's Battle Axeinstead of the Obsidian Hammer
The melee half of the plan survives the swap intact — it takes the Clerik's Stone and the Lost Clotstone, and it is the only primary besides the Hammer the Clotstone fits. Our own ranking caps it at C because no source records its ability, so take this as the same stones on a different handle rather than as an upgrade.
Lazlo the Justiciarinstead of Eredrim the Venerable
Flat damage reduction for as long as the armor is on, which is what holding a Guard rather than dodging actually costs you — and nothing is lost by resting, where Eredrim drops every Slaughterer stack at the beacon.

What it is bad at
Everything here is slow. Against fast, lightly armoured enemies you will break them long after a quicker weapon would simply have killed them, and guarding a flurry you should have dodged is how this build dies.