


All Shells in Mortal Shell 2
The nine Shells you can inhabit, what each one's active and passive do, and every node of its four-tier skill tree. Your Shell is the only thing in the game a weapon cannot change.
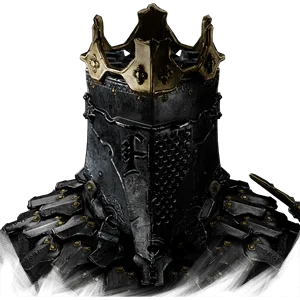
| Eredrim the Venerable | Shoulder Bash, Ethereal Diapason | Executioner | 12 | Citadel of Penance, Fainweald |
| Genessa the Wayward | Faithful Doubles, Stray Doubles | Duality | 11 | Revenant Graves |
| Gragu the Insatiable | Staggering Blow | Revered Heart | 12 | One Legged Wolf Tavern |
| Harros the Vassal | Stone Stun | — | — | Forlorn Village (Prologue) |
| Lazlo the Justiciar | Retribution | Fortified Plate | 12 | Royal Crypt of Mammon, Mammon |
| Proxima the Broodseeker | Biosampler | Grafted Armor | 12 | Fainweald |
| Sariel the Endless | Exodus of Thorns | Purge | 12 | Chamber of Becoming dungeon, Mammon |
| Smert the Apostate | Miracle | Deadly Revelation | 12 | Prophet's Rest, Fainweald |
| Tiel the Acolyte | Lingering Shadow | Shadow Dash | 12 | Mushroom Village |
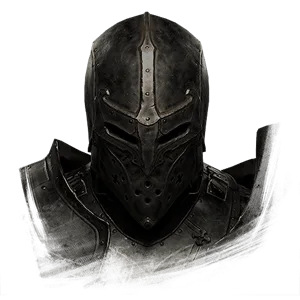
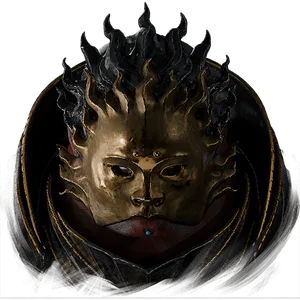
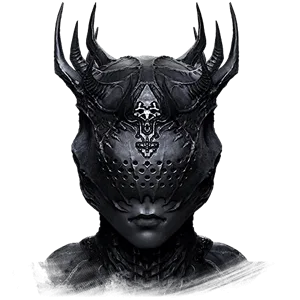
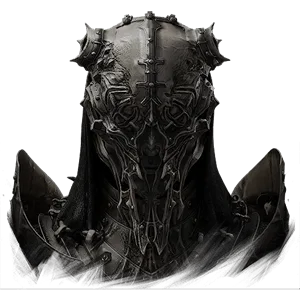


Choosing a Shell
A Shell is the body you occupy, and it is the one slot a weapon cannot compensate for. Each brings an active that costs Resolve, a passive that is always on, and a four-tier skill tree you open by spending Glimpses at the Shellkeeper. Weapons are shared, Seals are shared, Tarstones are mostly shared — the Shell is what actually makes two players play differently.
Read the passive first. The active is the flashy part and it competes with your weapon ability for the same Resolve, but the passive runs for free all fight, and on several Shells it is the passive that decides whether you can afford to be aggressive at all.