
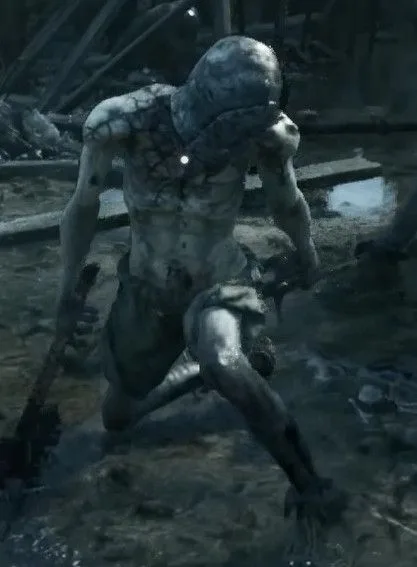
All Enemies in Mortal Shell 2
Every enemy family you meet more than once, with where it is placed and what that placement is for. Most of the bestiary has no name in-game, so this covers the families rather than every variant of each.
| Bloatmine | Trap | — |
| Canyon Crawler | Beast | — |
| Cefatropod | Beast | — |
| Cherub | Beast | — |
| Chiropterror | Beast | — |
| Crescent Gladiator | Human | — |
| Deprived | Human | Weak to None · Resists None |
| Dual Blade Assassin | Human | — |
| Funghoul | Humanoid | Weak to None · Resists None |
| Grisha | Beast | — |
| Hammer Prophet | Humanoid | — |
| Hoodman | Human | — |
| Lithopod | Beast | — |
| Malborn Offspringendgame | Boss | — |
| Orrem, the Golemendgame | Boss | — |
| Pale Leech | Beast | — |
| Parasited Soldier | Humanoid | — |
| Plague Priest | Humanoid | — |
| Shielded Deprived | Human | — |
| Soldier | Human | Weak to None · Resists None |
| Tempestress | Humanoid | — |
| The Monolithendgame | Boss | — |
| Tophat Sester | Humanoid | — |
| Wraith | Humanoid | — |
| Zmey, the Unbiddenendgame | Boss | Inflicts Cosmic Disease, Stasis |
Reading a fight
What an enemy resists and what it inflicts matters more here than its health does, because your damage type is a choice you make per Tarstone rather than per weapon. An Infusion stone is two seconds and some Resolve; swapping to the element something is weak to is usually cheaper than out-trading it.
Most of what you fight has no name in the game at all — the bosses and minibosses are named and the rest are not — so these are the families rather than every variant of each. Where a boss is a bigger version of something you have already fought, the entry says so: learning the Tempestress is learning Sester Secundus, learning the Lithopod is most of the Bloodcursed Lithopod, and learning the Wraith is most of the Gloombound Wraith standing between you and the Gate of Infinity.
Placement matters more than the moveset for about half of this list. A Crescent Gladiator stands on the route and waits, a Wraith arrives from behind while you are reaching for loot, a Pale Leech does not move until you are past it, and a Bloatmine does not move at all — the fight around it is what walks you onto it.