
What every Tarstone does at levels 1 to 4
All 78 Tarstones with the whole of their upgrade ladder, grouped by the class that competes for a socket. 76 of them have every rung recorded. This is the other half of the compatibility chart: that one says which stone your weapon accepts, this one says what the stone turns into once you have paid for it.
Why level a Tarstone at all?
Because several of these stop scaling and start changing. Read almost any Infusion ladder from the bottom and it goes: spend Resolve to apply this, then it lasts four strikes, then eight, then it is permanent — which is a different thing rather than a bigger number. A stone at the top of its ladder is often doing something the same stone at level 1 could not do at all, which is why spreading experience thin across a dozen stones is worse than committing to two.
Levelling is two costs and only one of them is Coin. A stone gains experience only while it is equipped and you are killing things, and the upgrade itself is paid for at the Tarforge in Marrow Keep — which will not take a stone past level 1 until Franz has the Etching Needles. Until that delivery, every ladder on this page is theoretical.
Combat stones23
Changes what an attack does. 2 sockets take a stone of this class, so the whole list below is a shortlist of 2. 1 of them have no ladder recorded yet.
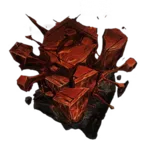
- 1Projectiles explode mid-air and deal splash damage
- 2Exploding projectiles deal 2 splash damage
- 3Exploding projectiles deal 3 splash damage
- 4Exploding projectiles deal 4 splash damage
Bone chest in Mawbreak Cavern, Sanguine Caverns
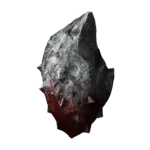
- 1Grants access to a special Heavy Combo Finisher
- 2The heavy finisher has +30% Critical Chance
- 3The heavy finisher has +35% Critical Chance
- 4The heavy finisher has +40% Critical Chance
Chest by the cliff behind an illusory wall in the Ruins of Nochte
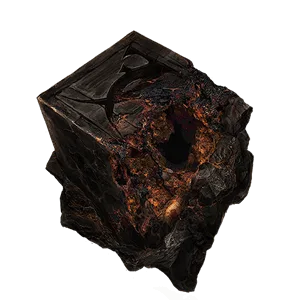
- 1Projectiles start dealing damage over time after hitting their target.
- 2Projectiles deal 8% damage every 7s for 30s.
- 3Projectiles deal 12% damage every 7s for 30s.
- 4Projectiles deal 15% damage every 7s for 30s.
Bone chest in the Wortbriar Encampment dungeon
- 1Your weapon's light attack combo strikes twice.
- 2The first attack of the combo only.
- 3The first and second attacks.
- 4Every attack in the combo.
Chest by the second gate of the Ravaged Tomb
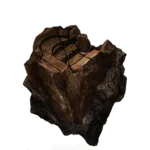
- 1Projectiles inflict Fragile
- 2Inflict 5 Fragile stacks per strike
- 3Inflict 6 Fragile stacks per strike
- 4Inflict 7 Fragile stacks per strike
Reward for the trial due east of the Outskirts of Mammon beacon
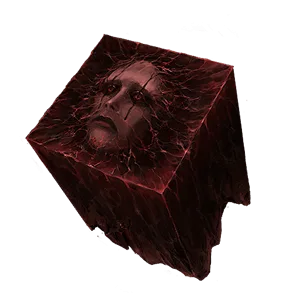
- 1Your Weapon deals a guaranteed Critical Hit
- 2Every 7 attacks
- 3Every 6 attacks
- 4Every 5 attacks
Bone chest in the Citadel of Penance
- 1Projectiles pierce through enemies
- 2Projectiles pierce up to 3 targets before stopping
- 3Projectiles pierce up to 4 targets before stopping
- 4Projectiles pierce up to 5 targets before stopping
Bone chest through the Bone Gate in the Central Sewers, from the Slumwater Drain beacon
- 1Your Sidearm fires multiple projectiles in an arc without consuming additional Resolve.
- 2Fire 3 projectiles per shot, each dealing 60% of the original damage.
- 3Fire 5 projectiles per shot, each dealing 40% of the original damage.
- 4Fire 7 projectiles per shot, each dealing 30% of the original damage.
Alcove chest in the Feeding Grounds dungeon
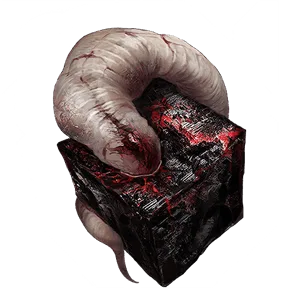
- 1Slaying foes grants you Leech.
- 2Gain 2 Leech stack per kill.
- 3Gain 4 Leech stack per kill.
- 4Gain 6 Leech stack per kill.
Locked bone chest inside the Martyr's Tomb dungeon
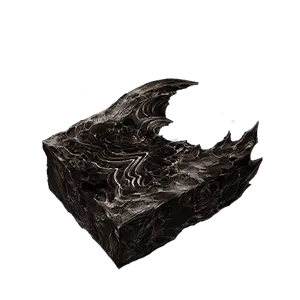
- 1Projectiles generate a shockwave on impact that pulls enemies in.
- 2Small shockwave on impact.
- 3Medium shockwave on impact.
- 4Large shockwave on impact.
The Pulse Stone can be obtained from chest located near the Winterglass Lake beacon inside the Conquered Temple Gate.
- 1Projectiles that strike critically deal Break Damage
- 2Projectiles deal 10 Break Damage
- 3Projectiles deal 15 Break Damage
- 4Projectiles deal 20 Break Damage
Chest on the platform above the Prisoner's Domain boss arena
Sapper's Stone
Weapon slotMelee attacks apply Perforation, stacking a wound on the target rather than only removing health. — the per-level text is not recorded yet, so treat that as what it does at level 1.
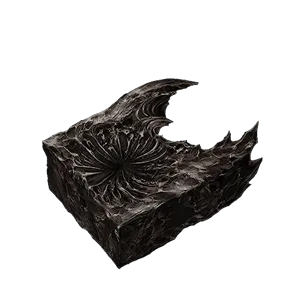
- 1Projectiles generate a Knockback shockwave on impact.
- 2Small shockwave on impact.
- 3Medium shockwave on impact.
- 4Large shockwave on impact.
The Shuddering Stone can be found in a chest inside the Illusionist's Cache, a dungeon in The Desolate Peak.
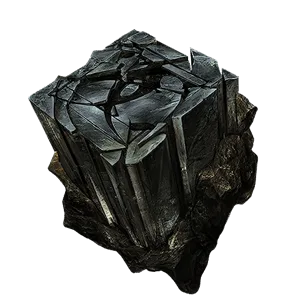
- 1Your Sidearm fires multiple projectiles without consuming additional Resolve.
- 2Fire 2 projectiles per shot, each dealing 55% of the original damage.
- 3Fire 3 projectiles per shot, each dealing 40% of the original damage.
- 4Fire 4 projectiles per shot, each dealing 35% of the original damage.
The Splitting Stone can be obtained from a chest in the Lonesome Spire, the building found on the east of the Gate of Mammon beacon.
- 1Projectiles spin in place for a duration after hitting their target
- 2Projectiles spin for 3s and deal 9% of original damage
- 3Projectiles spin for 4s and deal 10% of original damage
- 4Projectiles spin for 5s and deal 11% of original damage
Bone chest behind a cell gate in the Central Sewers, from the Executioner's Pulpit beacon
- 1Grants access to a special Light Combo Finisher.
- 2The light finisher deals 10 Break Damage.
- 3The light finisher deals 15 Break Damage.
- 4The light finisher deals 25 Break Damage.
The Stillblade's Stone can be looted from a chest found inside the Citadel Annex beacon when you cleanse it.
- 1Striking a foe grants you Warp.
- 2Gain 1 Warp stack per strike.
- 3Gain 2 Warp stacks per strike.
- 4Gain 3 Warp stacks per strike.
The Thief's Stone is obtained as a reward for clearing the Corrupted Statue in the Vestige of Infinity.
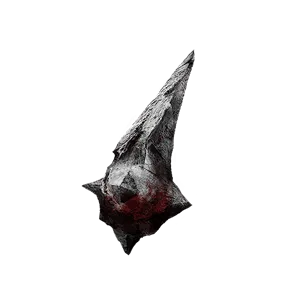
- 1Grants access to a special Heavy Combo Finisher.
- 2The heavy finisher inflicts 4 Weak stacks.
- 3The heavy finisher inflicts 5 Weak stacks.
- 4The heavy finisher inflicts 6 Weak stacks.
The Tyrant's Stone is found in a chest behind a secret hidden wall in the Sester's Abbey.
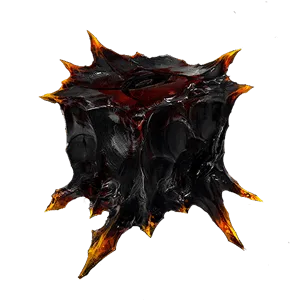
- 1Hitting the same enemy 5 times triggers an explosion that deals splash damage.
- 2The triggered explosion deals 30 splash damage.
- 3The triggered explosion deals 40 splash damage.
- 4The explosion triggers after 4 hits.
The Unstable Stone can be looted from a chest located west of the Castigator's Keep beacon. This chest is very missable as it is hidden behind an enchantment. Hit the walls of the spire to reveal the chest.
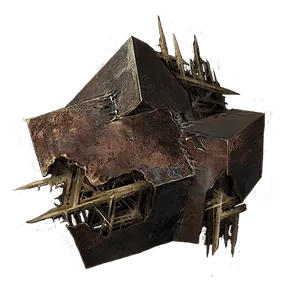
- 1Your Weapon light attack combo has Stagger immunity
- 2First attack only
- 3First and Second attacks
- 4All attacks
Trial statue north of the Deserted Mine dungeon
- 1Enemies dying by a ranged attack will explode, dealing splash damage.
- 2Exploding enemies deal 15 splash damage.
- 3Exploding enemies deal 25 splash damage.
- 4Exploding enemies deal 35 splash damage.
Dropped by Vrannic the Grand Illusionist in the Hall of Illusions
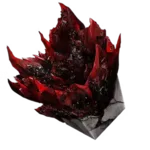
- 1Melee attacks inflict Perforation
- 2Inflict 2 Perforation stacks per strike
- 3Inflict 4 Perforation stacks per strike
- 4Inflict 7 Perforation stacks per strike
Bone chest near Tiel the Acolyte's gravestone
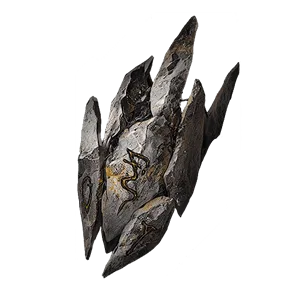
- 1Grants access to a special Light Combo Finisher.
- 2The light finisher generates +40% Resolve.
- 3The light finisher generates +70% Resolve.
- 4The light finisher generates +150% Resolve.
The Zealot's Stone is obtained as a reward for clearing the Besieged Ruins dungeon found to the east of the High Lord's Courtyard.
Infusion stones17
Spends Resolve to put an element on your weapon. 2 sockets take a stone of this class, so the whole list below is a shortlist of 2. 1 of them have no ladder recorded yet.
- 1Consume 20 Resolve to infuse your Sidearm with Curse
- 2Infusion lasts for 4 shots
- 3Infusion lasts for 8 shots
- 4Infusion is permanent
Behind a wall mechanism below the Abandoned Outpost beacon, the Big Ol' Hole

- 1Consume 30 Resolve to infuse your weapon with Bloodcurse.
- 2Infusion lasts for 4 strikes
- 3Infusion lasts for 8 strikes
- 4Infusion is permanent
Dropped by the Great Arbiter of Flesh at Widow's Overlook
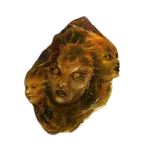
Champion's Brooch
Weapon slotSpends Resolve to run Lightning down your weapon for a stretch of strikes. — the per-level text is not recorded yet, so treat that as what it does at level 1.
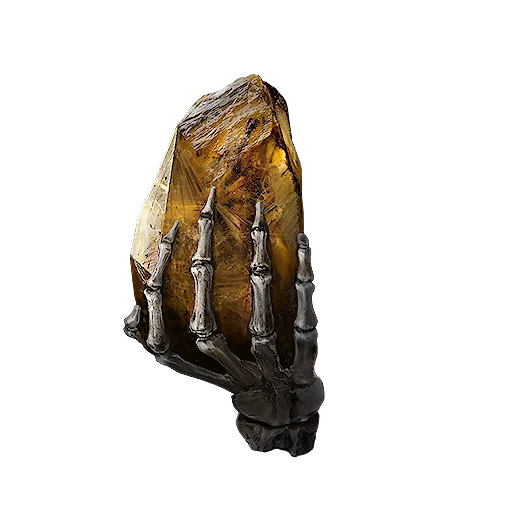
- 1Consume 30 Resolve to infuse your Weapon with Curse
- 2Infusion lasts for 4 strikes
- 3Infusion lasts for 8 strikes
- 4Infusion is permanent
The Curseblood Stone is obtained as a reward for defeating the Gloombound Wraith, a boss in the Forbidden Archives, the dungeon within the Gate of Infinity beacon.
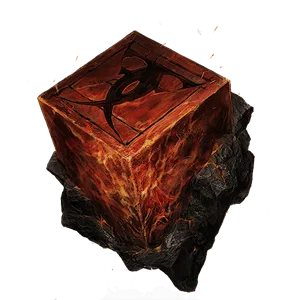
- 1Consume 20 Resolve to infuse your sidearm with Burn. The equipped Sidearm inflicts Burn on Critical Hits only.
- 2Infusion lasts for 4 shots
- 3Infusion lasts for 8 shots
- 4Infusion is permanent
Bone chest in the Passenger's Shrine dungeon, Mushroom Village
- 1Consume 20 Resolve to infuse your Sidearm with Frost
- 2Infusion lasts for 4 shots
- 3Infusion lasts for 8 shots
- 4Infusion is permanent
Chest along the path behind the Ova, past the cleansed Conqueror's Hoard beacon
- 1Consume 20 Resolve to infuse your Sidearm with Poison
- 2Infusion lasts for 4 shots
- 3Infusion lasts for 8 shots
- 4Infusion is permanent
Bone chest on the upper level of the Infested Den

- 1Consume 30 Resolve to unfuse your Weapon with Burn
- 2Infusion lasts for 4 strikes
- 3Infusion lasts for 8 strikes
- 4Infusion is permanent
Dropped by the Rabid Grisha Pack in the Holding Cells

- 1Consume 20 Resolve to infuse your Sidearm with Phantom
- 2Infusion lasts for 4 shots
- 3Infusion lasts for 8 shots
- 4Infusion is permanent
The Monarch's Vestige is obtained as a reward for defeating Bor the Deluded Monarch inside the Abbey Entrance beacon.
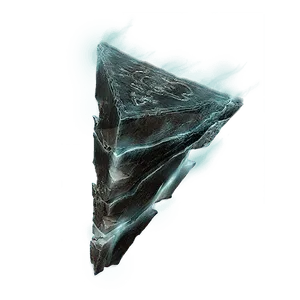
- 1Consume 30 Resolve to infuse your Weapon with Phantom.
- 2Infusion lasts for 4 strikes.
- 3Infusion lasts for 8 strikes.
- 4Infusion is permanent.
The Nightgrasp Stone is obtained from a chest found near the Abbey Entrance beacon. The chest will only open after three offerings have been made by lighting the candles in the area.
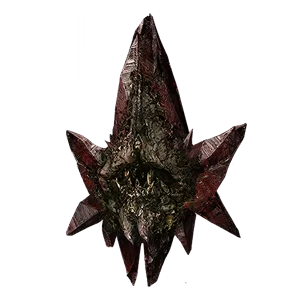
- 1Consume 15 Resolve to infuse your Weapon with Poison
- 2Infusion lasts for 4 strikes
- 3Infusion lasts for 8 strikes
- 4Infusion is permanent
Dropped by Lucian, the Thirsting Knight in The Hidden Keep
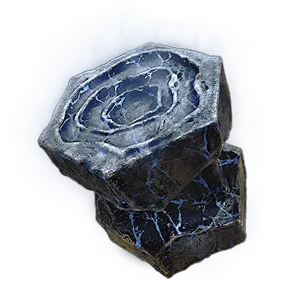
- 1Consume 25 Resolve to infuse your Weapon with Stasis.
- 2Infusion lasts for 4 strikes.
- 3Infusion lasts for 8 strikes.
- 4Infusion is permanent.
The Torpor Stone can be looted from a chest found near the Ossinite Falls beacon in the Withered Shoals gate. The chest will be behind the falls.
- 1Consume 20 Resolve to infuse your Sidearm with Bloodcurse.
- 2Infusion lasts for 4 shots.
- 3Infusion lasts for 8 shots.
- 4Infusion is permanent.
The Viletongue Hedron can be obtained as a reward for defeating the Viletongue Batushka, the boss at the end of the Castigator's Keep when you cleanse it.
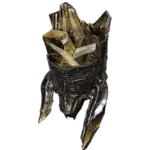
- 1Consume 30 Resolve to infuse your Weapon with Lightning
- 2Infusion lasts for 4 strikes
- 3Infusion lasts for 8 strikes
- 4Infusion is permanent
Dropped by Vrago, Solikar Champion in the Prisoner's Domain
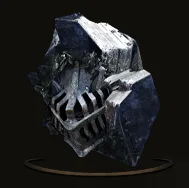
- 1Consume 30 Resolve to infuse your Weapon with Frost.
- 2Infusion lasts for 4 strikes.
- 3Infusion lasts for 8 strikes.
- 4Infusion is permanent.
The Warden's Stone is obtained as a reward for defeating Urrig the Executioner, a boss near the Winterglass Lake beacon in the Conquered Temple Gate.
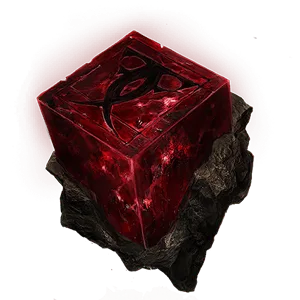
- 1Consume 20 Resolve to infuse your Sidearm with Trauma.
- 2Infusion lasts for 4 shots.
- 3Infusion lasts for 8 shots.
- 4Infusion is permanent.
The Weeping Stone can only be bought from the Night Merchant, an NPC that only appears when you are in Night mode. Accessing Night mode requires the Gloombound Flame from the Great Arbiter of Flesh boss area.
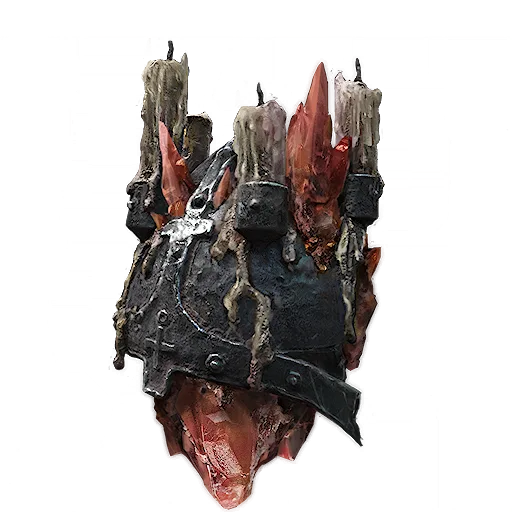
- 1Consume 30 Resolve to infuse your Weapon with Trauma
- 2Infuse lasts for 4 strikes
- 3Infusion lasts for 8 strikes
- 4Infusion is permanent
Dropped by the Infested Miner in the Burrowkin Dwelling
Ability stones23
Adds an action of its own. 2 sockets take a stone of this class, so the whole list below is a shortlist of 2.
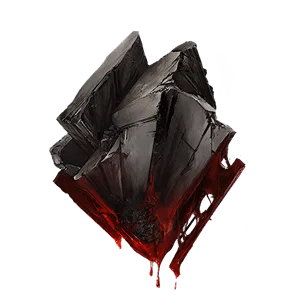
- 1Consume 40 Resolve to perform a charged Light Attack.
- 2The charged attack has a +15% Critical Chance.
- 3The charged attack deals 150% Critical Damage.
- 4Resolve cost reduced to 30.
Sold by Merrick at Marrow Keep for 2,000 Coin
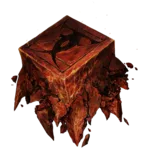
- 1Consume 40 Resolve to launch a heavy round that detonates above the target, scattering explosive projectiles below
- 2The heavy round detonates 2 times, each explosive projectile deals 4 splash damage
- 3The heavy round detonates 2 times, each explosive projectile deals 8 splash damage
- 4The heavy round detonates 3 times, each explosive projectile deals 8 splash damage
Reward for the gauntlet trial northeast of the Ravaged Hideout
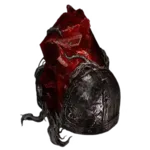
- 1Consume 100 Resolve to swing your weapon in a violet arc, striking down all who stand close
- 2Each strike deals 300% damage
- 3Each strike deals 250 Stagger Damage
- 4Resolve cost reduced to 75
Dropped by the Nameless Captive in the Prisoner's Domain
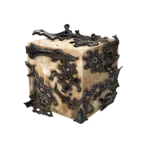
- 1Consume Resolve over time to hold your weapon before you with its chainsaw spinning at full speed
- 2Each chainsaw spin deals 12% of the weapon base damage
- 3Each chainsaw spin deals 15 Stagger Damage
- 4Each chainsaw spin deals 20% of the weapon base damage
Chest behind the bookshelf in the Alchemist's Workshop
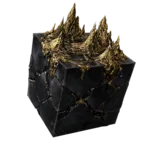
- 1Consume 80 Resolve to thrust your weapon into the ground to send shockwaves rippling through nearby foes
- 2Each shockwave deals 30 splash damage
- 3Each shockwave covers a wider area
- 4Each shockwave deals 80 splash damage
Chest through the bone gate northeast of the Silent Steps beacon
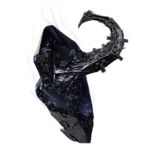
Confessor's Keepsake
Ballistazooka, Cursed Child, Forgotten Crossbow, Naylshotte slot4 pieces of gear- 1Consume 60 Resolve to charge your Sidearm, firing a powerful, devastating shot
- 2The charged shot deals 200% damage
- 3The charged shot deals 300% damage
- 4The charged shot deals 350% damage
Dropped by Tishina's Confessor in the Prisoner's Domain

- 1Consume 100 Resolve to drive your weapon forward in a series of swift, piercing thrusts
- 2Each strike deals 200% damage
- 3The attack delivers 4 additional strikes
- 4Resolve cost reduced to 75
Dropped by Droeg, the Conquerer in the Conquered Temple
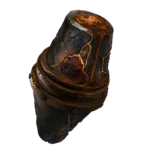
- 1Consume 60 Resolve to fire a heavy-caliber round that triggers multiple explosions around the target
- 2The heavy-caliber shot triggers 3 explosions around the target
- 3The heavy-caliber shot triggers 5 explosions around the target
- 4Each explosion deal 20 Break Damage
Sold by The Collector for 1,500 Coin, south of the Abandoned Outpost beacon and only at night — and reaching night at all takes the Gloombound Flame out of the Great Arbiter of Flesh's ground
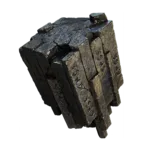
- 1At 80 Resolve or higher, unleash a flurry of consecutive shots
- 2Each shot has +20% Critical Chance
- 3Each shot has +35% Critical Chance
- 4Each shot deals +100% Critical Damage
Dropped by the Caged Grisha once the Winterglass Lake beacon is cleansed
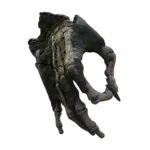
- 1Consume 80 Resolve to unleash a swarm of relentless homing projectiles
- 2Each projectile deals 10 damage
- 3Each projectile deals 5 Break Damage
- 4Firing rate is increased by 30%
Sold by the Barkeep at the One-Legged Wolf Tavern for 1,500 Coin
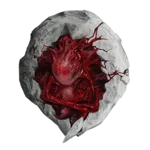
- 1Consume 60 Resolve to carve through enemies with a rapid succession of strikes
- 2Each strike grants 3 Warp stacks
- 3The ability has Stagger immunity
- 4Resolve cost increased to 80, but the ability continues with another barrage of ruthless dual-blade strikes
Dropped by the Hexapod in the Withered Shoals
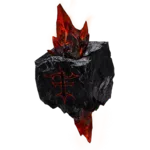
- 1Consume 60 Resolve to fire a clinging projectile that triggers a massive explosion after a brief delay
- 2The clinging projectile deals 100 damage upon exploding
- 3The clinging projectile draws the aggression of all nearby enemies
- 4The clinging projectile scatters 3 other clinging projectiles upon exploding
Sold by The Collector for 1,500 Coin, south of the Abandoned Outpost beacon and only at night — and reaching night at all takes the Gloombound Flame out of the Great Arbiter of Flesh's ground
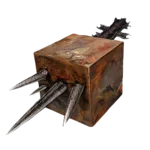
- 1Consume 70 Resolve to throw your weapon to strike multiple targets before it circles back to you
- 2Each strike inflicts 3 Perforation stacks
- 3The thrown weapon strikes up to 4 targets
- 4Each strike inflicts 150% damage
The Infused Stone can only be bought from the Night Merchant, an NPC that only appears when you are in Night mode. Accessing Night mode requires the Gloombound Flame from the Great Arbiter of Flesh boss area.
- 1Consume 60 Resolve to spin in place and release your weapon with brutal force
- 2The thrown weapon deals 200 splash damage on impact
- 3The thrown weapon deals 300% damage to the struck target
- 4Resolve cost reduced to 40
Dropped by the Lost Child at the Sanguine Caverns gate

- 1Consume 100 Resolve to rise into the air and unleash a flurry of ruthless strikes.
- 2Each strike inflicts 2 Weak stacks.
- 3Each strike has +15% Critical Chance. Each Strike Deals +50% Critical Damage
- 4Each strike deals +100% Critical Damage
Dropped by Magdalena the Lady of the Woods in the Sunken Village
- 1Consume Resolve over time to set the chainsaw in motion, augmenting your every attack.
- 2Each chainsaw spin deals 15% of the weapon base damage.
- 3Each chainsaw spin deals 25% of the weapon base damage.
- 4Each chainsaw spin deals 35% of the weapon base damage.
Dropped by Isaac, the Scholar-Prince in the Faded Citadel
- 1Consume 70 Resolve to leap high and plunge your weapon into the ground ahead.
- 2The attack triggers a shockwave upon landing that deals 150 splash damage.
- 3Resolve cost reduced to 50.
- 4The attack deals 25 Break Damage to nearby foes upon landing.
Bone chest in the ritual grounds of the Sunken Village
- 1Consume 25 Resolve to launch a heavy round in a parabolic arc that bursts on impact to deal splash damage.
- 2The heavy round deals 70 splash damage in a small range.
- 3The heavy round deals 120 splash damage in a small range.
- 4The heavy round bursts into a wider explosion.
The Solnir Shard can be obtained as a reward for defeating Solnir the Gloomseeker, a boss found when you cleanse the Citadel Annex beacon.
Strange Remnant
Sidearm slot- 1Consumes 15 Resolve to unleash a stream of projectiles that chain between multiple targets.
- 2Chaining projectiles deal 20 damage.
- 3Projectiles chain between up to 4 targets
- 4Chaining projectiles deal 40 damage.
The Strange Remnant can be obtained as a reward for defeating the Strange Grisha in the Withered Shoals Gate.
- 1Consume 70 Resolve to summon the last slain foe to fight on your side.
- 2The summoned foe attacks 2 times before vanishing.
- 3The summoned foe attacks 5 times before vanishing.
- 4Summon 2 foes instead of one.
The Summonning Stone can be looted from a chest in the Ashen Sanctum, an area you can access when you enter the Faded Citadel gate.
- 1Consume 40 Resolve to launch a heavy round that detonates above the target, scattering explosive projectiles below.
- 2The heavy round detonates 2 times, each explosive projectile deals 8 splash damage.
- 3The heavy round detonates 2 times, each explosive projectile deals 12 splash damage.
- 4The heavy round detonates 2 times, each explosive projectile deals 14 splash damage.
Dropped by the Wandering Shepherd in the Sunken Village
- 1Consume 50 Resolve to fire multiple tethered projectiles, spinning at high speed.
- 2The tethered projectiles spin for 6s
- 3The tethered projectiles spin for 8s
- 4The tethered projectiles cover 150% the range
Dropped by the Tarblighted Stoner in the Sanguine Caverns
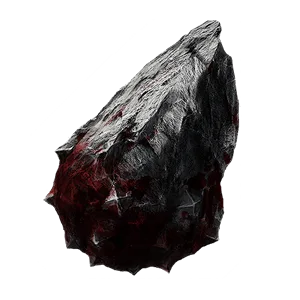
- 1Consume 35 Resolve to perform a Charged Heavy Attack.
- 2The charged attack grants 2 Leech stacks on kill.
- 3The charged attack grants 3 Leech stacks and restores 20 Health on kill.
- 4The charged attack grants 5 Leech stacks and restores 25 Health on kill.
Sold by Merrick at Marrow Keep for 2,000 Coin
Support stones15
Passive upkeep — resources, resistances, recovery. The source states no socket count for this class. The four Shell-compatible slots it does state are a count of sockets rather than of a class, so nothing on record says how many of these you can run at once.
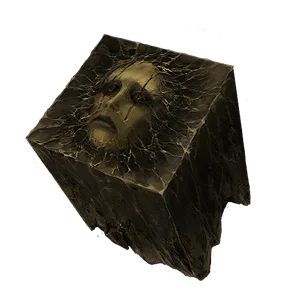
- 1Improves melee Critical Chance.
- 2Melee attacks have +10% Critical Chance.
- 3Melee attacks have +15% Critical Chance.
- 4Melee attacks have +18% Critical Chance.
Bone chest at the Mushroom Village entrance, opened by lighting three offerings
- 1Improves melee damage the lower your Health is
- 2Melee damage increased up to 130% when Health is at 35% or below
- 3Melee damage increased up to 140% when Health is at 40% or below
- 4Melee damage increased up to 165% when Health is at 50% or below
Chest in the Temple of Vatra, opened by lighting three candles

Bulwark Stone
Shell slot- 1On killing an enemy:
- 2Gain +25% damage reduction for the next 2s.
- 3Gain +50% damage reduction for the next 3s.
- 4Gain +70% damage reduction for the next 4s.
The Bulwark Stone can be found in a chest located at the end of a broken bridge at the south end of the Citadel of Penance.
Charged Stone
Ballistazooka, Cursed Child, Forgotten Crossbow, Naylshotte, Salvaged Trebuchaxe slot5 pieces of gear- 1Your sidearm charges up faster
- 2Sidearm charging speed increased by 20%
- 3Sidearm charging speed increased by 35%
- 4Sidearm charging speed increased by 50%
Chest off the cavern past the Nameless Pass beacon, Withered Shoals
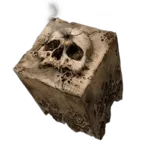
- 1Improves ranged Critical Damage
- 2Ranged Attacks deal +20% Critical Damage
- 3Ranged attacks deal +30% Critical Damage
- 4Ranged attacks deal +40% Critical Damage
Bone chest at a campsite north of the Sanguine Caverns
- 1Improves melee Critical Chance
- 2Melee attacks have +10% Critical Chance
- 3Melee attacks have +15% Critical Chance
- 4Melee attacks have +18% Critical Chance
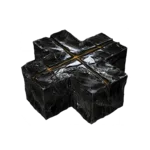
- 1Killing an enemy with your Sidearm generates Resolve
- 2Generates 7 Resolve
- 3Generates 14 Resolve
- 4Generates 28 Resolve
Behind a wall mechanism north of the Sester's Gate beacon
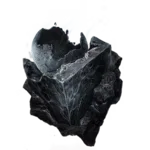
Gloombound Stone
Shell slot- 1Slain foes drop more Gloom
- 2Obtain +2% Gloom from slain foes
- 3Obtain +4% Gloom from slain foes
- 4Obtain +6% Gloom from slain foes
Bone chest in the Stones of Remembrance, southeast of the Stonebled Gate
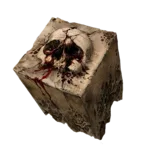
- 1Improves melee Critical Damage
- 2Melee attacks deal +50% Critical Damage
- 3Melee attacks deal +80% Critical Damage
- 4Melee attacks deal +100% Critical Damage
Hidden rise below the Road of Absolution bridge, Ruins of Mammon
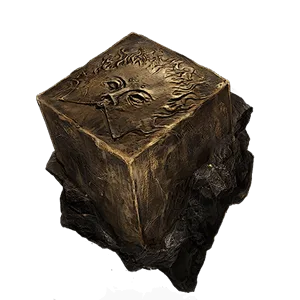
Justiciar's Stone
Shell slot- 1Slain foes drop more Coin
- 2Obtain +2% Coin from slain foes
- 3Obtain +4% Coin from slain foes
- 4Obtain +6% Coin from slain foes
Corpse pile in a cave off the Broodshell Swarm field, Stones of Remembrance
- 1Improves ranged Critical Chance
- 2Ranged attacks have +10% Critical Chance
- 3Ranged attacks have +12% Critical Chance
- 4Ranged attacks have +15% Critical Chance
Bone chest past the trial east of the Mushroom Village
- 1Improves Riposte damage
- 2Riposte damage increased by 10%
- 3Riposte damage increased by 15%
- 4Riposte damage increased by 20%
Reward for clearing the trial at Widow's Overlook
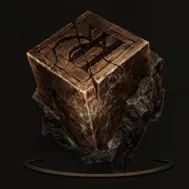
- 1On killing an enemy:
- 2The next melee attack deals +20% Stagger Damage.
- 3The next melee attack deals +30% Stagger Damage.
- 4The next melee attack deals +50% Stagger Damage.
Chest beside a house near Tiel the Acolyte's grave
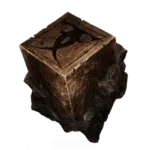
- 1Improves ranged Stagger Damage
- 2Ranged attacks deal +50% Stagger Damage
- 3Ranged attacks deal +100% Stagger Damage
- 4Ranged attacks deal +150% Stagger Damage
Bone chest in the Sunken Village, opened by lighting three candles
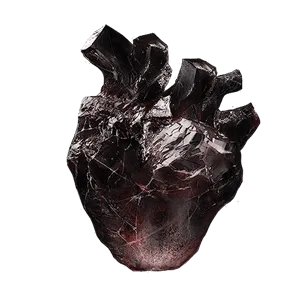
- 1Improves ranged damage the lower your Health is.
- 2Ranged damage increased up to 140% when Health is 35% or below.
- 3Ranged damage increased up to 150% when Health is 40% or below.
- 4Ranged damage increased up to 160% when Health is 50% or below.
The Spite Stone is obtained from a chest found inside the Bellkeeper's Corner dungeon near the Abandoned Outpost beacon.
Which stones should you take to level 4 first?
The ones whose top rung reads as a different sentence rather than a bigger number, and counted off the ladders above that is overwhelmingly the Infusion class: 16 of the 17 Infusion stones end their ladder with the infusion becoming permanent. An infusion you have to re-apply costs Resolve every time, and on nearly all of them the level-1 line says so in as many words — Resolve being the bar your weapon ability and your sidearm are already competing over. A Combat stone that gains a few percent is worth doing eventually; an infusion you stop having to pay for is worth doing now.
If you would rather start from the gear you already own, the compatibility chart inverts the question, and the build guides name stones in the order they are worth slotting.