
All 8 Weapon Locations in Fallgrim
Weapons in Mortal Shell 2 are shared across every Shell, so the ones lying around Fallgrim are yours to use whatever body you are wearing. Each carries one unique ability, and the only way to find out how it plays is to go and pick it up. This is where every weapon in the region sits. They sit across 8 named areas, no two of them in the same one.
Loading map…
By area
- Blackridge Cliffs1
- Blackridge Hamlet1
- Conquered Temple1
- Forgotten Tower1
- Gloomshade Grove1
- Lonesome Spire1
- Prologue1
- The Silent Steps1
Entries are numbered in a suggested collection order: an efficient straight-line tour starting near the region's spawn, so working #1 to the end keeps backtracking short. Areas are the nearest named label on the map, so they place an entry rather than fence it. Bearings are straight lines measured across the map image — a direction to set off in, not a route to walk.
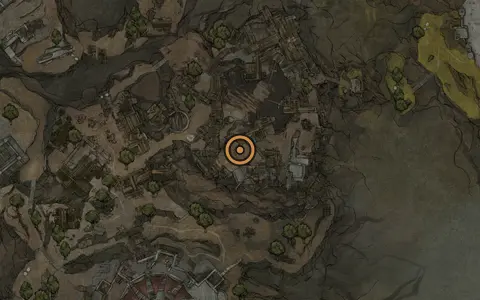 #1
#1Obsidian Hammer
Lonesome Spire area
Nearest beacon Abandoned Outpost, bearing south-east, some way off.
Linked on the map to Location: Obsidian Hammer (Map) — the viewer draws the link when either end is selected.
Nearby Prophet of Profane Infinities (Mini-Boss) · Obsidianite Mines (Dungeon) · Collapsed Mine (Dungeon)
Source Obsidianite Mines, Mammon
Next stop #2 Clockwork Scythe, bearing south-east, a long way off.
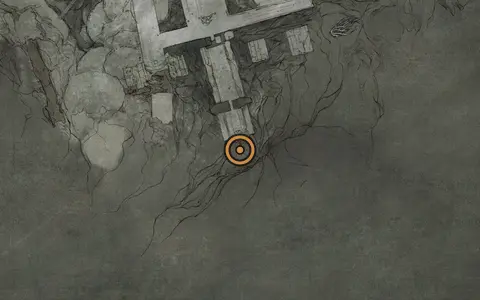 #2
#2Clockwork Scythe
The Silent Steps area
Nearest beacon The Silent Steps, bearing south-east, a long way off.
Linked on the map to Location: Clockwork Scythe (Map) — the viewer draws the link when either end is selected.
Nearby Sariel (Boss) · Chamber of Becoming (Dungeon) · Caged Hystrix (Sidearm)
Source Map purchased from Merrick
Next stop #3 Axatana, bearing north, a long way off.
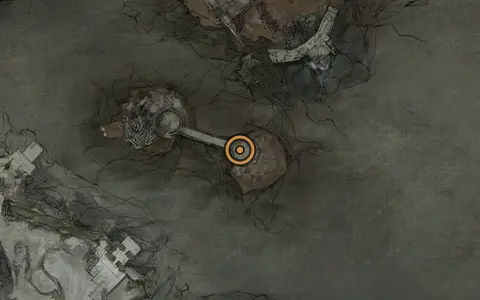 #3
#3Axatana
Forgotten Tower area
Nearest beacon Winterglass Lake, bearing south-west, a short way off.
Linked on the map to Location: Axatana (Map) — the viewer draws the link when either end is selected.
Nearby Petrified Bird (NPC) · Gragu (Summon Shell) · Urrig, the Executioner (Boss)
Source Location Map purchased from Merrick
Next stop #4 Black Needle, bearing north-east, a short way off.
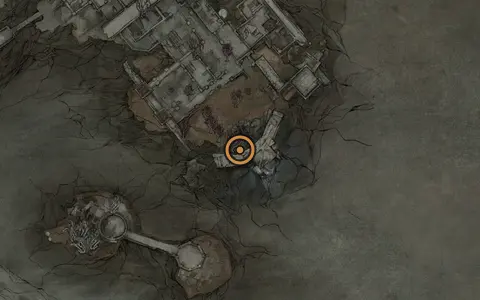 #4
#4Black Needle
Conquered Temple area
Nearest beacon Sester's Gate, on the spot.
Linked on the map to Location: Black Needle (Map) — the viewer draws the link when either end is selected.
Nearby Twin Sesters/Stray Sesters (Boss) · Sester's Bastion (Dungeon) · Conquered Temple (Gate)
Source Map purchased from merchant
Next stop #5 Axe & Dagger, bearing north, a long way off.
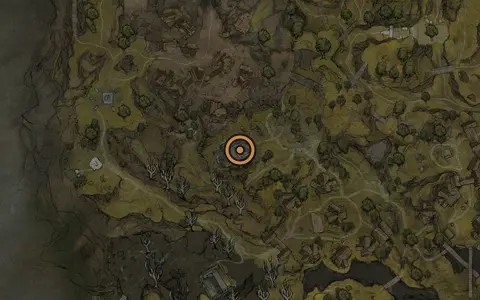 #5
#5Axe & Dagger
Blackridge Hamlet area
Nearest beacon Mushroom Village, bearing west, a short way off.
Linked on the map to Location: Axe & Dagger (Map) — the viewer draws the link when either end is selected.
Nearby Shrine of Trials (Dungeon) · Holding Cells (Dungeon) · Martyr's Tomb (Dungeon)
Next stop #6 Veteran's Battle Axe, bearing north, a long way off.
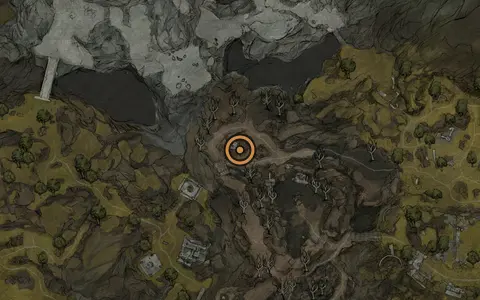 #6
#6Veteran's Battle Axe
Blackridge Cliffs area
Nearest beacon Blackridge Pass, bearing north, a short way off.
Linked on the map to Location: Veteran's Battle Axe (Map) — the viewer draws the link when either end is selected.
Nearby The King's Crypt (Dungeon) · Crumbling Tunnel (Dungeon) · Flooded Village (Dungeon)
Source The King's Crypt dungeon, Blackridge Cliffs
Next stop #7 Great Martyr's Blade, bearing west, a long way off.
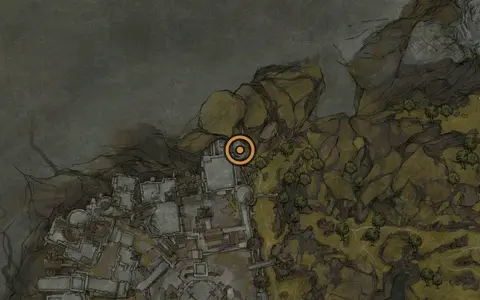 #7
#7Great Martyr's Blade
Gloomshade Grove area
Nearest beacon Citadel of Penance, bearing north, just off.
Linked on the map to Location: Great Martyr's Blade (Map) — the viewer draws the link when either end is selected.
Nearby Martyr's Prison (Dungeon) · Holding Cells (Dungeon) · Rabid Grisha Pack (Boss)
Source Martyr's Prison, Gloomshade Grove
Next stop #8 The Iconoclast (Prologue), bearing south-west, a long way off.
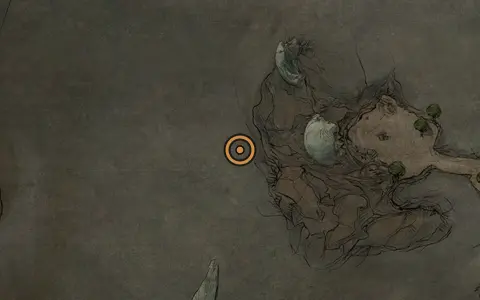 #8
#8The Iconoclast (Prologue)
Prologue area
Nearest beacon Village Outskirts (Prologue), bearing east, just off.
Nearby Tar Golem (Prologue) (Boss) · Gloombound Ritualist (Prologue) (Mini-Boss) · Tainted Vestige (Prologue) (Mini-Boss)
Source Prologue Area