
All 77 Tarstone Locations in Fallgrim
Tarstones are Mortal Shell 2's build system: far more stones exist than you have sockets, split across ability, infusion, combat and support. A stone you have never picked up is a build you cannot run, which makes finding them the real work of building a character. This page covers every Tarstone marked in Fallgrim, of all four kinds, in one list. They sit across 28 named areas, thickest around Deserted Slums with 7.
Loading map…
By area
- Deserted Slums7
- Conquered Temple5
- Faded Citadel5
- Glutted Mire5
- Prisoners' Domain5
- Sanguine Caverns5
- Withered Shoals5
- Mushroom Village4
- Blackridge Cliffs3
- Castigator's Keep3
- One Legged Wolf Tavern3
- Revenant Graves3
- Widow's Overlook3
- Desolate Peak2
- Gloomshade Grove2
- Lonesome Spire2
- Ruins of Nochte2
- The Marrow Keep2
- Vestige of Infinity2
- Blackridge Hamlet1
- Citadel of Penance1
- Outskirts of Mammon1
- Prophet's Rest1
- Road to Absolution1
- Sester's Refuge1
- Temple of Vatra1
- The Hag's Path1
- The Silent Steps1
Entries are numbered in a suggested collection order: an efficient straight-line tour starting near the region's spawn, so working #1 to the end keeps backtracking short. Areas are the nearest named label on the map, so they place an entry rather than fence it. Bearings are straight lines measured across the map image — a direction to set off in, not a route to walk.
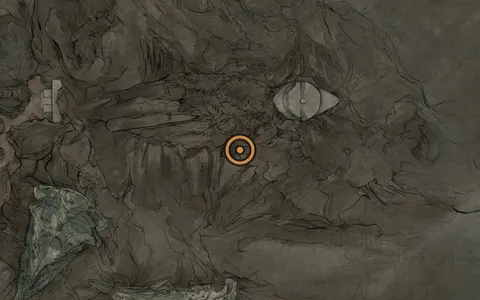 #1
#1Unwieldly Stone
AbilityThe Marrow Keep area
Nearest beacon Marrow Keep, bearing south-east, a short way off.
Nearby Mether's Breath · Thestus (NPC) · Vlas (NPC)
Slots into Weapons
Next stop #2 Acolyte's Stone, bearing west, on the spot.
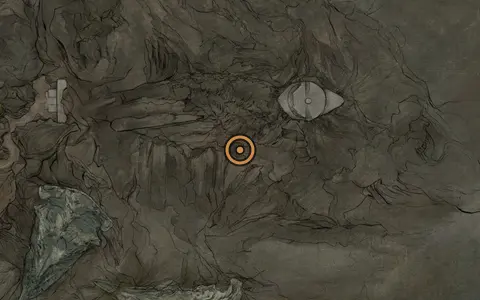 #2
#2Acolyte's Stone
AbilityThe Marrow Keep area
Nearest beacon Marrow Keep, bearing south-east, a short way off.
Nearby Mether's Breath · Vlas (NPC) · Thestus (NPC)
Slots into Weapons
Next stop #3 Spite Stone, bearing south-west, a long way off.
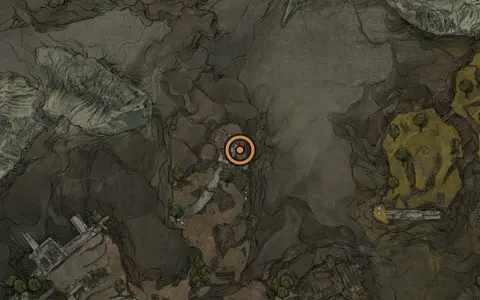 #3
#3Spite Stone
SupportDeserted Slums area
Nearest beacon Abandoned Outpost, bearing north-east, just off.
Nearby Bellkeeper's Corner (Dungeon) · The Collector (Night Mode Merchant) (NPC) · Accursed Stone (Infusion)
Slots into Sidearms
Next stop #4 Accursed Stone, bearing south, just off.
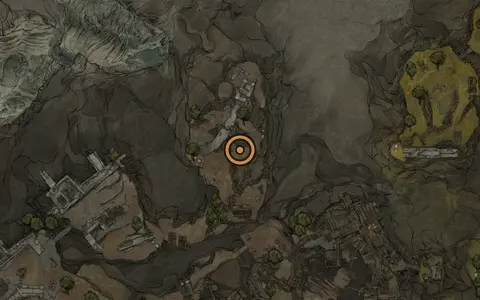 #4
#4Accursed Stone
InfusionDeserted Slums area
Nearest beacon Abandoned Outpost, on the spot.
Nearby The Collector (Night Mode Merchant) (NPC) · Bellkeeper's Corner (Dungeon) · Weeping Stone (Infusion)
Slots into Caged Hystrix, Cursed Childs
Next stop #5 Fulminant Stone, bearing south, just off.
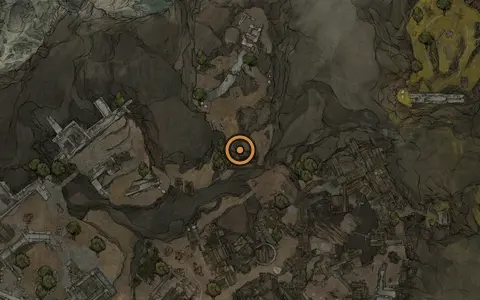 #5
#5Fulminant Stone
AbilityDeserted Slums area
Nearest beacon Abandoned Outpost, bearing south, just off.
Nearby The Collector (Night Mode Merchant) (NPC) · Collapsed Mine (Dungeon) · Bellkeeper's Corner (Dungeon)
Slots into Sidearms
Next stop #6 Infested Stone, bearing east, on the spot.
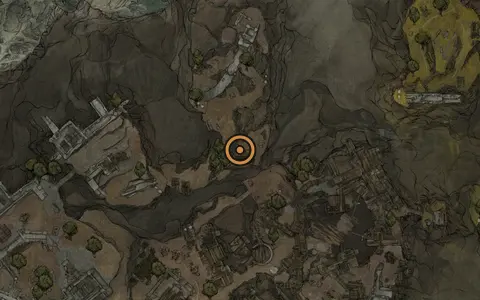 #6
#6Infested Stone
AbilityDeserted Slums area
Nearest beacon Abandoned Outpost, bearing south, just off.
Nearby The Collector (Night Mode Merchant) (NPC) · Collapsed Mine (Dungeon) · Bellkeeper's Corner (Dungeon)
Slots into Sidearms
Next stop #7 Weeping Stone, bearing east, on the spot.
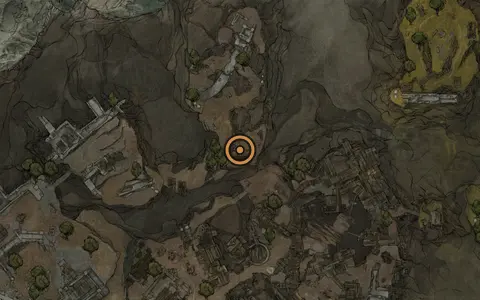 #7
#7Weeping Stone
InfusionDeserted Slums area
Nearest beacon Abandoned Outpost, bearing south, just off.
Nearby The Collector (Night Mode Merchant) (NPC) · Collapsed Mine (Dungeon) · Bellkeeper's Corner (Dungeon)
Slots into Sidearms
Next stop #8 Infused Stone, bearing east, on the spot.
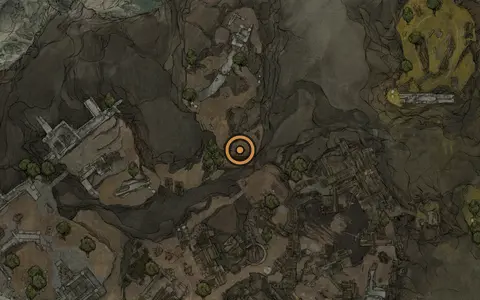 #8
#8Infused Stone
AbilityDeserted Slums area
Nearest beacon Abandoned Outpost, bearing south, just off.
Nearby The Collector (Night Mode Merchant) (NPC) · Collapsed Mine (Dungeon) · Bellkeeper's Corner (Dungeon)
Slots into Weapons
Next stop #9 Shattering Stone, bearing south, a short way off.
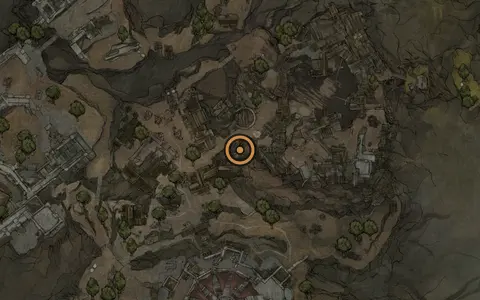 #9
#9Shattering Stone
SupportLonesome Spire area
Nearest beacon Abandoned Outpost, bearing south, some way off.
Nearby Collapsed Mine (Dungeon) · Prophet of Profane Infinities (Mini-Boss) · Obsidianite Mines (Dungeon)
Slots into Weapons
Next stop #10 Splitting Stone, bearing south, some way off.
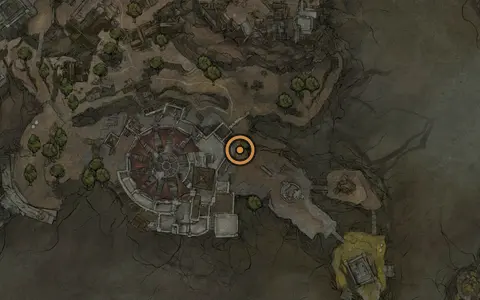 #10
#10Splitting Stone
CombatLonesome Spire area
Nearest beacon Gate of Mammon, bearing east, some way off.
Nearby Subjugated Guardian (Mini-Boss) · Sentry’s Grave (Dungeon) · Brigand (Merchant) (NPC)
Slots into Sidearms
Next stop #11 Headman's Stone, bearing north-east, a long way off.
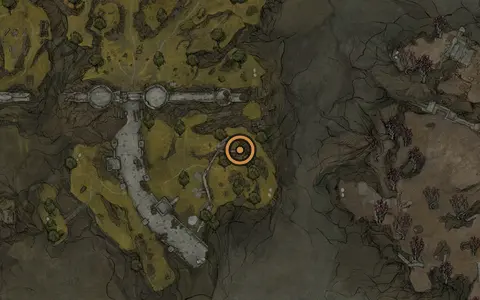 #11
#11Headman's Stone
SupportRoad to Absolution area
Nearest beacon Outskirts of Mammon, bearing south-east, some way off.
Nearby Vlas (NPC) · Hag's Pit (Dungeon) · Tattered Page (Journal)
Next stop #12 Enfeebling Stone, bearing north, some way off.
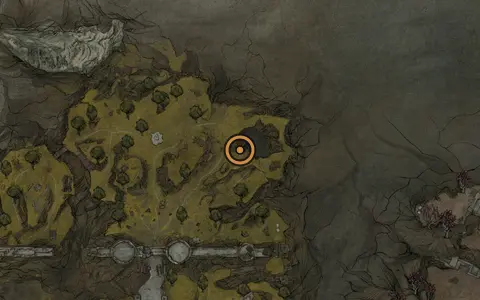 #12
#12Enfeebling Stone
CombatOutskirts of Mammon area
Nearest beacon Outskirts of Mammon, bearing east, a short way off.
Nearby Hag's Pit (Dungeon) · Smuggler's Hideout (Dungeon) · Vlas (NPC)
Slots into All Sidearmss
Next stop #13 Tyrant's Stone, bearing east, a long way off.
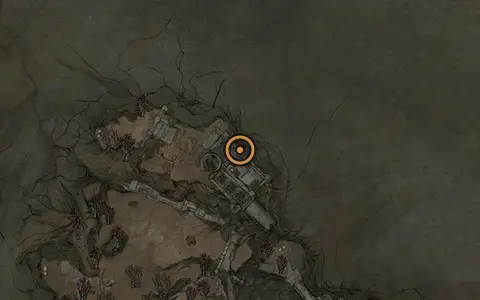 #13
#13Tyrant's Stone
CombatRevenant Graves area
Nearest beacon Abbey Entrance, bearing north, a short way off.
Nearby Sester's Censer (Dungeon) · Sester Secundus (Boss) · Gloombound Ritualist (Boss)
Slots into Weapons
Next stop #14 Monarch's Visage, bearing south, some way off.
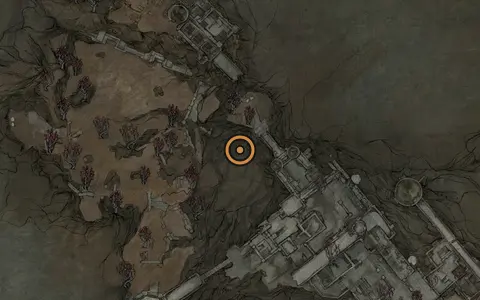 #14
#14Monarch's Visage
InfusionRevenant Graves area
Nearest beacon Abbey Entrance, bearing south, just off.
Nearby Bor, the Deluded Monarch (Boss) · Revered Beacon (Dungeon) · Sester Secundus (Boss)
Next stop #15 Devout Stone, bearing south-east, some way off.
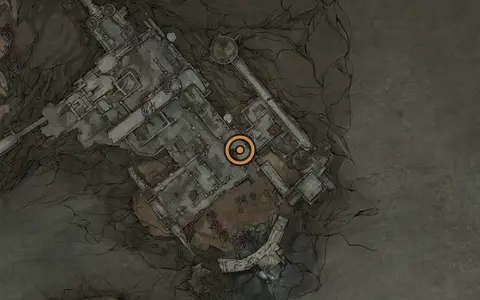 #15
#15Devout Stone
SupportSester's Refuge area
Nearest beacon Sester's Gate, bearing north, a short way off.
Nearby Sester's Bastion (Dungeon) · Conquered Temple (Gate) · Twin Sesters/Stray Sesters (Boss)
Slots into Shells
Next stop #16 Frostshard Stone, bearing south, a short way off.
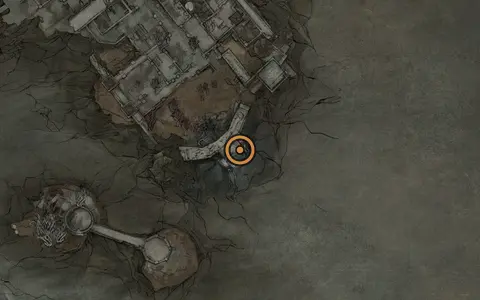 #16
#16Frostshard Stone
InfusionConquered Temple area
Nearest beacon Conquerer's Hoard, on the spot.
Nearby Pilfered Crypt (Dungeon) · Ovate's Chamber (Beacon) · Droeg, the Conquerer (Boss)
Slots into Triarch Repeaters
Next stop #17 Conquerer's Reward, bearing south-west, on the spot.
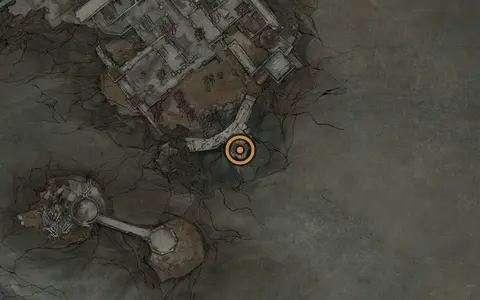 #17
#17Conquerer's Reward
AbilityConquered Temple area
Nearest beacon Ovate's Chamber, on the spot.
Nearby Droeg, the Conquerer (Boss) · Caged Grisha (Boss) · Pilfered Crypt (Dungeon)
Next stop #18 Fusillade Stone, bearing south-west, on the spot.
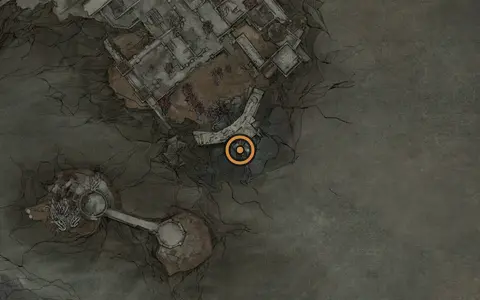 #18
#18Fusillade Stone
AbilityConquered Temple area
Nearest beacon Winterglass Lake, bearing south, just off.
Nearby Caged Grisha (Boss) · Droeg, the Conquerer (Boss) · Mornefrost Grave (Dungeon)
Slots into Sidearms
Next stop #19 Pulse Stone, bearing south, just off.
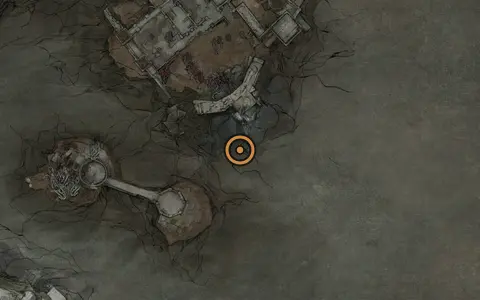 #19
#19Pulse Stone
CombatConquered Temple area
Nearest beacon Winterglass Lake, bearing south, just off.
Nearby Urrig, the Executioner (Boss) · Gragu (Summon Shell) · Caged Grisha (Boss)
Slots into Sidearms
Next stop #20 Warden's Stone, bearing south, on the spot.
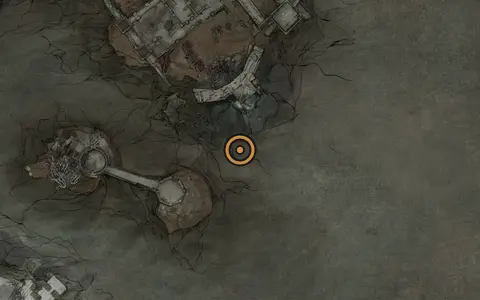 #20
#20Warden's Stone
InfusionConquered Temple area
Nearest beacon Winterglass Lake, bearing south, just off.
Nearby Urrig, the Executioner (Boss) · Gragu (Summon Shell) · Caged Grisha (Boss)
Slots into Weapons
Next stop #21 Nightgrasp Stone, bearing north-west, a long way off.
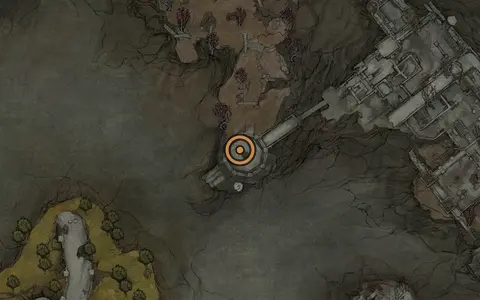 #21
#21Nightgrasp Stone
InfusionRevenant Graves area
Nearest beacon Abbey Entrance, bearing south-west, some way off.
Nearby Mammon [1] (Map Fragment) · Nightgrasp Stone/Glimpse (Offering Chest) · Blackmarrow Key (Chest)
Slots into Weapons
Next stop #22 Colossus Stone, bearing south, some way off.
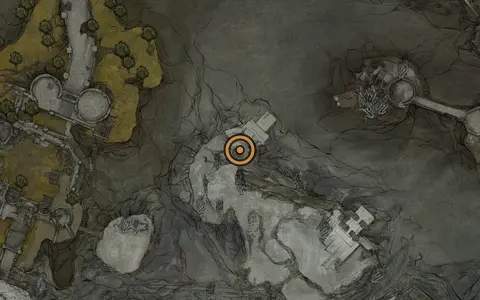 #22
#22Colossus Stone
AbilityThe Silent Steps area
Nearest beacon Castigator's Keep, bearing east, some way off.
Nearby Parasitic Stash (Dungeon) · Tattered Page (Journal)
Slots into Obsidian Hammers
Next stop #23 Viletongue Hedron, bearing west, some way off.
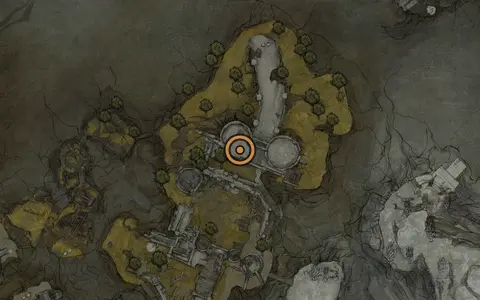 #23
#23Viletongue Hedron
InfusionCastigator's Keep area
Nearest beacon Castigator's Keep, on the spot.
Nearby Viletongue Batushka (Boss) · Viletongue's Domain (Dungeon) · Egon (NPC)
Slots into Sidearms
Next stop #24 Unstable Stone, bearing west, some way off.
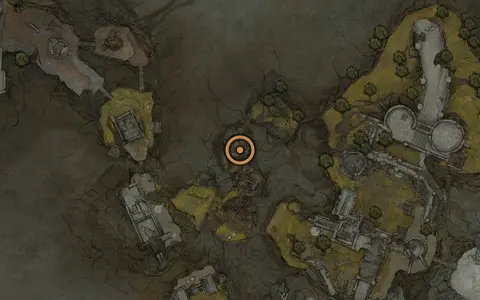 #24
#24Unstable Stone
CombatCastigator's Keep area
Nearest beacon Castigator's Keep, bearing west, some way off.
Nearby Mammon [3] (Map Fragment) · Alchemist's Workshop (Dungeon) · Egon (NPC)
Slots into Sidearms
Next stop #25 Clockwork Shardstone, bearing south-west, a short way off.
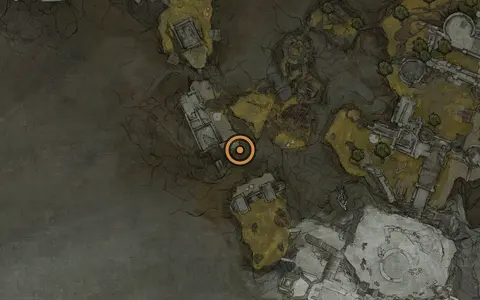 #25
#25Clockwork Shardstone
AbilityCastigator's Keep area
Nearest beacon Castigator's Keep, bearing south-west, some way off.
Nearby Alchemist's Workshop (Dungeon) · Mammon [3] (Map Fragment) · Unstable Stone (Combat)
Next stop #26 Voltaic Amber, bearing south-east, some way off.
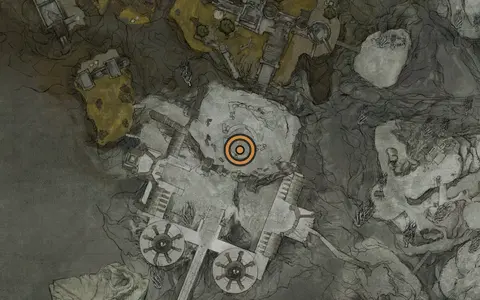 #26
#26Voltaic Amber
InfusionVestige of Infinity area
Nearest beacon The Silent Steps, bearing west, some way off.
Nearby Starved Harridan (Boss) · Hall of Murmurs (Dungeon) · Mammon [2] (Map Fragment)
Next stop #27 Thief's Stone, bearing south, a short way off.
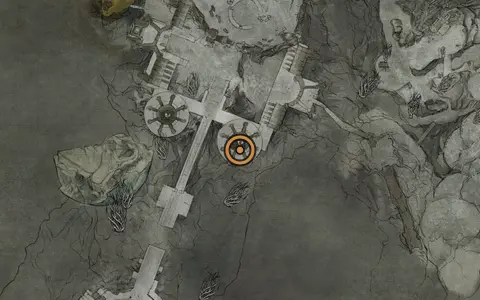 #27
#27Thief's Stone
CombatVestige of Infinity area
Nearest beacon The Silent Steps, bearing south-west, some way off.
Nearby Mammon [2] (Map Fragment) · Starved Harridan (Boss) · Voltaic Amber (Infusion)
Slots into Weapons
Next stop #28 Curseblood Stone, bearing south, some way off.
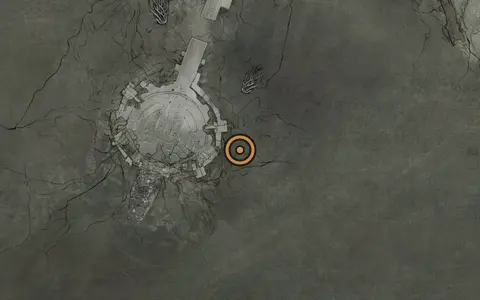 #28
#28Curseblood Stone
InfusionFaded Citadel area
Nearest beacon Forbidden Archives, bearing east, a short way off.
Nearby Gloombound Wraith (Mini-Boss) · Faded Citadel (Gate) · 3x Ova (Ovum)
Next stop #29 Scholar's Wormstone, bearing south-west, some way off.
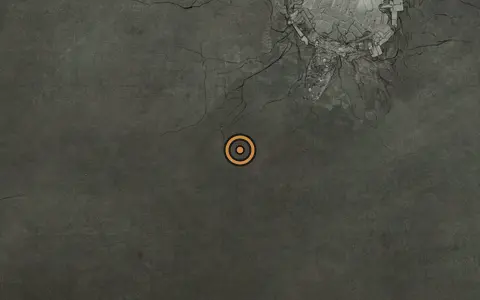 #29
#29Scholar's Wormstone
AbilityFaded Citadel area
Nearest beacon Citadel Atrium, bearing south, a short way off.
Nearby Sir Issac, the Scholar-Prince (Boss) · Lazlo (Summon Shell) · Solnir, the Gloom Seeker (Mini-Boss)
Slots into Weapons
Next stop #30 Stillblade's Stone, bearing south-west, just off.
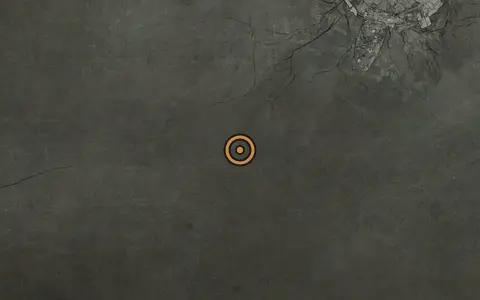 #30
#30Stillblade's Stone
CombatFaded Citadel area
Nearest beacon Citadel Annex, bearing south, some way off.
Nearby Sir Issac, the Scholar-Prince (Boss) · Lazlo (Summon Shell) · Solnir, the Gloom Seeker (Mini-Boss)
Slots into Weapons
Next stop #31 Summoning Stone, bearing south-west, just off.
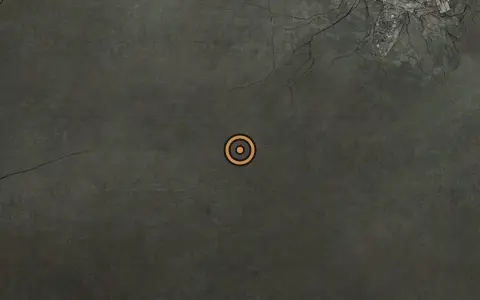 #31
#31Summoning Stone
AbilityFaded Citadel area
Nearest beacon Citadel Annex, bearing south, some way off.
Nearby Sir Issac, the Scholar-Prince (Boss) · Solnir, the Gloom Seeker (Mini-Boss) · Lazlo (Summon Shell)
Next stop #32 Solnir Shard, bearing north-east, a short way off.
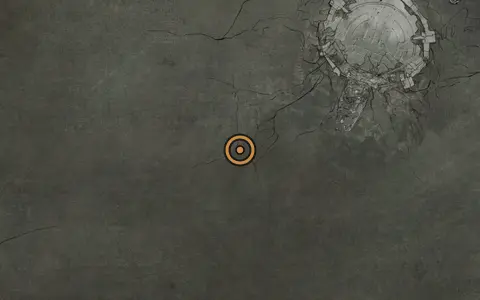 #32
#32Solnir Shard
AbilityFaded Citadel area
Nearest beacon Citadel Annex, bearing south, a short way off.
Nearby Sir Issac, the Scholar-Prince (Boss) · Solnir, the Gloom Seeker (Mini-Boss) · Lazlo (Summon Shell)
Slots into Sidearms
Next stop #33 Wretchcaller's Stone, bearing north-west, a long way off.
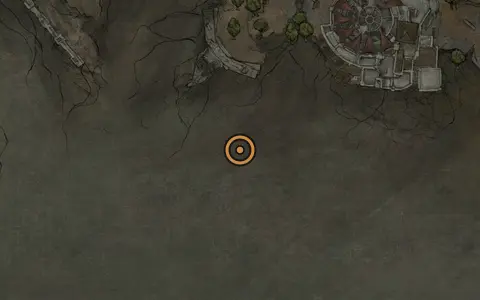 #33
#33Wretchcaller's Stone
InfusionWithered Shoals area
Nearest beacon Gate of Mammon, bearing south, a short way off.
Nearby Infested Miner (Mini-Boss) · Withered Shoals (Gate) · 3x Glimpse (Glimpse)
Slots into Weapons
Next stop #34 Strange Remnant, bearing west, some way off.
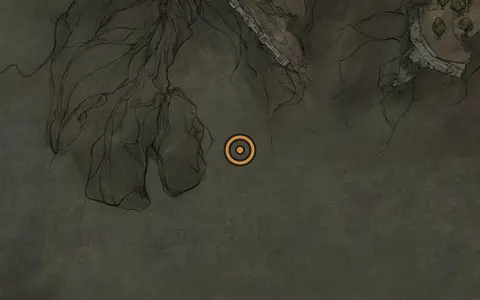 #34
#34Strange Remnant
AbilityWithered Shoals area
Nearest beacon Ossinite Falls, bearing south, a short way off.
Nearby Strange Grisha (Mini-Boss) · Hexapod (Boss) · Nameless Pass (Beacon)
Slots into Sidearms
Next stop #35 Hexapod Core, bearing north-east, a short way off.
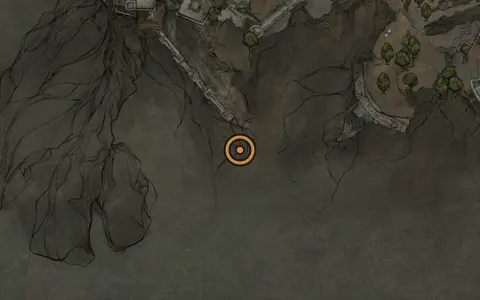 #35
#35Hexapod Core
AbilityWithered Shoals area
Nearest beacon Hexapod's Burrow, bearing south, just off.
Nearby Hexapod (Boss) · Proxima (Summon Shell) · Nameless Pass (Beacon)
Slots into Weapons
Next stop #36 Charged Stone, bearing north-west, on the spot.
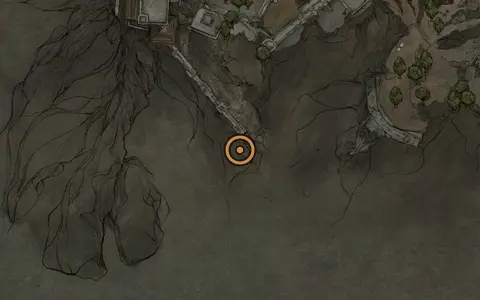 #36
#36Charged Stone
CombatWithered Shoals area
Nearest beacon Nameless Pass, bearing south, just off.
Nearby Hexapod (Boss) · Proxima (Summon Shell) · Hexapod's Burrow (Beacon)
Slots into Ballistazooka, Cursed Child, Forgotten Crossbow, Naylshotte, Salvaged Trebuchaxes
Next stop #37 Torpor Stone, bearing north-west, on the spot.
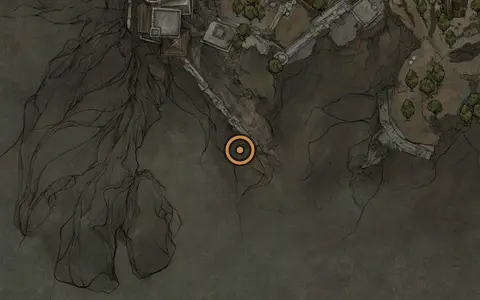 #37
#37Torpor Stone
InfusionWithered Shoals area
Nearest beacon Nameless Pass, bearing south-west, just off.
Nearby Hexapod (Boss) · Ossinite Falls (Beacon) · Proxima (Summon Shell)
Slots into Weapons
Next stop #38 Zealot's Stone, bearing north-east, a long way off.
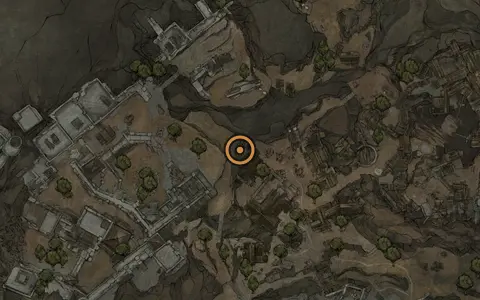 #38
#38Zealot's Stone
CombatDeserted Slums area
Nearest beacon High Lord's Courtyard, bearing east, a short way off.
Nearby Besieged Ruins (Dungeon) · Mammon [6] (Map Fragment) · Collapsed Mine (Dungeon)
Slots into Weapons
Next stop #39 Captive's Scabstone, bearing north-west, a long way off.
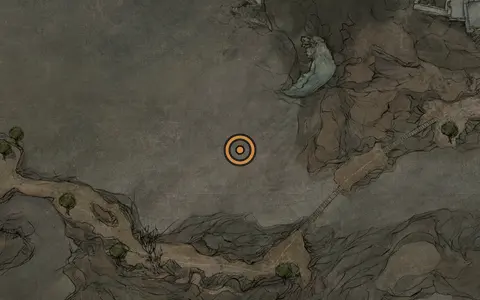 #39
#39Captive's Scabstone
AbilityPrisoners' Domain area
Nearest beacon Slumwater Drain, bearing south, some way off.
Nearby The Nameless Captive (Boss) · Eredrim (Summon Shell) · Tishina's Confessor (Mini-Boss)
Slots into Great Martyr's Blades
Next stop #40 Rupturing Stone, bearing north, just off.
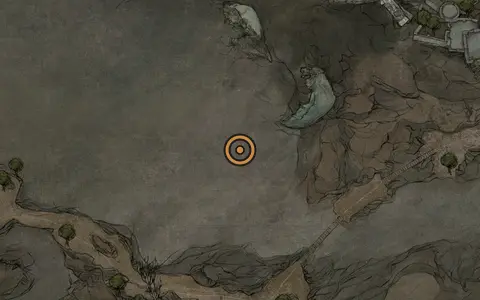 #40
#40Rupturing Stone
CombatPrisoners' Domain area
Nearest beacon Slumwater Drain, bearing south, some way off.
Nearby The Nameless Captive (Boss) · Eredrim (Summon Shell) · Tishina's Confessor (Mini-Boss)
Slots into Sidearms
Next stop #41 Ironpiercer's Stone, bearing north-east, on the spot.
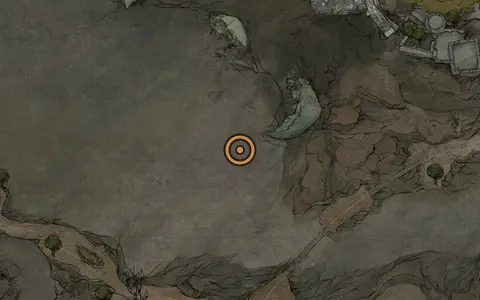 #41
#41Ironpiercer's Stone
CombatPrisoners' Domain area
Nearest beacon Slumwater Drain, bearing south, a short way off.
Nearby Eredrim (Summon Shell) · The Nameless Captive (Boss) · Tishina's Confessor (Mini-Boss)
Slots into Sidearms
Next stop #42 Squall Stone, bearing north, a short way off.
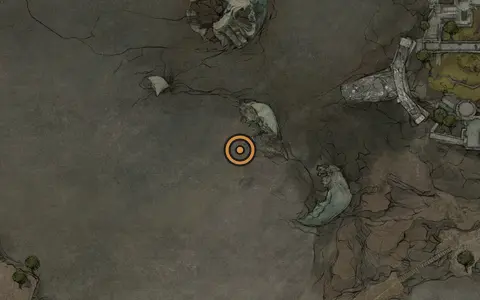 #42
#42Squall Stone
CombatPrisoners' Domain area
Nearest beacon Executioner's Pulpit, bearing south, just off.
Nearby Tishina's Confessor (Mini-Boss) · Gloombound Legion (Mini-Boss) · Slumwater Drain (Beacon)
Slots into Sidearms
Next stop #43 Confessor's Keepsake, bearing east, on the spot.
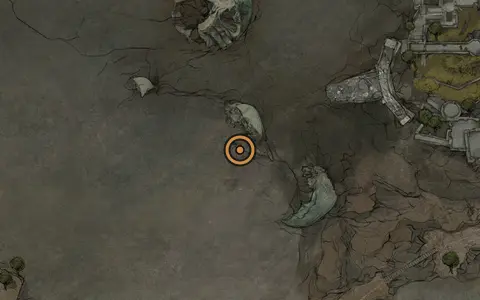 #43
#43Confessor's Keepsake
AbilityPrisoners' Domain area
Nearest beacon Slumwater Drain, bearing south, just off.
Nearby Tishina's Confessor (Mini-Boss) · Gloombound Legion (Mini-Boss) · Executioner's Pulpit (Beacon)
Slots into Ballistazooka, Cursed Child, Forgotten Crossbow, Naylshottes
Next stop #44 Voltaic Crown, bearing east, some way off.
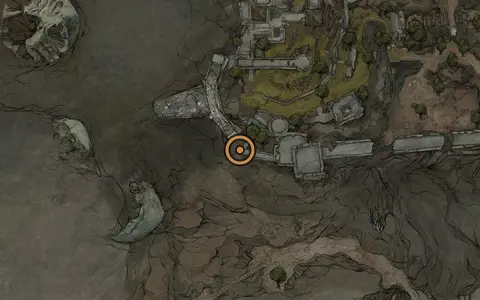 #44
#44Voltaic Crown
InfusionRuins of Nochte area
Nearest beacon Nochtean Gate, bearing south, just off.
Nearby Vrago, Solikar Champion (Mini-Boss) · Prisoner's Domain (Gate) · Ravaged Tomb (Dungeon)
Slots into Sidearms
Next stop #45 Duality Stone, bearing north-east, just off.
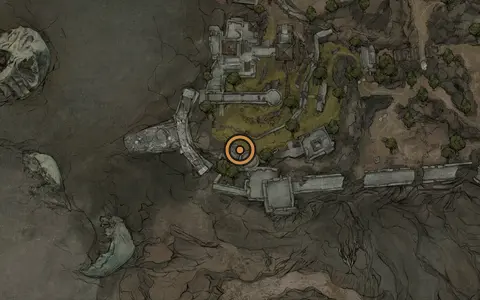 #45
#45Duality Stone
CombatRuins of Nochte area
Nearest beacon Nochtean Gate, bearing south-east, just off.
Nearby Ravaged Tomb (Dungeon) · Vrago, Solikar Champion (Mini-Boss) · Prisoner's Domain (Gate)
Slots into Axatana, Axe and Daggers
Next stop #46 Shuddering Stone, bearing north, a long way off.
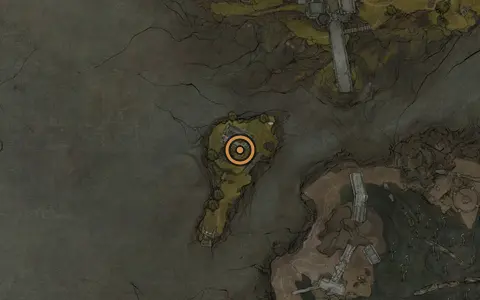 #46
#46Shuddering Stone
CombatDesolate Peak area
Nearest beacon Outskirts of Nochte, bearing north-west, some way off.
Nearby Illusionist's Cache (Dungeon) · Baghead (NPC) · Bulwark Stone (Support)
Slots into Sidearms
Next stop #47 Bulwark Stone, bearing north-east, a short way off.
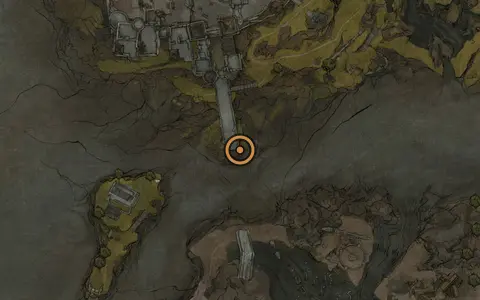 #47
#47Bulwark Stone
SupportDesolate Peak area
Nearest beacon Outskirts of Nochte, bearing north, some way off.
Nearby Baghead (NPC) · Illusionist's Cache (Dungeon) · Shuddering Stone (Combat)
Slots into Shells
Next stop #48 Hag Stone, bearing south, some way off.
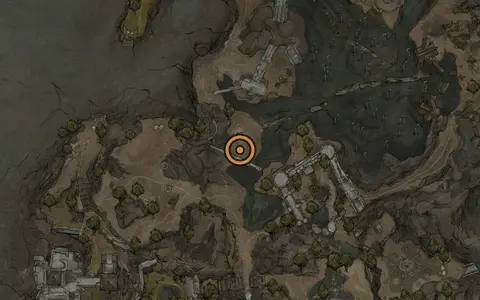 #48
#48Hag Stone
InfusionProphet's Rest area
Nearest beacon Outskirts of Nochte, on the spot.
Nearby Infested Den (Dungeon) · Fainweald [1] (Map Fragment) · Clerik's Stone (Combat)
Slots into Sidearms
Next stop #49 Clerik's Stone, bearing east, a short way off.
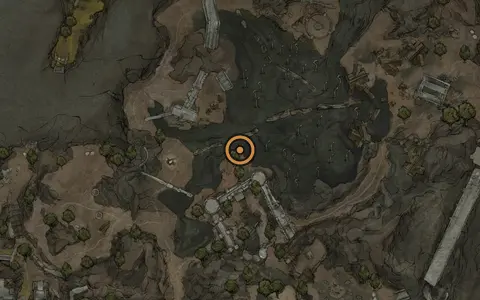 #49
#49Clerik's Stone
CombatThe Hag's Path area
Nearest beacon Outskirts of Nochte, bearing east, a short way off.
Nearby Fainweald [1] (Map Fragment) · Infested Den (Dungeon) · Hag Stone (Infusion)
Slots into Weapons
Next stop #50 Arbiter's Prize, bearing east, a long way off.
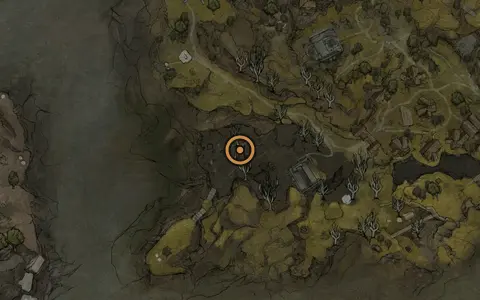 #50
#50Arbiter's Prize
InfusionWidow's Overlook area
Nearest beacon Widow's Overlook, bearing south-east, a short way off.
Nearby Great Arbiter of Flesh (Mini-Boss) · Martyr's Tomb (Dungeon) · Fainweald [4] (Map Fragment)
Slots into Weapons
Next stop #51 Parasitic Stone, bearing south-east, just off.
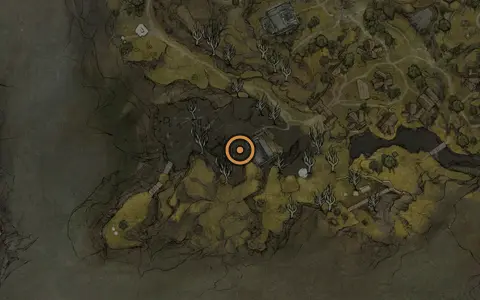 #51
#51Parasitic Stone
CombatWidow's Overlook area
Nearest beacon Widow's Overlook, bearing south-east, some way off.
Nearby Martyr's Tomb (Dungeon) · Great Arbiter of Flesh (Mini-Boss) · Fainweald [4] (Map Fragment)
Slots into Weapons
Next stop #52 Parasitic Stone, bearing east, on the spot.
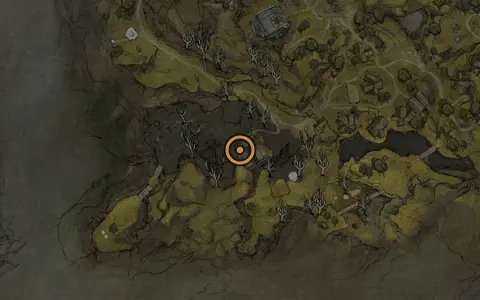 #52
#52Parasitic Stone
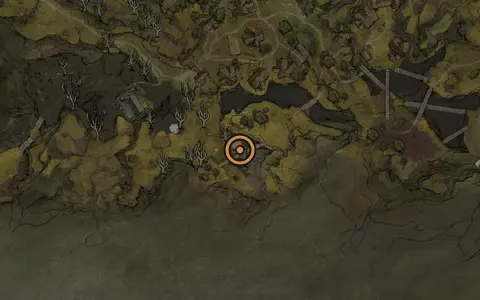
TarstonesMushroom Village area
Nearest beacon Widow's Overlook, bearing south-east, some way off.
Nearby Martyr's Tomb (Dungeon) · Fainweald [4] (Map Fragment) · Great Arbiter of Flesh (Mini-Boss)
Slots into Weapons
Next stop #53 Wounding Stone, bearing east, a short way off.
 #53
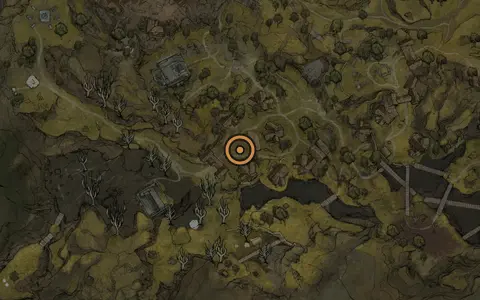
#53Wounding Stone
CombatMushroom Village area
Nearest beacon Mushroom Village, bearing south, a short way off.
Nearby Ritual Grounds (Dungeon) · Shrine of Sorrows (Night Mode Only) (Dungeon) · Fainweald [4] (Map Fragment)
Slots into Weapons
Next stop #54 Auspicious Stone, bearing north, a short way off.
 #54
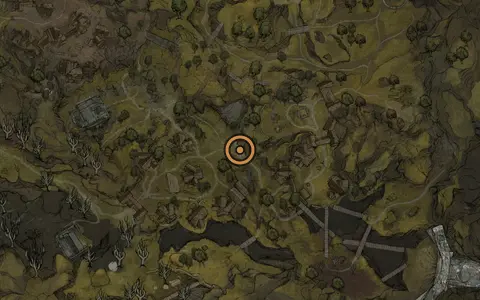
#54Auspicious Stone
SupportMushroom Village area
Nearest beacon Mushroom Village, bearing south-west, a short way off.
Nearby Martyr's Tomb (Dungeon) · Shrine of Trials (Dungeon) · Fainweald [4] (Map Fragment)
Slots into Weapons
Next stop #55 Emberseed Stone, bearing north-east, a short way off.
 #55
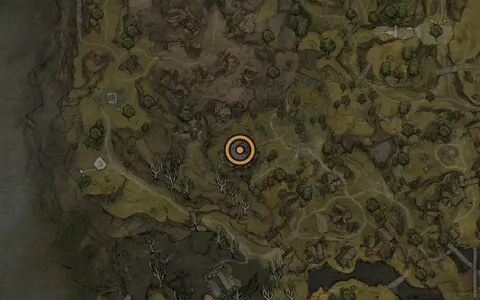
#55Emberseed Stone
InfusionMushroom Village area
Nearest beacon Mushroom Village, on the spot.
Nearby Hilga (NPC) · Grom (NPC) · Shrine of Trials (Dungeon)
Slots into Sidearms
Next stop #56 Deadman's Stone, bearing west, some way off.
 #56
#56Deadman's Stone
TarstonesBlackridge Hamlet area
Nearest beacon Widow's Overlook, bearing east, a short way off.
Nearby Shrine of Trials (Dungeon) · Holding Cells (Dungeon) · Gorf (NPC)
Slots into Shells
Next stop #57 Retribution Stone, bearing west, a short way off.
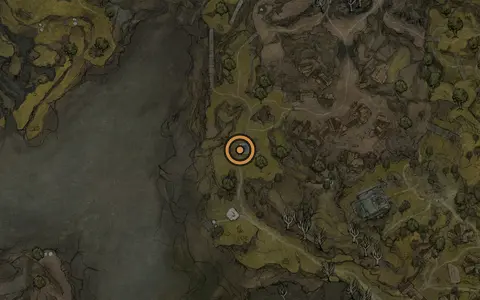 #57
#57Retribution Stone
SupportWidow's Overlook area
Nearest beacon Widow's Overlook, bearing north, just off.
Nearby Gorf (NPC) · Hilga (NPC) · Holding Cells (Dungeon)
Slots into Weapons
Next stop #58 Barrage Stone, bearing north-west, some way off.
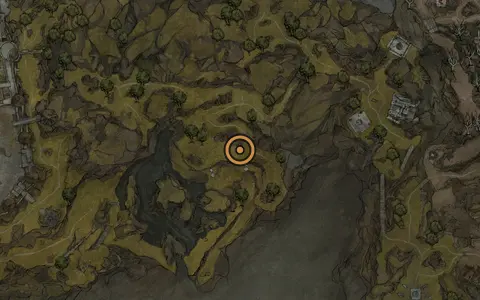 #58
#58Barrage Stone
AbilityGloomshade Grove area
Nearest beacon Gloomshade Grove, bearing east, a short way off.
Nearby Ravaged Hideout (Dungeon) · Bloodcursed Lithopod (Boss) · Fainweald [3] (Map Fragment)
Slots into Forgotten Crossbow, Naylshottes
Next stop #59 Grudge Stone, bearing west, some way off.
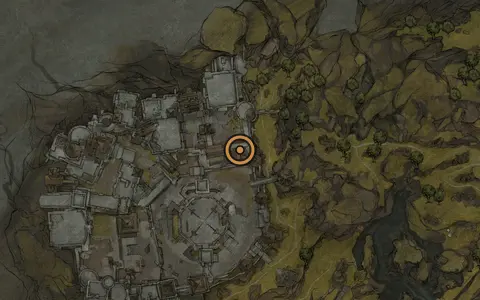 #59
#59Grudge Stone
CombatCitadel of Penance area
Nearest beacon Citadel of Penance, bearing south-east, just off.
Nearby Holding Cells (Dungeon) · Rabid Grisha Pack (Boss) · The Warden (Boss)
Slots into Weapons
Next stop #60 Inflamed Clawstone, bearing north-east, just off.
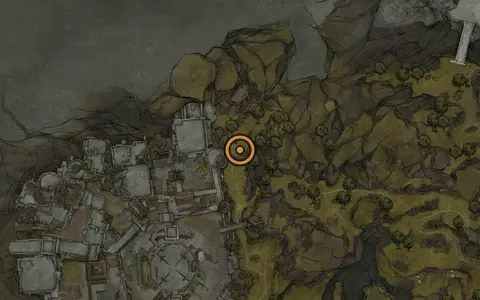 #60
#60Inflamed Clawstone
InfusionGloomshade Grove area
Nearest beacon Citadel of Penance, bearing north-east, just off.
Nearby Holding Cells (Dungeon) · Rabid Grisha Pack (Boss) · Martyr's Prison (Dungeon)
Slots into Weapons
Next stop #61 Deadeye Stone, bearing north-east, a long way off.
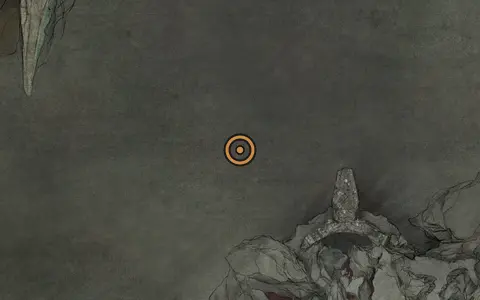 #61
#61Deadeye Stone
SupportSanguine Caverns area
Nearest beacon Pulsing Caves, bearing south, just off.
Nearby Tiel (Summon Shell) · The Lost Child (Boss) · Tarblighted Stoner (Mini-Boss)
Slots into All Sidearmss
Next stop #62 Blackblood Stone, bearing north-east, just off.
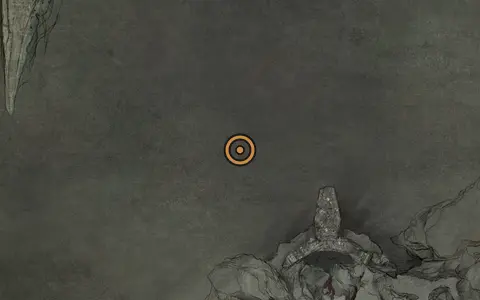 #62
#62Blackblood Stone
CombatSanguine Caverns area
Nearest beacon Pulsing Caves, bearing south, just off.
Nearby Tarblighted Stoner (Mini-Boss) · Tiel (Summon Shell) · Sanguine Shoreline (Beacon)
Slots into Naylshottes
Next stop #63 Tarred Fragment, bearing east, just off.
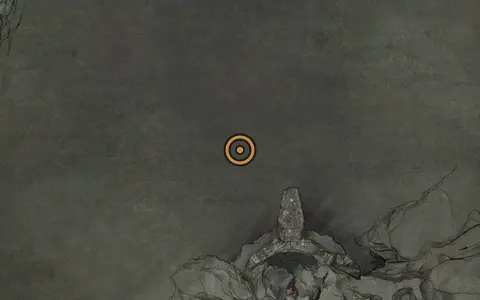 #63
#63Tarred Fragment
AbilitySanguine Caverns area
Nearest beacon Sanguine Shoreline, bearing south, just off.
Nearby Tarblighted Stoner (Mini-Boss) · Tiel (Summon Shell) · Child's Feeding Grounds (Beacon)
Slots into Sidearms
Next stop #64 Lost Clotstone, bearing south, just off.
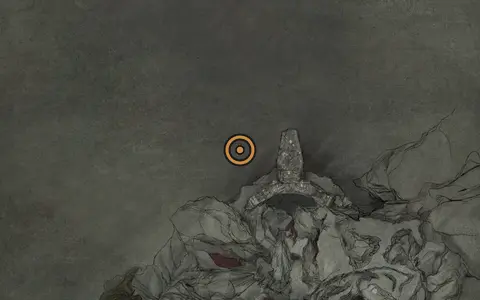 #64
#64Lost Clotstone
AbilitySanguine Caverns area
Nearest beacon Stonebled Gate, bearing north-west, a short way off.
Nearby The Lost Child (Boss) · Tiel (Summon Shell) · Sanguine Caverns (Gate)
Slots into Weapons
Next stop #65 Serpent Stone, bearing south-east, a short way off.
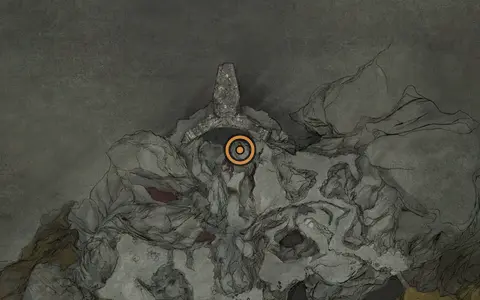 #65
#65Serpent Stone
InfusionSanguine Caverns area
Nearest beacon Stonebled Gate, on the spot.
Nearby Lucian, the Thirsting Knight (Mini-Boss) · Sanguine Caverns (Gate) · The Lost Child (Boss)
Slots into Weapons
Next stop #66 Gloombound Stone, bearing south-east, a long way off.
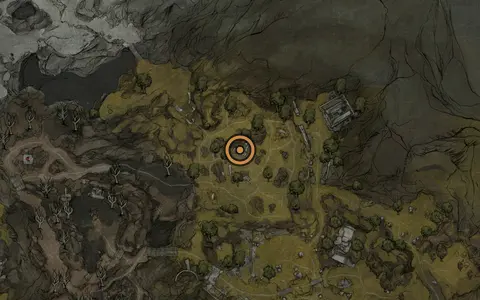 #66
#66Gloombound Stone
SupportBlackridge Cliffs area
Nearest beacon Blackridge Pass, bearing north-east, a long way off.
Nearby Feeding Grounds (Dungeon) · Crumbling Tunnel (Dungeon) · Hall of Echoes (Dungeon)
Slots into Shells
Next stop #67 Myriad Stone, bearing east, a short way off.
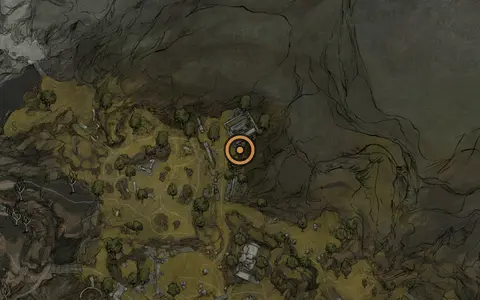 #67
#67Myriad Stone
CombatBlackridge Cliffs area
Nearest beacon Blackridge Pass, bearing north-east, a long way off.
Nearby Feeding Grounds (Dungeon) · Broodshell Swarm (Mini-Boss) · Hall of Echoes (Dungeon)
Slots into Sidearms
Next stop #68 Justiciar's Stone, bearing south-east, a short way off.
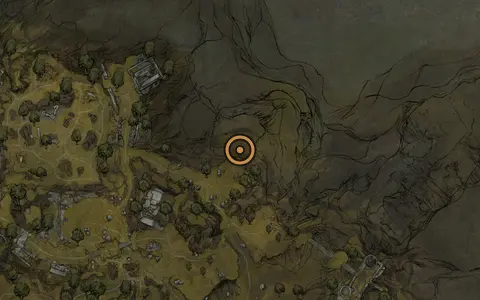 #68
#68Justiciar's Stone
SupportBlackridge Cliffs area
Nearest beacon One Legged Wolf, bearing north, a long way off.
Nearby Broodshell Swarm (Mini-Boss) · Hall of Echoes (Dungeon) · Feeding Grounds (Dungeon)
Slots into Shells
Next stop #69 Unyielding Stone, bearing south, some way off.
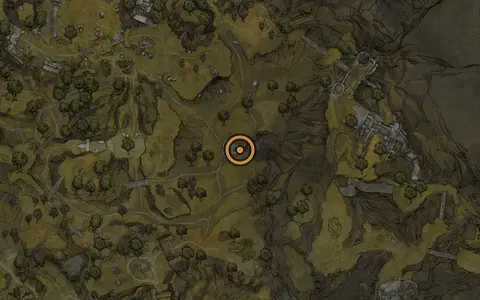 #69
#69Unyielding Stone
CombatOne Legged Wolf Tavern area
Nearest beacon One Legged Wolf, bearing north-west, a short way off.
Nearby Deserted Mine (Dungeon) · Fainweald [5] (Map Fragment) · Overrun Quarry (Dungeon)
Slots into Weapons
Next stop #70 Hand of Rock, bearing south-east, some way off.
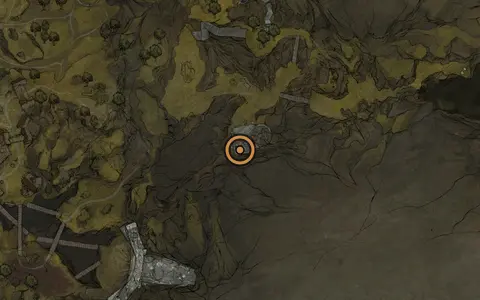 #70
#70Hand of Rock
AbilityOne Legged Wolf Tavern area
Nearest beacon One Legged Wolf, bearing south-east, a short way off.
Nearby Seeping Mire (Beacon) · Sunken Village (Beacon) · Magdalena's Glade (Beacon)
Slots into Sidearms
Next stop #71 Marksman's Stone, bearing west, a short way off.
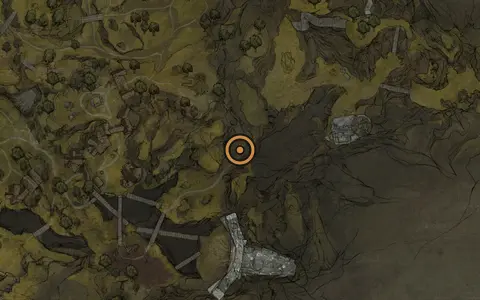 #71
#71Marksman's Stone
SupportOne Legged Wolf Tavern area
Nearest beacon One Legged Wolf, bearing south-west, a short way off.
Nearby Deserted Mine (Dungeon) · Vrannic, the Grand Illusionist (Mini-Boss) · Mushroom Village Gate (Beacon)
Slots into Sidearms
Next stop #72 Volatile Fragment, bearing south, a short way off.
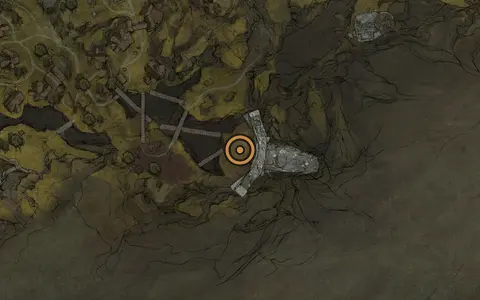 #72
#72Volatile Fragment
CombatGlutted Mire area
Nearest beacon Mushroom Village Gate, on the spot.
Nearby Vrannic, the Grand Illusionist (Mini-Boss) · Glutted Mire (Gate) · Circle of the Grasping Root (Mini-Boss)
Slots into Sidearms
Next stop #73 Siegebreaker’s Stone, bearing east, a short way off.
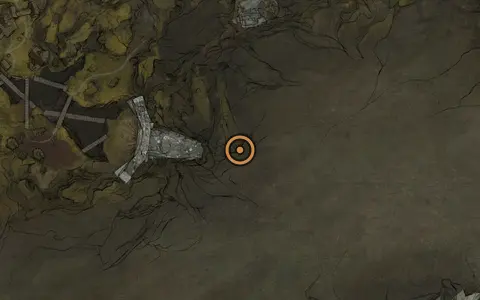 #73
#73Siegebreaker’s Stone
SupportGlutted Mire area
Nearest beacon Seeping Mire, bearing south-west, just off.
Nearby Circle of the Grasping Root (Mini-Boss) · The Tarblighted Shepherd (Mini-Boss) · Sunken Village (Beacon)
Slots into Sidearms
Next stop #74 Shrike Stone, bearing east, just off.
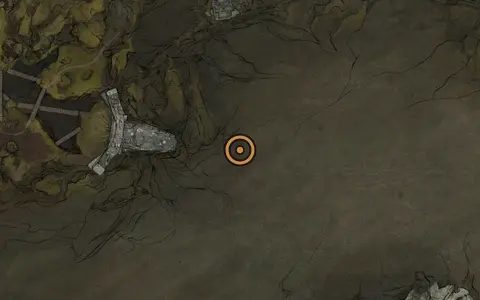 #74
#74Shrike Stone
AbilityGlutted Mire area
Nearest beacon Sunken Village, bearing south, just off.
Nearby The Tarblighted Shepherd (Mini-Boss) · Circle of the Grasping Root (Mini-Boss) · Magdalena, the Lady of the Woods (Boss)
Slots into Weapons
Next stop #75 Corroded Stone, bearing north, on the spot.
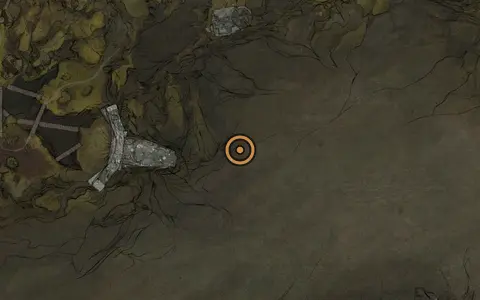 #75
#75Corroded Stone
CombatGlutted Mire area
Nearest beacon Sunken Village, on the spot.
Nearby Circle of the Grasping Root (Mini-Boss) · Magdalena, the Lady of the Woods (Boss) · Magdalena's Glade (Beacon)
Slots into Sidearms
Next stop #76 Magdalena's Memento, bearing east, on the spot.
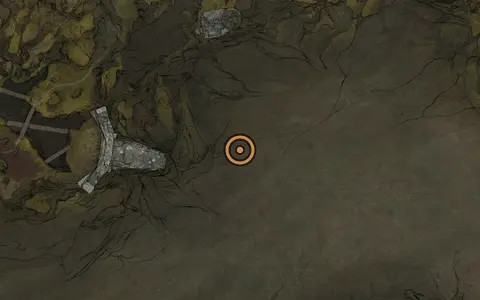 #76
#76Magdalena's Memento
AbilityGlutted Mire area
Nearest beacon Magdalena's Glade, on the spot.
Nearby Magdalena, the Lady of the Woods (Boss) · Sunken Village (Beacon) · Circle of the Grasping Root (Mini-Boss)
Slots into Weapons
Next stop #77 Berserker's Stone, bearing east, a long way off.
 #77
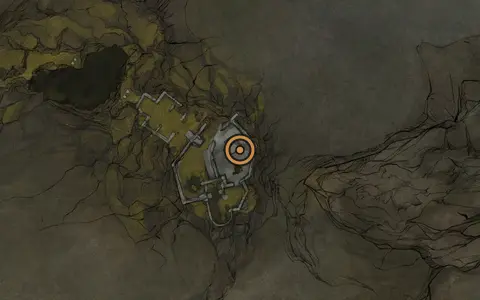
#77Berserker's Stone
SupportTemple of Vatra area
Nearest beacon Magdalena's Glade, bearing east, a long way off.
Nearby Heart of Vatra (Key)