
All 30 Ovum Locations in Fallgrim
Ovum sit in fixed caches around Fallgrim, sometimes one at a time and sometimes in stacks of a couple of dozen. Each is in a set spot rather than dropped by anything, so a cache you skip is one you have to come back for. Every marked cache is below with the terrain around it. They sit across 13 named areas, thickest around Conquered Temple, Faded Citadel, Glutted Mire and 2 more, with 4 each.
Loading map…
By area
- Conquered Temple4
- Faded Citadel4
- Glutted Mire4
- Prisoners' Domain4
- Sanguine Caverns4
- Withered Shoals3
- Blackridge Cliffs1
- Castigator's Keep1
- Deserted Slums1
- Mushroom Village1
- Prophet's Rest1
- Revenant Graves1
- Ruins of Nochte1
Entries are numbered in a suggested collection order: an efficient straight-line tour starting near the region's spawn, so working #1 to the end keeps backtracking short. Areas are the nearest named label on the map, so they place an entry rather than fence it. Bearings are straight lines measured across the map image — a direction to set off in, not a route to walk.
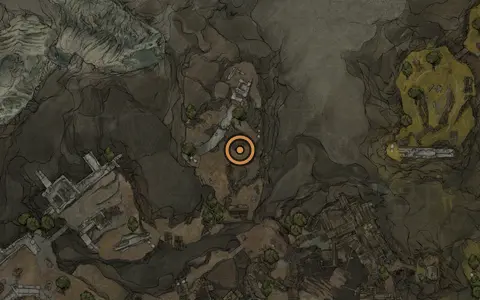 #1
#1Ovum #1
Deserted Slums area
Nearest beacon Abandoned Outpost, on the spot.
Nearby The Collector (Night Mode Merchant) (NPC) · Bellkeeper's Corner (Dungeon) · Accursed Stone (Infusion)
Next stop #2 26 Ova, bearing south-west, a long way off.
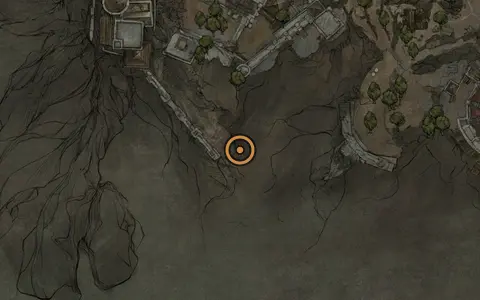 #2
#226 Ova
Withered Shoals area
Nearest beacon Hexapod's Burrow, on the spot.
Nearby Proxima (Summon Shell) · Hexapod (Boss) · Nameless Pass (Beacon)
Next stop #3 Ovum #2, bearing south-west, just off.
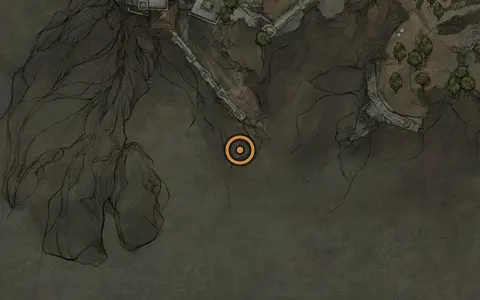 #3
#3Ovum #2
Withered Shoals area
Nearest beacon Nameless Pass, bearing south, just off.
Nearby Hexapod (Boss) · Proxima (Summon Shell) · Ossinite Falls (Beacon)
Next stop #4 Ovum #3, bearing north-west, just off.
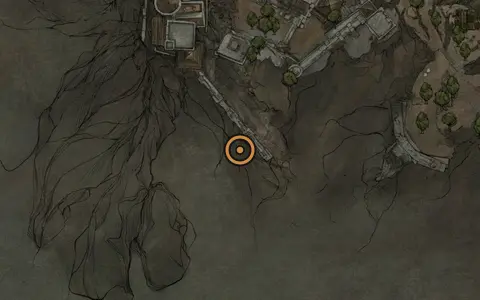 #4
#4Ovum #3
Withered Shoals area
Nearest beacon Ossinite Falls, on the spot.
Nearby Nameless Pass (Beacon) · Proxima (Summon Shell) · Hexapod (Boss)
Next stop #5 Ovum #4, bearing north, a long way off.
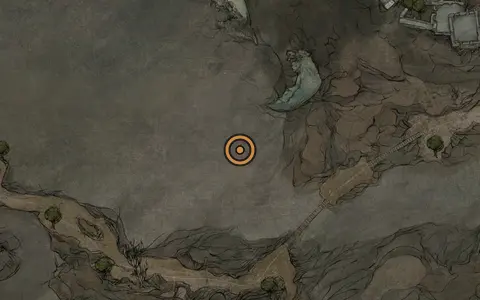 #5
#5Ovum #4
Prisoners' Domain area
Nearest beacon Slumwater Drain, bearing south, some way off.
Nearby The Nameless Captive (Boss) · Eredrim (Summon Shell) · Tishina's Confessor (Mini-Boss)
Next stop #6 Ovum #5, bearing north, a short way off.
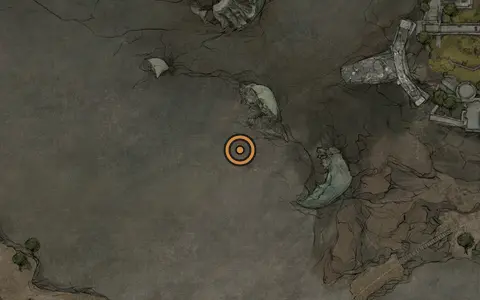 #6
#6Ovum #5
Prisoners' Domain area
Nearest beacon Executioner's Pulpit, bearing south, a short way off.
Nearby Tishina's Confessor (Mini-Boss) · Gloombound Legion (Mini-Boss) · Eredrim (Summon Shell)
Next stop #7 Ovum #6, bearing north-west, just off.
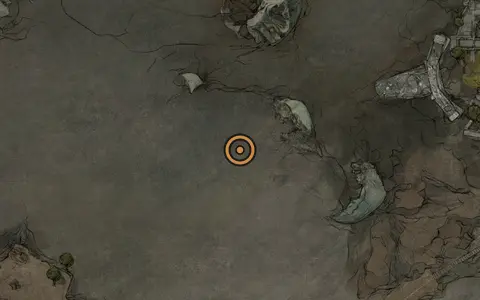 #7
#7Ovum #6
Prisoners' Domain area
Nearest beacon Hangman's Scaffold, bearing south, just off.
Nearby Gloombound Legion (Mini-Boss) · Tishina's Confessor (Mini-Boss) · Executioner's Pulpit (Beacon)
Next stop #8 Ovum #7, bearing north-east, a short way off.
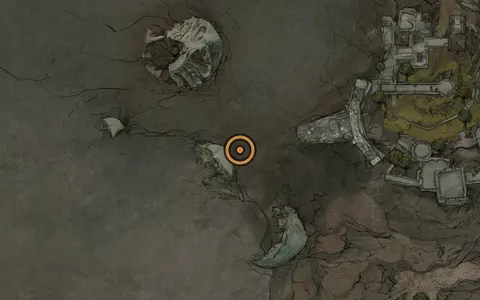 #8
#8Ovum #7
Prisoners' Domain area
Nearest beacon Captive's End, bearing south, just off.
Nearby Slumwater Drain (Beacon) · Tishina's Confessor (Mini-Boss) · Executioner's Pulpit (Beacon)
Next stop #9 3x Ovum, bearing east, some way off.
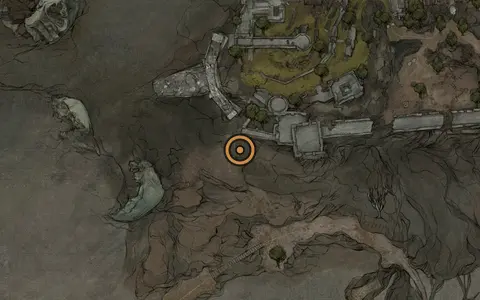 #9
#93x Ovum
Ruins of Nochte area
Nearest beacon Nochtean Gate, bearing south, a short way off.
Nearby Vrago, Solikar Champion (Mini-Boss) · Prisoner's Domain (Gate) · Ravaged Tomb (Dungeon)
Next stop #10 Ovum #8, bearing north-east, a long way off.
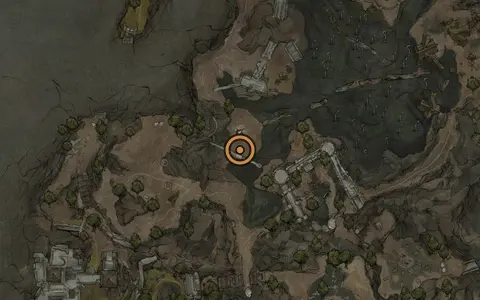 #10
#10Ovum #8
Prophet's Rest area
Nearest beacon Outskirts of Nochte, on the spot.
Nearby Infested Den (Dungeon) · Fainweald [1] (Map Fragment) · Hag Stone (Infusion)
Next stop #11 Ovum #9, bearing north, a long way off.
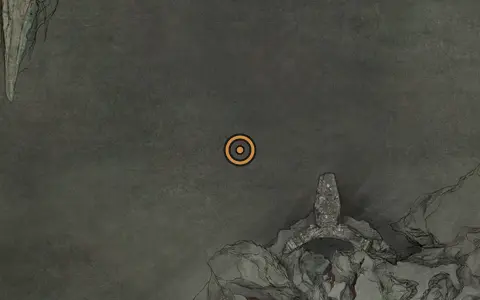 #11
#11Ovum #9
Sanguine Caverns area
Nearest beacon Pulsing Caves, bearing south, just off.
Nearby Tiel (Summon Shell) · Tarblighted Stoner (Mini-Boss) · The Lost Child (Boss)
Next stop #12 Ovum #10, bearing north-east, just off.
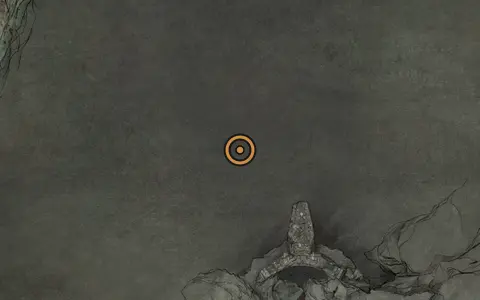 #12
#12Ovum #10
Sanguine Caverns area
Nearest beacon Sanguine Shoreline, bearing south, just off.
Nearby Tarblighted Stoner (Mini-Boss) · Child's Feeding Grounds (Beacon) · Pulsing Caves (Beacon)
Next stop #13 Ovum #11, bearing east, just off.
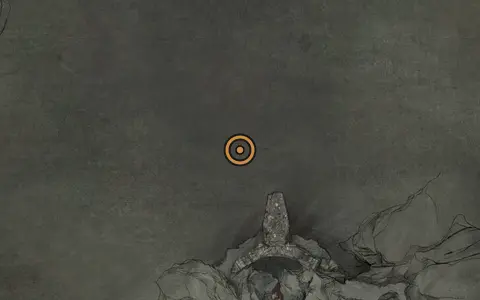 #13
#13Ovum #11
Sanguine Caverns area
Nearest beacon Child's Feeding Grounds, bearing south, just off.
Nearby Tarblighted Stoner (Mini-Boss) · Tiel (Summon Shell) · Sanguine Shoreline (Beacon)
Next stop #14 Ovum #12, bearing south-east, a short way off.
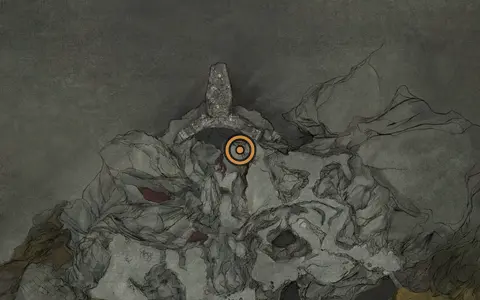 #14
#14Ovum #12
Sanguine Caverns area
Nearest beacon Stonebled Gate, on the spot.
Nearby Lucian, the Thirsting Knight (Mini-Boss) · Sanguine Caverns (Gate) · The Lost Child (Boss)
Next stop #15 Ovum #13, bearing south, a long way off.
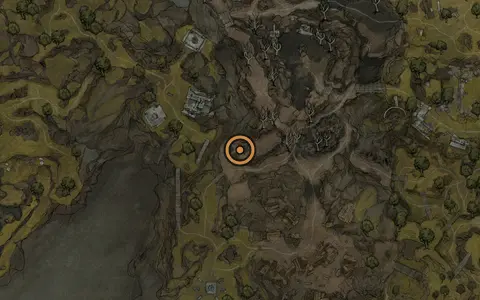 #15
#15Ovum #13
Blackridge Cliffs area
Nearest beacon Blackridge Pass, on the spot.
Nearby Grisha (Mini-Boss) · Flooded Village (Dungeon) · Fainweald [3] (Map Fragment)
Next stop #16 Ovum #14, bearing south-east, a long way off.
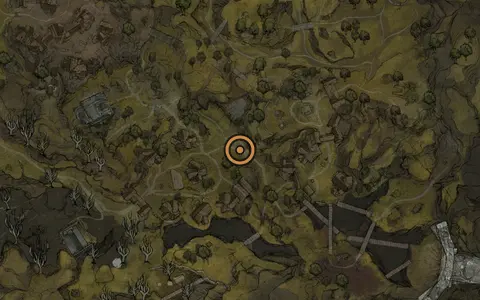 #16
#16Ovum #14
Mushroom Village area
Nearest beacon Mushroom Village, on the spot.
Nearby Hilga (NPC) · Grom (NPC) · Shrine of Trials (Dungeon)
Next stop #17 x3, bearing south-east, some way off.
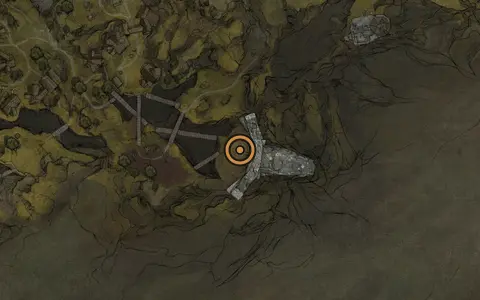 #17
#17x3
Glutted Mire area
Nearest beacon Mushroom Village Gate, on the spot.
Nearby Vrannic, the Grand Illusionist (Mini-Boss) · Glutted Mire (Gate) · Circle of the Grasping Root (Mini-Boss)
Next stop #18 Seeping Mire, bearing east, a short way off.
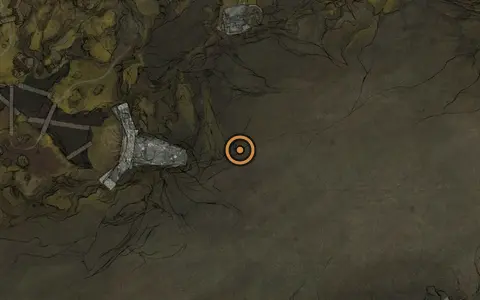 #18
#18Seeping Mire
Glutted Mire area
Nearest beacon Seeping Mire, on the spot.
Nearby Circle of the Grasping Root (Mini-Boss) · Sunken Village (Beacon) · Magdalena, the Lady of the Woods (Boss)
Next stop #19 Sunken Village, bearing east, on the spot.
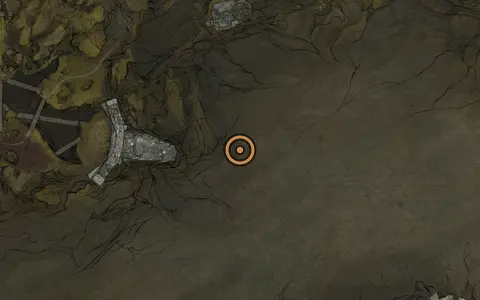 #19
#19Sunken Village
Glutted Mire area
Nearest beacon Sunken Village, on the spot.
Nearby Circle of the Grasping Root (Mini-Boss) · Magdalena, the Lady of the Woods (Boss) · The Tarblighted Shepherd (Mini-Boss)
Region Fainweald
Next stop #20 x26 Magdalena's Glade, bearing east, on the spot.
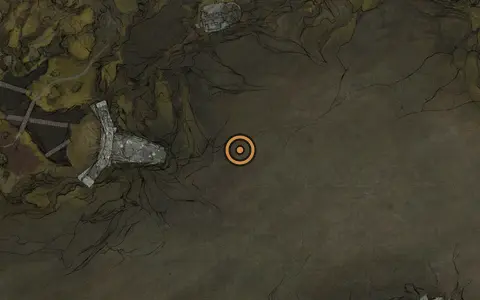 #20
#20x26 Magdalena's Glade
Glutted Mire area
Nearest beacon Magdalena's Glade, on the spot.
Nearby Magdalena, the Lady of the Woods (Boss) · Sunken Village (Beacon) · Circle of the Grasping Root (Mini-Boss)
Next stop #21 Ovum #15, bearing south, a long way off.
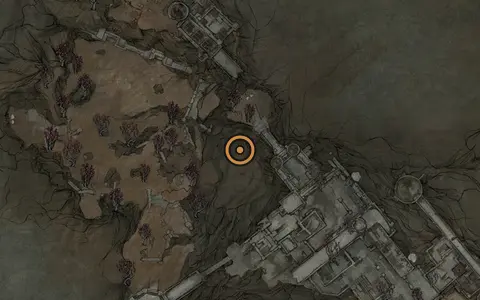 #21
#21Ovum #15
Revenant Graves area
Nearest beacon Abbey Entrance, bearing south, just off.
Nearby Bor, the Deluded Monarch (Boss) · Revered Beacon (Dungeon) · Sester Secundus (Boss)
Next stop #22 x26, bearing south-east, a long way off.
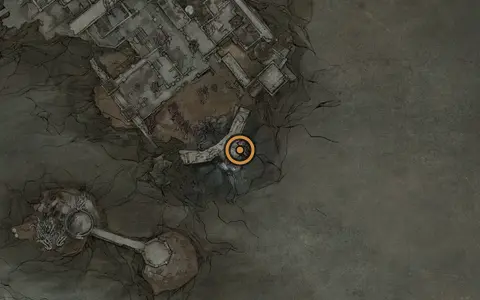 #22
#22x26
Conquered Temple area
Nearest beacon Conquerer's Hoard, on the spot.
Nearby Pilfered Crypt (Dungeon) · Ovate's Chamber (Beacon) · Droeg, the Conquerer (Boss)
Next stop #23 Ovum #16, bearing south-west, on the spot.
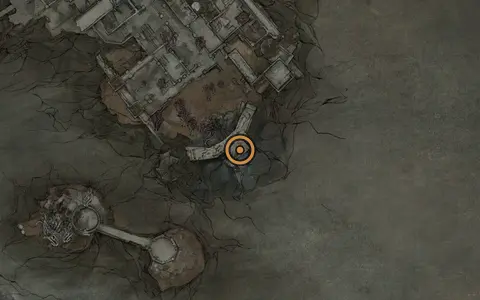 #23
#23Ovum #16
Conquered Temple area
Nearest beacon Ovate's Chamber, on the spot.
Nearby Pilfered Crypt (Dungeon) · Droeg, the Conquerer (Boss) · Mornefrost Grave (Dungeon)
Next stop #24 Ovum #17, bearing south-west, on the spot.
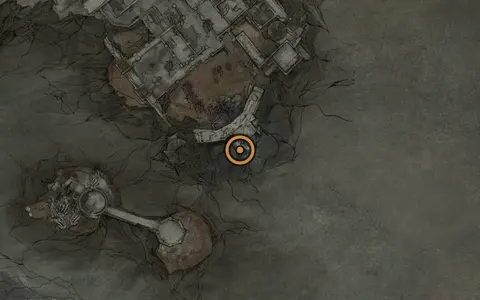 #24
#24Ovum #17
Conquered Temple area
Nearest beacon Winterglass Lake, bearing south, just off.
Nearby Caged Grisha (Boss) · Droeg, the Conquerer (Boss) · Mornefrost Grave (Dungeon)
Next stop #25 Ovum #18, bearing north-west, just off.
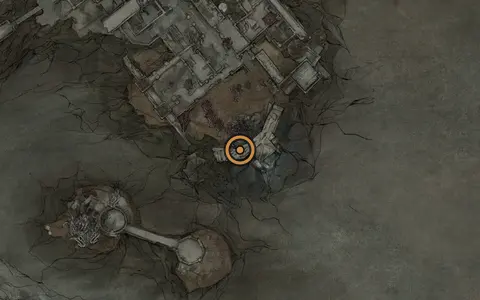 #25
#25Ovum #18
Conquered Temple area
Nearest beacon Winterglass Lake, on the spot.
Nearby Twin Sesters/Stray Sesters (Boss) · Mornefrost Grave (Dungeon) · Conquered Temple (Gate)
Next stop #26 Ovum #19, bearing west, a long way off.
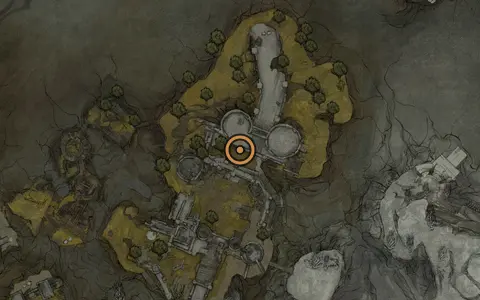 #26
#26Ovum #19
Castigator's Keep area
Nearest beacon Castigator's Keep, bearing south, just off.
Nearby Viletongue Batushka (Boss) · Viletongue's Domain (Dungeon) · Egon (NPC)
Next stop #27 3x Ova, bearing south, a long way off.
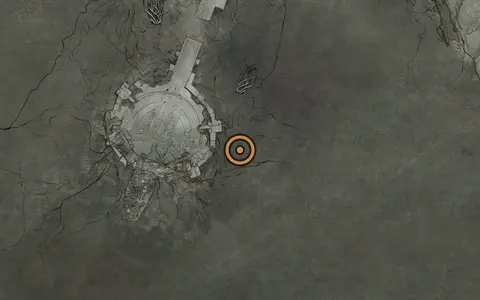 #27
#273x Ova
Faded Citadel area
Nearest beacon Forbidden Archives, bearing east, a short way off.
Nearby Gloombound Wraith (Mini-Boss) · Faded Citadel (Gate) · Curseblood Stone (Infusion)
Next stop #28 26 Ova, bearing west, some way off.
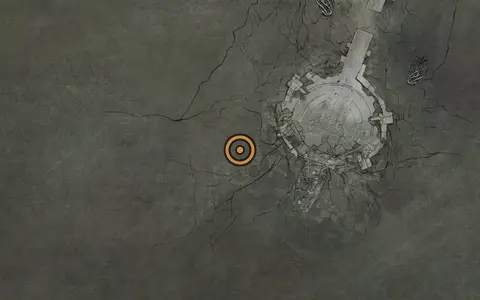 #28
#2826 Ova
Faded Citadel area
Nearest beacon Scholar-Prince's Chamber, on the spot.
Nearby Citadel Atrium (Beacon) · Servants of the Scholar-Prince (Mini-Boss) · Lazlo (Summon Shell)
Next stop #29 Ovum #20, bearing south, a short way off.
 #29
#29Ovum #20
Faded Citadel area
Nearest beacon Citadel Atrium, bearing south, a short way off.
Nearby Sir Issac, the Scholar-Prince (Boss) · Lazlo (Summon Shell) · Solnir, the Gloom Seeker (Mini-Boss)
Next stop #30 Ovum #21, bearing south, a short way off.
 #30
#30Ovum #21
Faded Citadel area
Nearest beacon Citadel Annex, bearing south, some way off.
Nearby Sir Issac, the Scholar-Prince (Boss) · Lazlo (Summon Shell) · Solnir, the Gloom Seeker (Mini-Boss)