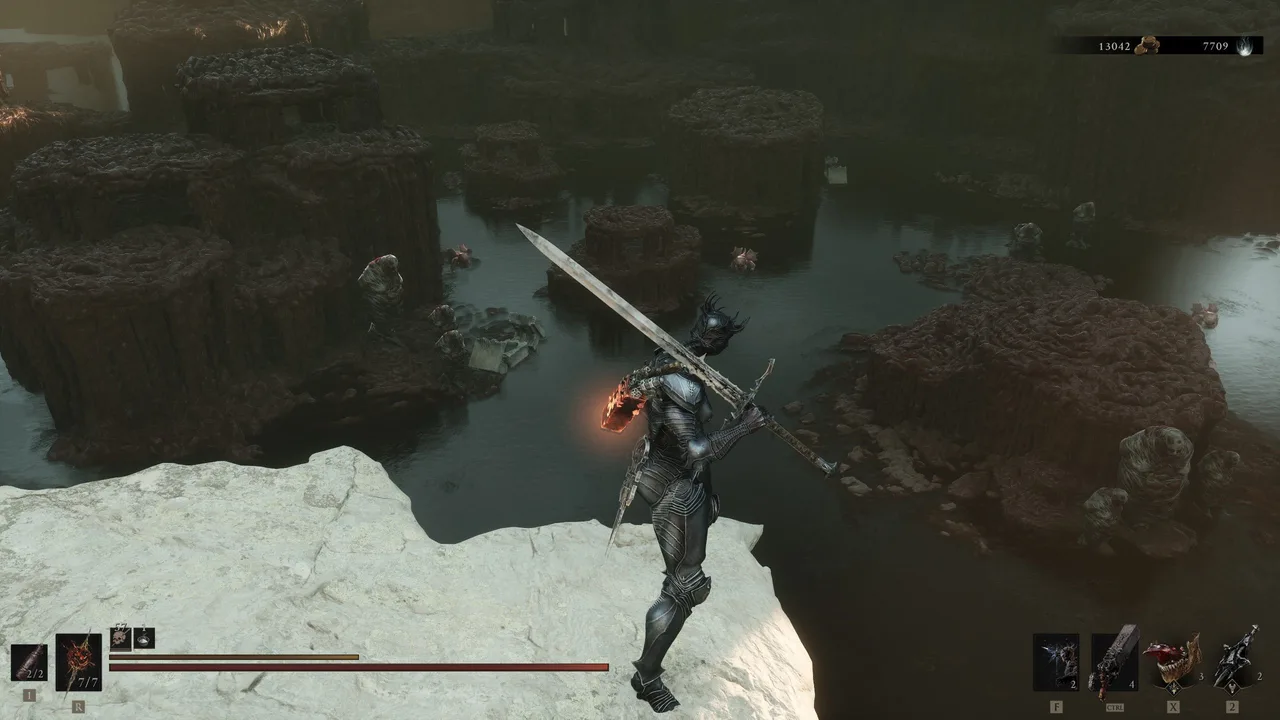
The Lost Child
- Found in
- Sanguine Caverns (Gate)
- Drops
- 2
The Lost Child is one of 46 bosses in Mortal Shell 2, fought in Sanguine Caverns (Gate). Beating it drops Lost Clotstone and Gloom.
Our take
It waits at the Sanguine Caverns gate rather than at the end of a dungeon, so this is a fight you walk into rather than one you prepare for. The Lost Clotstone it drops throws your weapon, and gets cheaper as it levels.
How to beat The Lost Child
Getting there
It sits at the gate end of the Sanguine Caverns rather than at the bottom of a dungeon, which makes it a fight you arrive at rather than one you set out for. One source routes you from the Sanguine Shoreline beacon straight along the path into the caverns; the other simply hands the walkthrough for the gate.
There is an updraft on the approach, and if you intend to bring a summoned Shell along, that is where to spend the Glimpse — summoning costs one every time, so decide before you climb rather than at the door with the music already playing.
How the fight is shaped
A great deal of flesh with one working arm and a mouth that does most of the work. It has no legs and drags itself around, which means its positioning is slow and yours is not — and that asymmetry is the whole fight.
One source reports a second phase arriving around half health, bringing a fast grab that eats you and spits you back out. That move is described as capable of ending a run outright at low level, so treat the halfway mark as the point to stop being casual.
What to actually do
- Stand where it is not pointedMost of what it does happens in front of it. The reported safe ground is the gap between its arm and its tail, and getting there is a matter of moving with it rather than away from it.
- Punish the animation locksSeveral of its commitments leave it stuck in place for a beat afterwards. Those beats are the damage, not the gaps between swings — this is a fight won in three or four long windows rather than in constant pressure.
- The arm swipe is the Break farmThe close-range swipe is the one attack a defensive Seal handles comfortably, and it is the one it uses when you are standing where you want to be standing. If you are running Guard or Parry, this is where the Break meter comes from.
- Get out of the inhaleWhen the mouth opens and pulls, being close is the mistake. Break range, wait for it to send back out whatever it took in, and dodge sideways through that rather than trying to outrun it.
- Back off the red oneThe grab it gains later is announced and fast. Rolling backwards on the tell is the reported answer, and the recovery afterwards is worth a few hits — which is the only reason to be near it at all once it starts.
Written from our own catalog and from what the community has documented, checked against both of the major Mortal Shell 2 wikis. Where those two disagree, this page says so rather than picking one quietly.
Drops
What beating it pays out.
Where to find it
The route to it passes through: