Tar Golem
- Found in
- Disciple's Grotto
- Drops
- 1
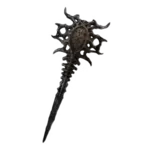
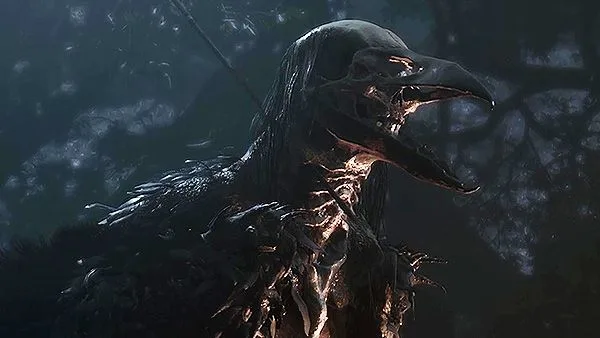
Tar Golem is one of 46 bosses in Mortal Shell 2, fought in Disciple's Grotto. Beating it drops Vatra's Seal.
Our take
The prologue's wall, and the only boss in the game whose drop is a Seal. Vatra's Seal is Harden — the one defence that still works after you have committed to a swing — so the first real fight also hands you the answer to most of the fights after it.
How to beat Tar Golem
Getting there
The prologue's last door, and there is no way past it. From the Disciple's Grotto beacon the path drops away to the right, runs up an air shaft on the far side, and passes Ruk on the way to a teleport pad. The pad puts you at a doorway, and examining the doorway is what starts the fight.
How the fight is shaped
This one is scripted, and knowing that before you start is worth more than any tactic on this page. Empty its health bar and it drives both axes into the floor, the arena catches fire, and you die anyway. Get taken apart instead and a cutscene plays in which Harros pulls you clear. The two endings meet in the same place.
So what is at stake is a trophy and an education. Our trophy list holds the reward for taking the Golem to its minimum health, and the fight itself is the game teaching you that its bosses combine fast strings with deliberate pauses meant to make you dodge early. Everything after this assumes you learned that here.
What to actually do
- Guard the spinning string rather than rolling itThe four-hit advance keeps almost even spacing between strikes, which makes it the one combo the Untarnished Seal reads better than your dodge does. Land the Guards cleanly and you get Break damage and Resolve back out of an attack that was going to happen regardless. The opening beat is delayed, so start slightly later than feels right.
- Spend Resolve on petrifying it, not on damageHarros's own move locks the Golem in place and lets you pile Break onto something that cannot answer. It is also a way to cancel an attack you have already mistimed, which in the prologue is the more valuable half. Note that the two wikis call this ability by different names; our catalog files it as Stone Stun.
- The glow is the warning, and the warning means dodgeA mark lights at the centre of its body before the heavy commitments — the shoulder-height double swing, the fire charge, the wave that runs off the slam in a line. None of those is a Seal problem. Roll sideways for the two that travel and backwards for the one that lands where it stands.
- Take the free hits off the plungeWhen it plants both axes and leaps, it is telling you where it is going and giving you time to be somewhere else. Track it up, step off the landing spot, and you have a window on the recovery worth a swing or two — not a combo. Greed here is what the erratic phase punishes.
Where the record disagrees. One source reports the moveset turning noticeably less orderly once the health bar is around a third gone. The other describes no phase change at all, so treat it as a warning rather than as a schedule.
Written from our own catalog and from what the community has documented, checked against both of the major Mortal Shell 2 wikis. Where those two disagree, this page says so rather than picking one quietly.
Drops
What beating it pays out.