Great Arbiter of Flesh
- Found in
- Widow's Overlook
- Drops
- 3
Great Arbiter of Flesh is one of 46 bosses in Mortal Shell 2, fought in Widow's Overlook. Beating it drops Gloom, Glimpse and Arbiter's Prize.
Our take
The first optional boss most players meet, standing in open ground rather than at the end of anything. Arbiter's Prize is the reward and it is a Bloodcurse infusion — the first status a new run can put on a weapon.
How to beat Great Arbiter of Flesh
Getting there
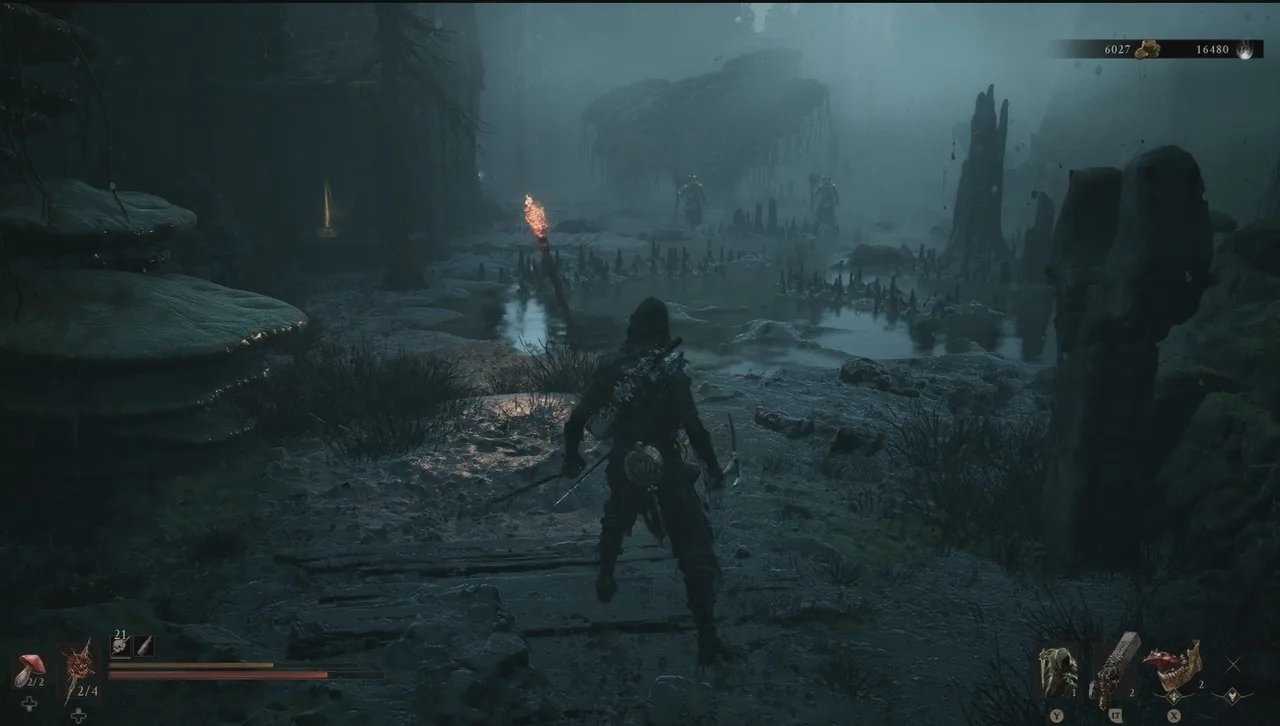
It stands in the open past the Widow's Overlook beacon rather than at the end of anything, which makes it the first boss most runs meet and the first one most runs walk into unprepared. Both sources put it in the same clearing and describe the ground differently — one calls it ruins and dead trees, the other a cemetery — so expect headstones you can put between yourself and a greatsword.
It is optional. It is also the first thing in the game that rewards learning to defend properly, and the village just past its arena is where a first run picks up Tiel.
How the fight is shaped
This is the parry tutorial with a health bar attached. The two-handed swing it opens with is slow, readable and worth half the Break meter on a clean answer, which means two of them fill it — and a filled Break meter here is not chip damage, it is the Riposte the rest of the fight is built around.
Everything else it does is either a variation on that swing or the one attack no Seal answers at all, which makes this the shortest moveset of any boss on this list and the best place in the game to settle on a defence.
What to actually do
- Two clean Guards is the whole planIt shifts to a two-handed grip and steps in with its right leg before the big swing. Answer it twice and the Break meter is full. Building the meter is faster than out-damaging it, and the Riposte is worth more than the minute of swinging you would otherwise spend.
- Empty the sidearm while it is downThe window after the Break lands is long enough to be spent rather than reacted to. Both sources point at the same use for it: put your ranged charges into it before you commit to the Riposte, because the Riposte ends the window and the charges do not carry into anything better.
- The grab is not a parry problemIt has one attack that no Seal answers, and it is a grab. Roll sideways or back, then walk straight back in — the recovery on it is generous enough that the dodge is an opening rather than a reset.
- Use the stonesThe arena furniture is the reason to fight here rather than in open ground. Putting a headstone between you and a spin-advance costs you nothing and buys the second you need to heal.
- Read the blade, not the bossWhen the greatsword points at the floor it is about to spin forward through three strikes and then pause before a fourth. The pause is the part people die to. Count the fourth before you step in.
Written from our own catalog and from what the community has documented, checked against both of the major Mortal Shell 2 wikis. Where those two disagree, this page says so rather than picking one quietly.
Drops
What beating it pays out.