Warrior Cats: Secret Boss and Sun Spot Locations
On this page (8)
This page lists where all 16 sun spots are in Warrior Cats: Clans of the Forest, with a route to each one, and where the four secret bosses are, with the damage type to bring against each one. Finding every sun spot is what the Sunbathing Pro achievement asks for.
The short answer: there are four sun spots in each clan's land, 16 in total. The four secret bosses are Ruthless Reynard in ThunderClan (bring sharp damage), Pack Leader in RiverClan (bring defensive damage), Mouthclaw's Legacy in WindClan (bring defensive damage) and Brock in ShadowClan (bring trick damage). The boss table has the exact spots.
Spoiler warning: the boss sections give away the secret fights and where they are.
Moves
Clan moves are specific to each clan. They come from raising clanmates to 50 out of 100 friendship and from side quests inside that clan. Rogues you befriend count too. Between main quests, small brown and beige chat icons mark interactions worth stopping for.
Universal moves are shared across all saves. They come from side quests and friendships as well, and you need to chase them less than clan moves because the sharing covers them.
Ancestor moves come from beating bosses, including the normal story bosses. There are fourteen of them across the main story fights of the four campaigns. Ancestor moves are shared across all saves too, which speeds up later story runs and the grind toward the warrior, deputy and leader level caps. One ancestor move is locked behind level 20 in defender mode.
Secret Boss Fight Format
Every secret boss fight has three rounds.
| Round | Enemies |
|---|---|
| 1 | The boss alone |
| 2 | The boss and one extra enemy |
| 3 | The boss and two extra enemies |
Round 2 is cleared by defeating the boss alone, even with the extra enemy still standing. Bring healing items. Attacks that hit the whole enemy team help, because they clear the extra enemies fast while still damaging the boss.
The bosses do not scale. They stay at level 18, while your cat tops out at max level 20 (the last step from 19 to 20 costs 10k).
Secret Boss Locations
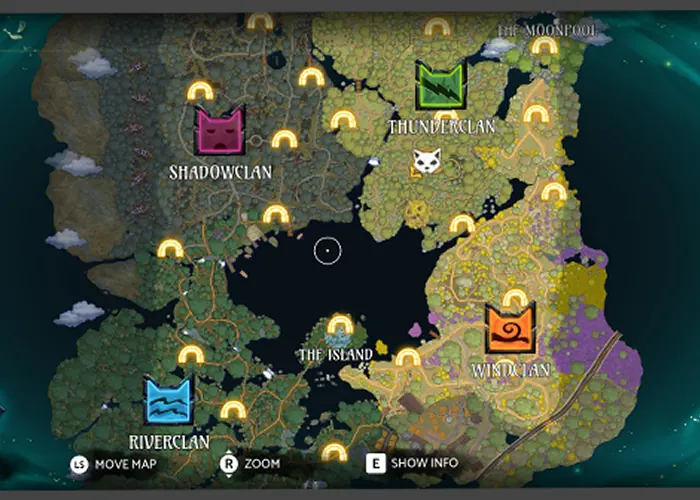
The map has four territories around a central lake: ShadowClan in the top left, ThunderClan in the top right, WindClan in the bottom right and RiverClan in the bottom left. The Island is in the middle of the lake and the Moonpool is at the top edge. Each boss is in a different corner.
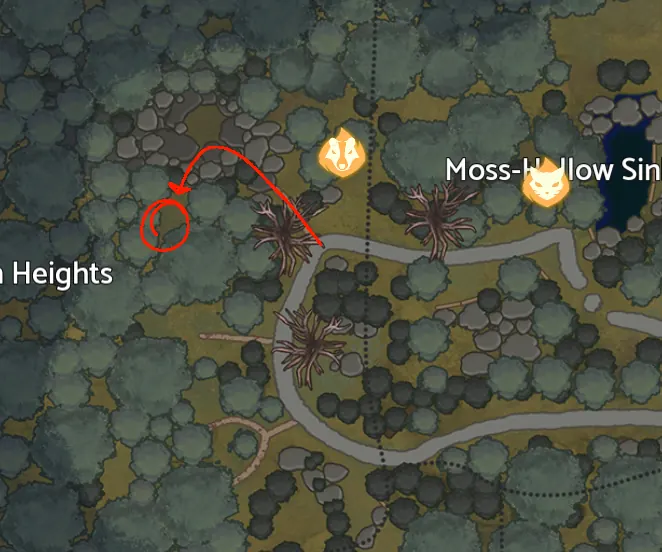
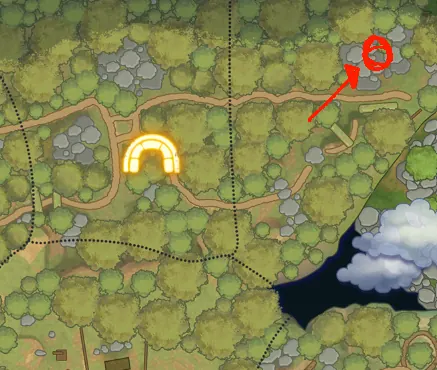
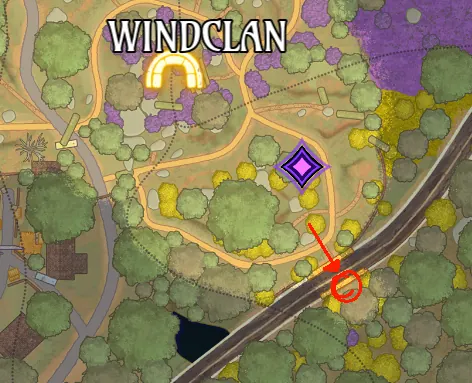
| Boss | Clan | Location | Main attack | Bring high |
|---|---|---|---|---|
| Ruthless Reynard (fox) | ThunderClan | Upper right corner, in a cave near the Moonpool's bench | Trick | Sharp damage |
| Pack Leader (dog) | RiverClan | Lower left corner, under the stone bridge near the travel log | Sharp | Defensive damage |
| Mouthclaw's Legacy (snake) | WindClan | Lower right corner, in a cave near the road | Sharp | Defensive damage |
| Brock (badger) | ShadowClan | Top left corner, in the den full of rocks | Defensive | Trick damage |
Pack Leader is the hardest of the four. If you are not at max level, beat Ruthless Reynard, Mouthclaw's Legacy and Brock first to gain experience.
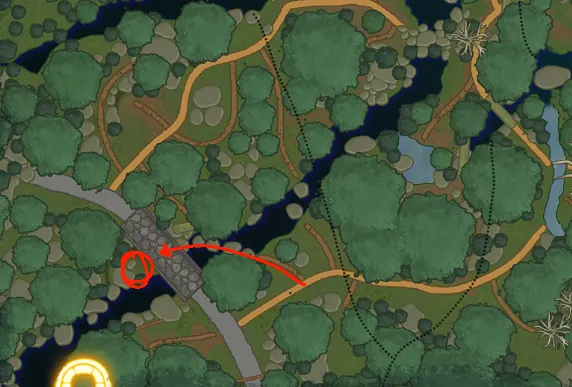
Sun Spots
Each sun spot raises your stamina and also gives you a move. There are four per clan. Most can be reached right away, and a few need a rope gnawed through or a log pushed first.

The Sunbathing Pro achievement needs all 16 found by one cat. Doing each clan's spots on separate cats, each in their own territory, does not count.
Routes for ThunderClan, RiverClan and WindClan start at the nearest travel log. ShadowClan routes start at the camp.
ThunderClan Sun Spots
Three of the four are plain walks. The spot by the bridge needs a log pushed first.
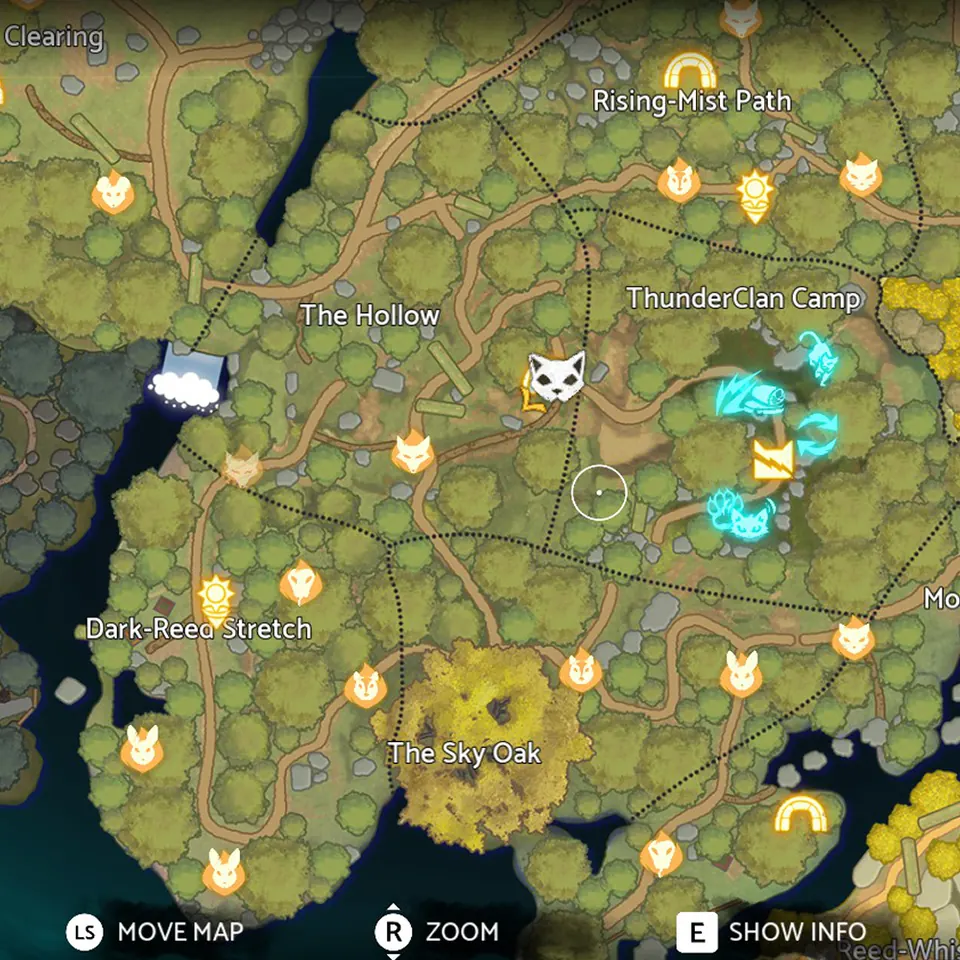
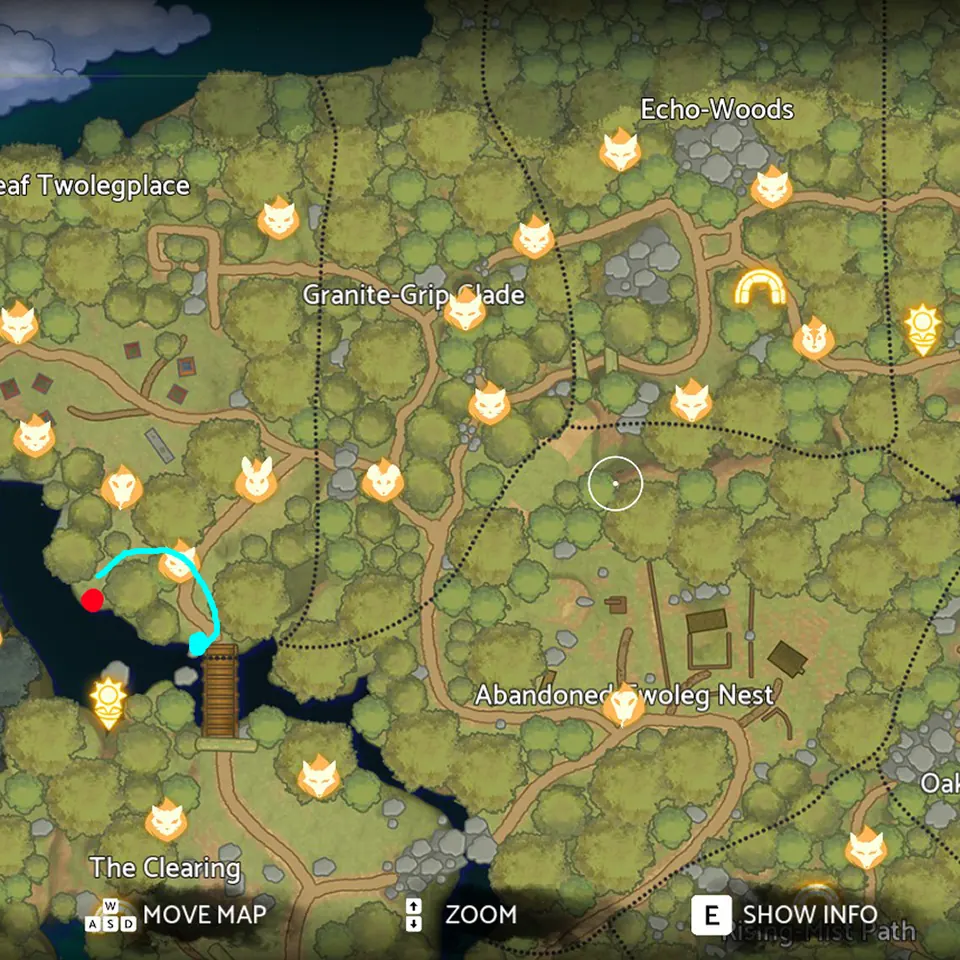
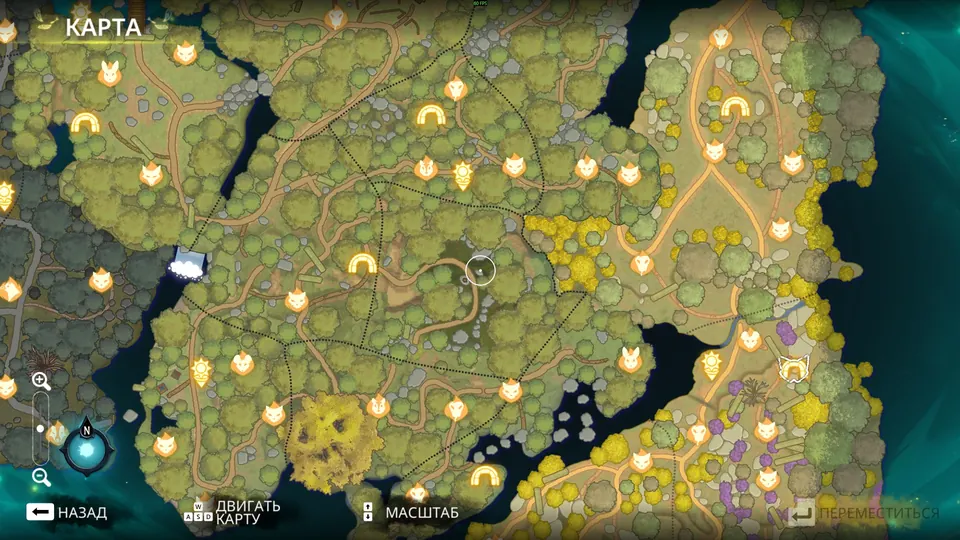
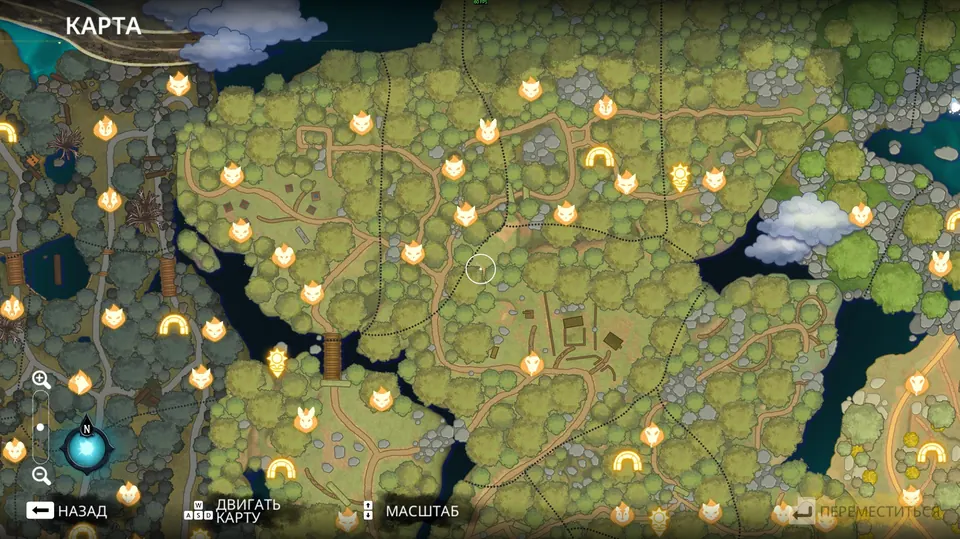
ThunderClan Sun Spot 1
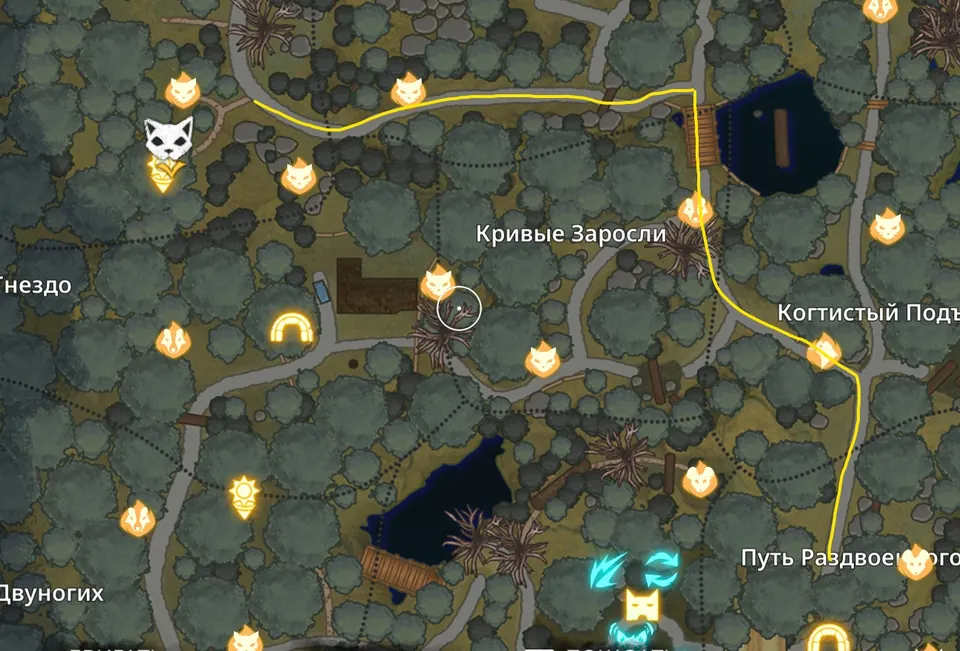
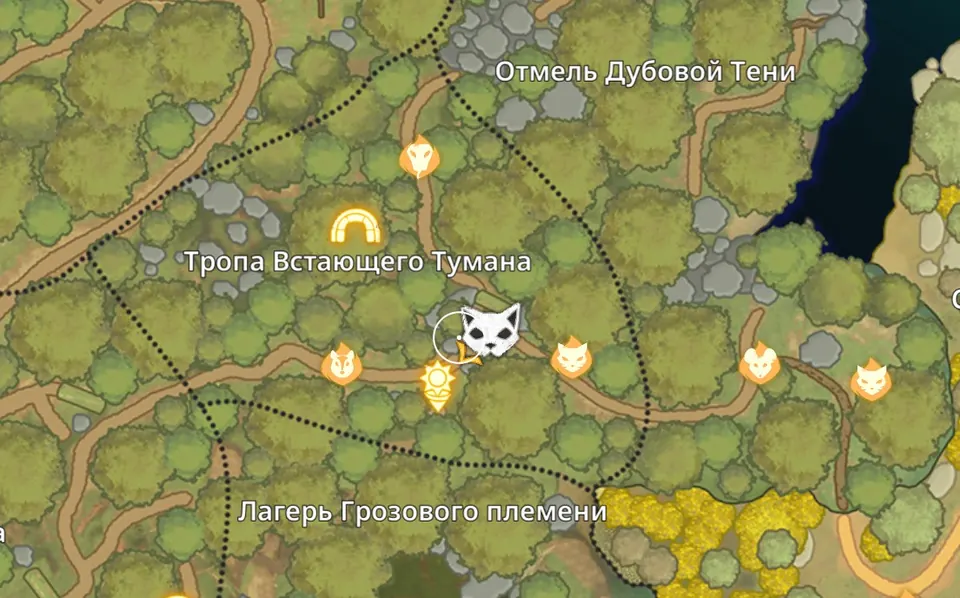
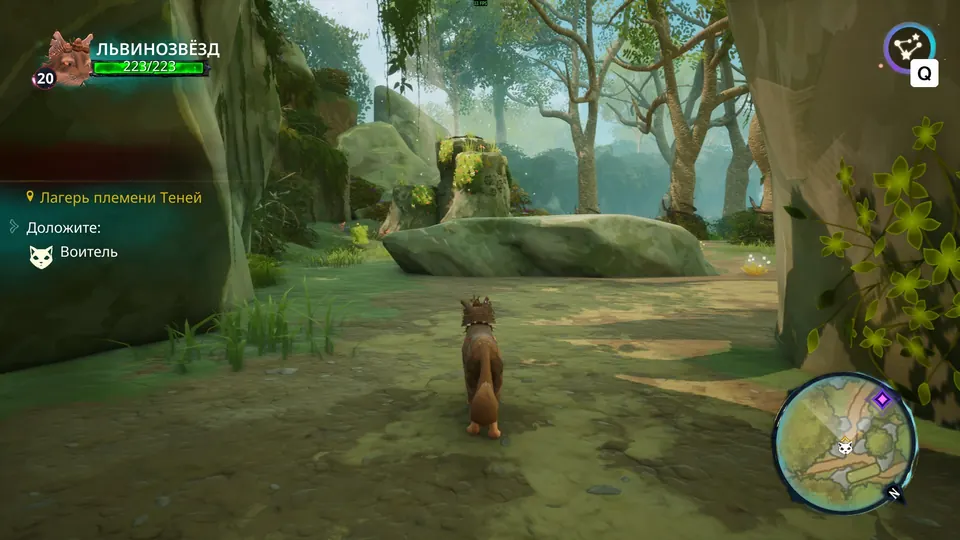
This spot is just north of the camp, close to a travel log. From the travel log turn right, cross the stones along the ground and keep turning right. The spot comes into view.
ThunderClan Sun Spot 2
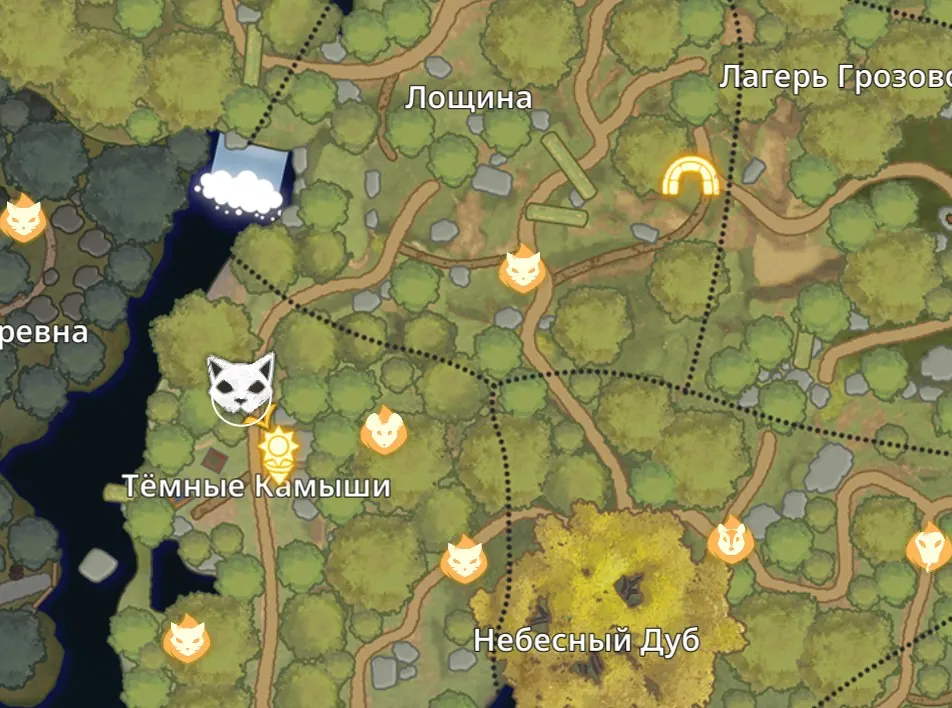
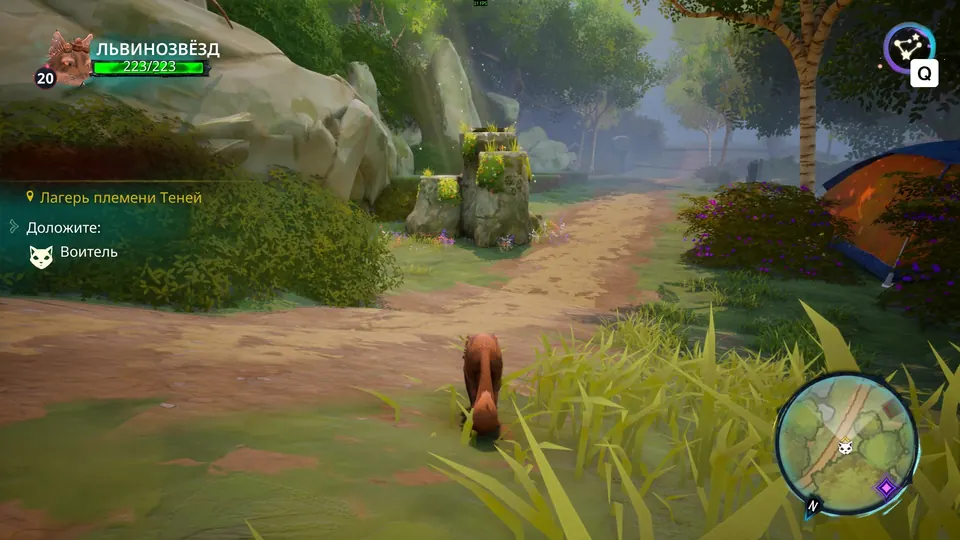
This spot needs no preparation. Walk to it on foot and keep an eye on the map, because it is easy to run past.
ThunderClan Sun Spot 3
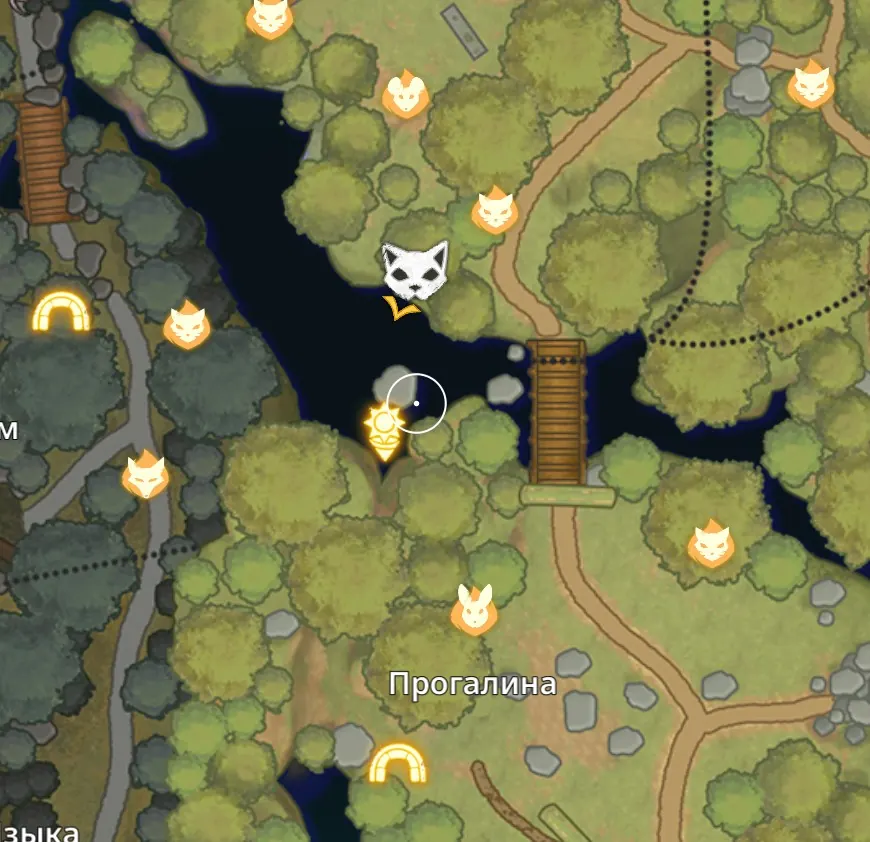
This is the spot by the bridge. The travel log is not far away.
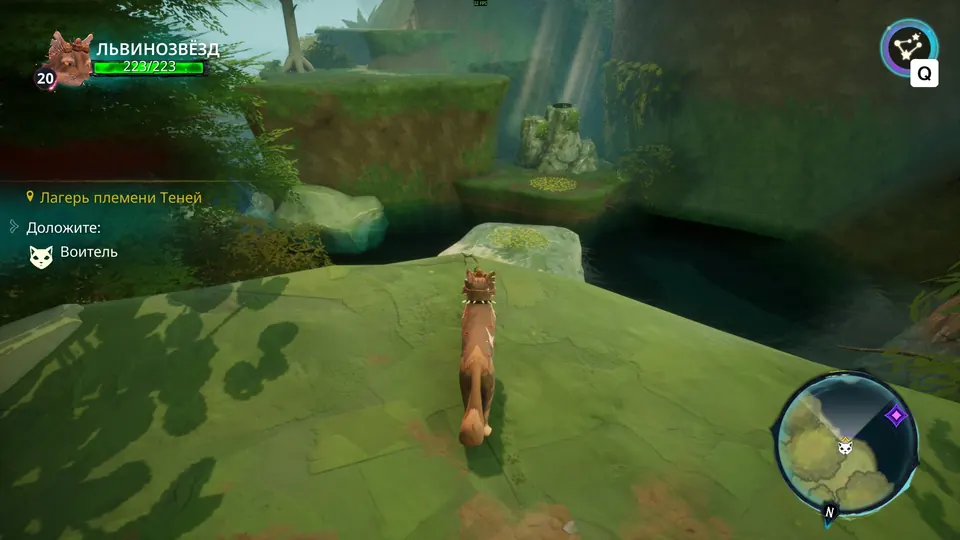
- Cross the bridge, then walk a little further, turn right and climb up over a log.
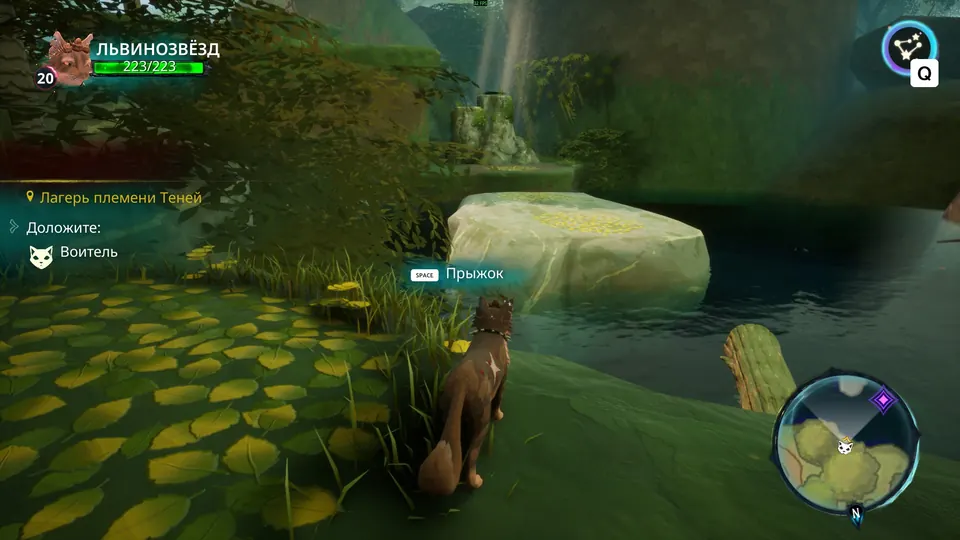
- At the top, push a log off the hill and into the water.
- Go back to the place marked with yellow leaves and jump across to the sun spot.
ThunderClan Sun Spot 4
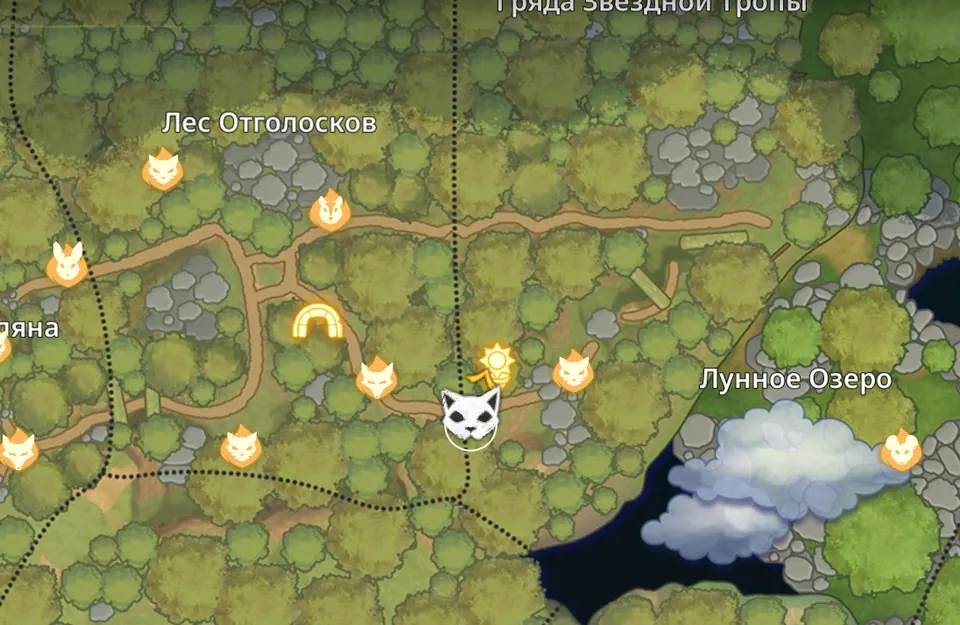
This is the last one, on the far side of the Moonpool. From the travel log, climb the hill and the spot is straight ahead. The tilt of the camera makes it easy to miss, so look carefully.
RiverClan Sun Spots
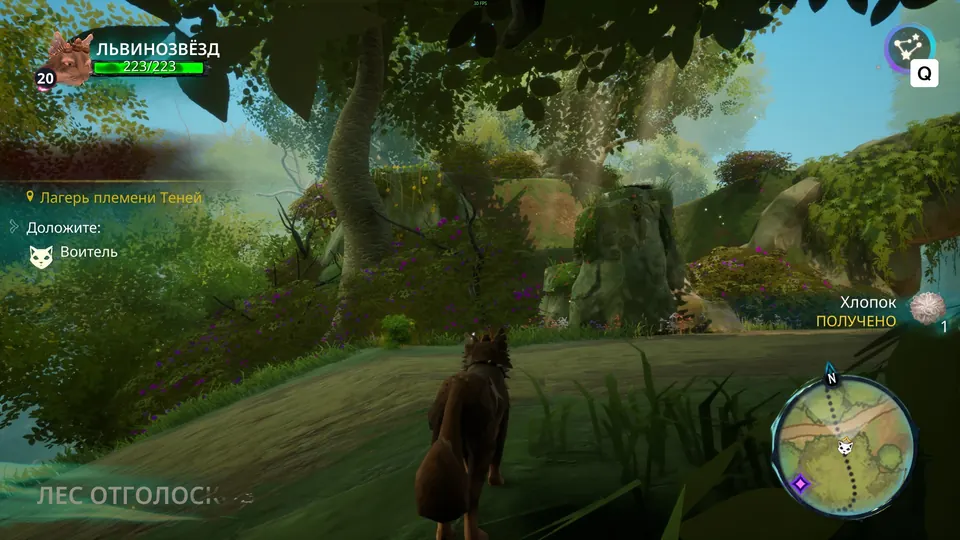
Every RiverClan spot is off the main road and takes a climb, a jump or a drop to reach. Spot 4 is the one to watch for a dog.
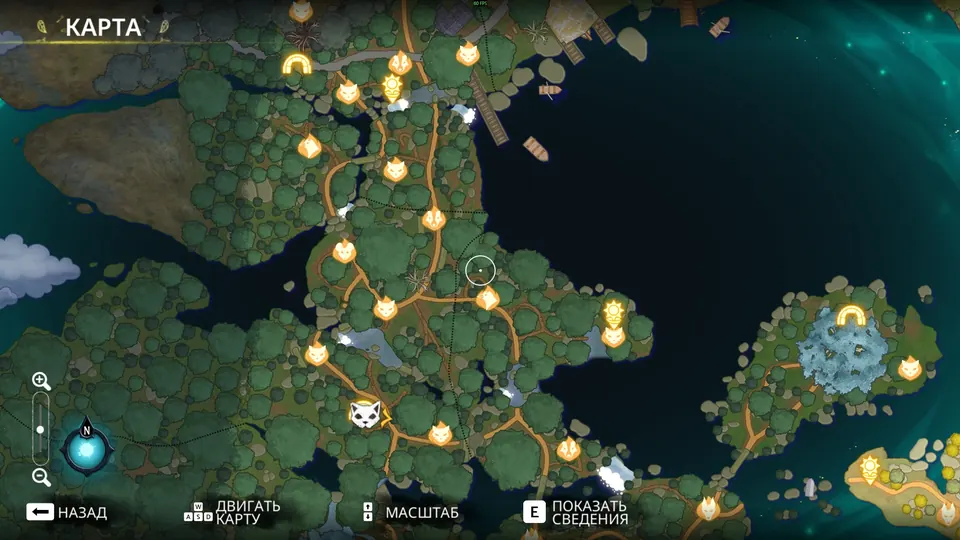
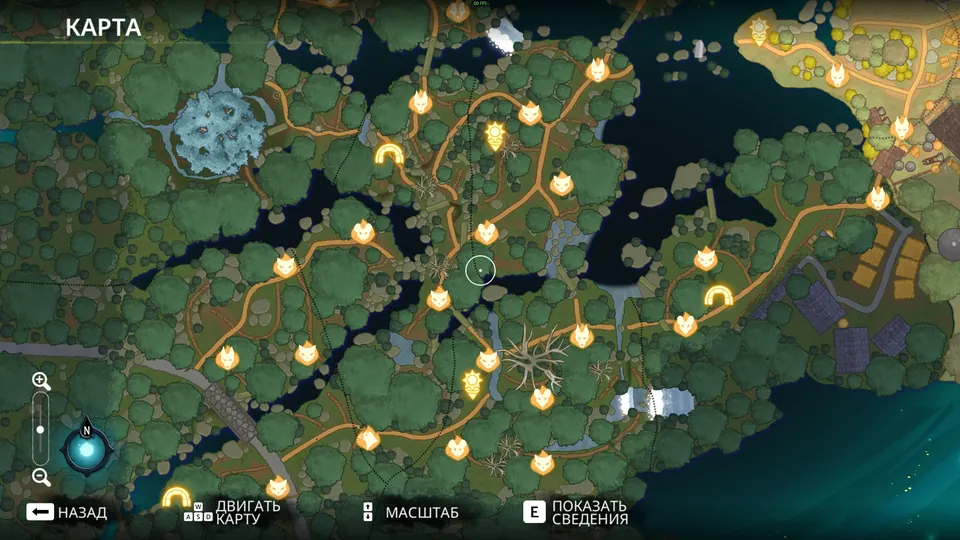
RiverClan Sun Spot 1
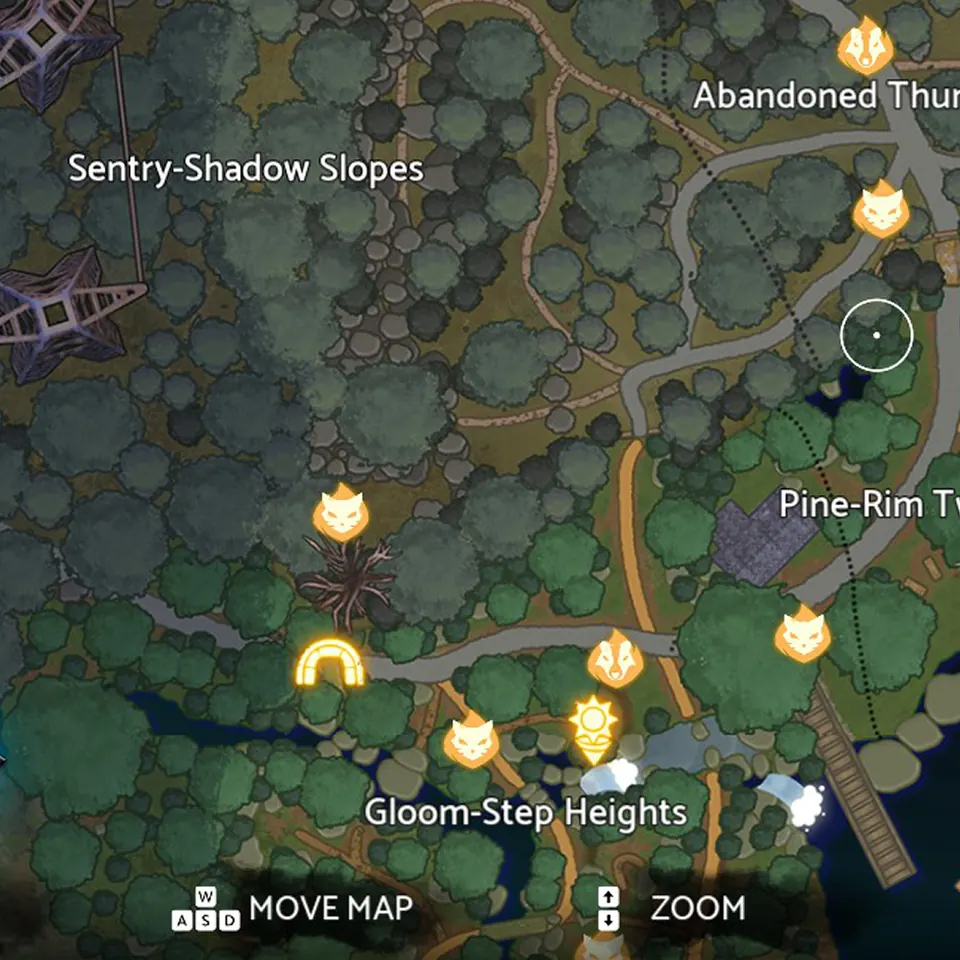
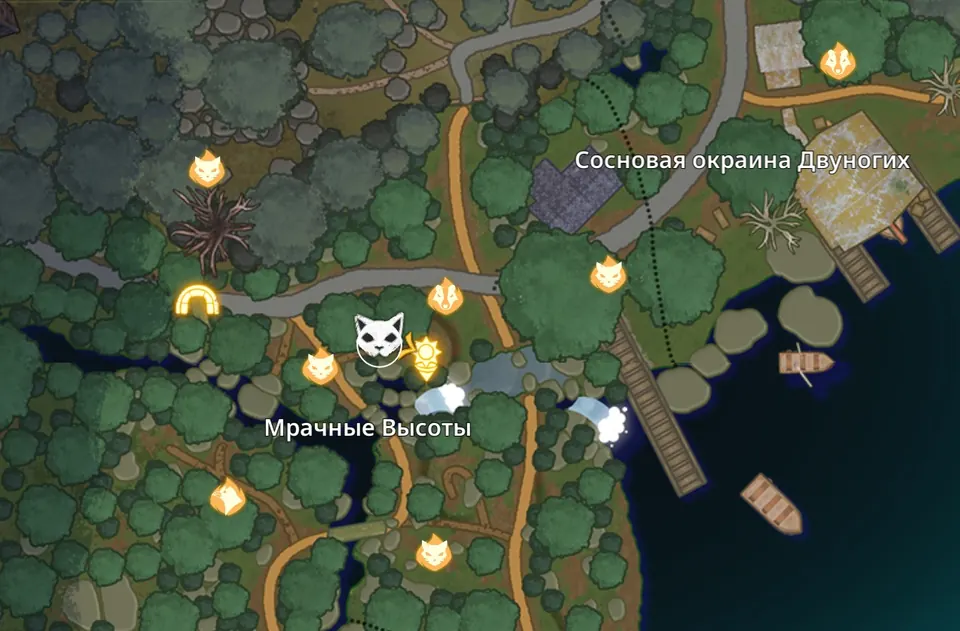
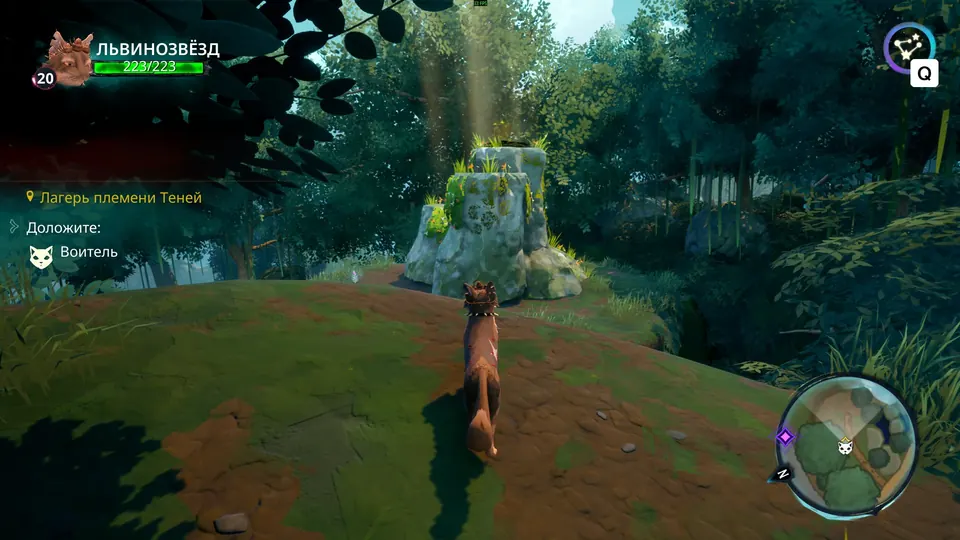
This spot is on the border with ShadowClan, at Gloom-Step Heights, and a travel log is close by. Leave the main road on a side path, climb the rise and jump across to the spot.
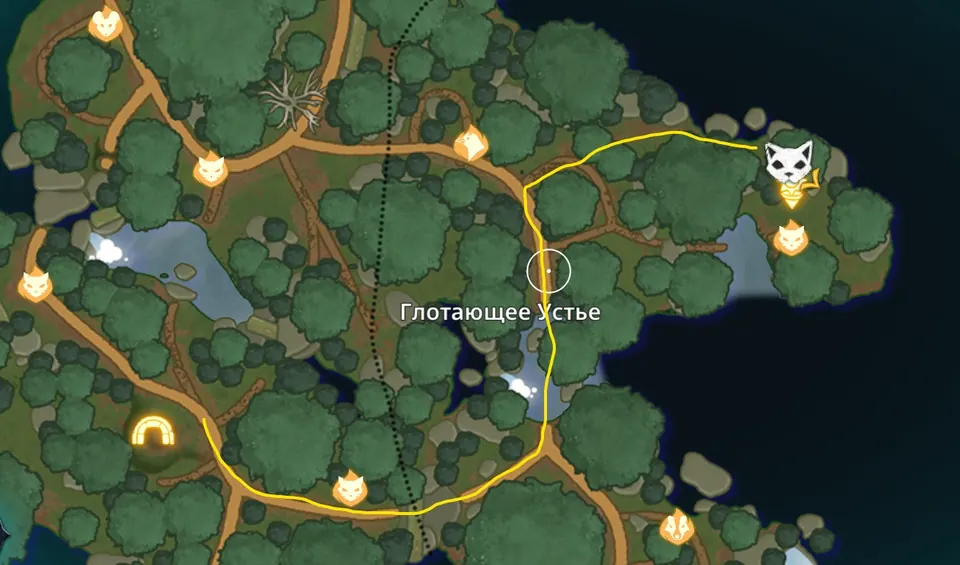
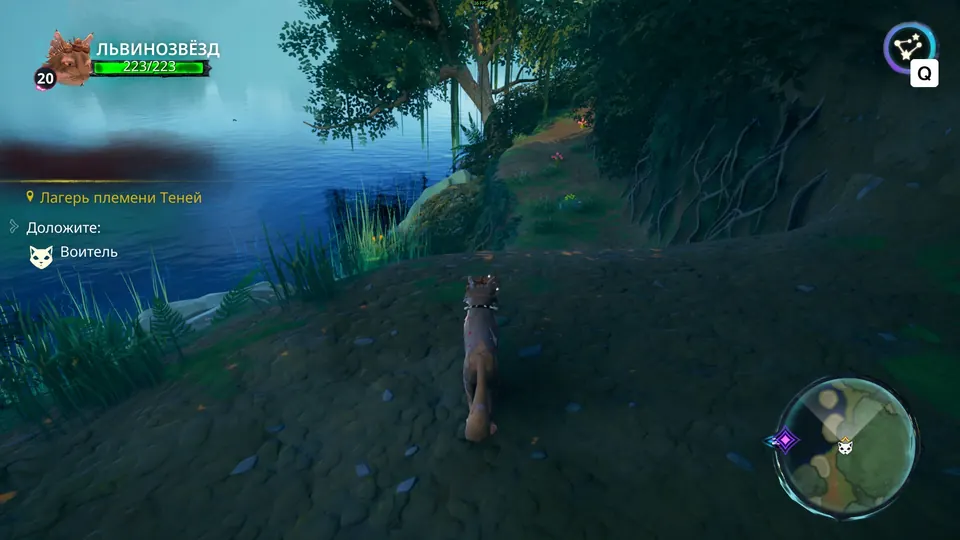
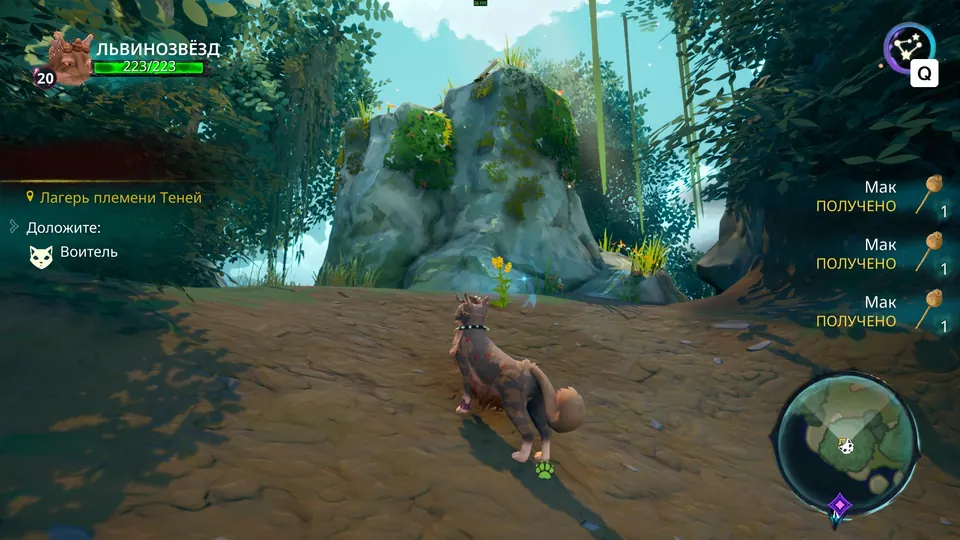
RiverClan Sun Spot 2
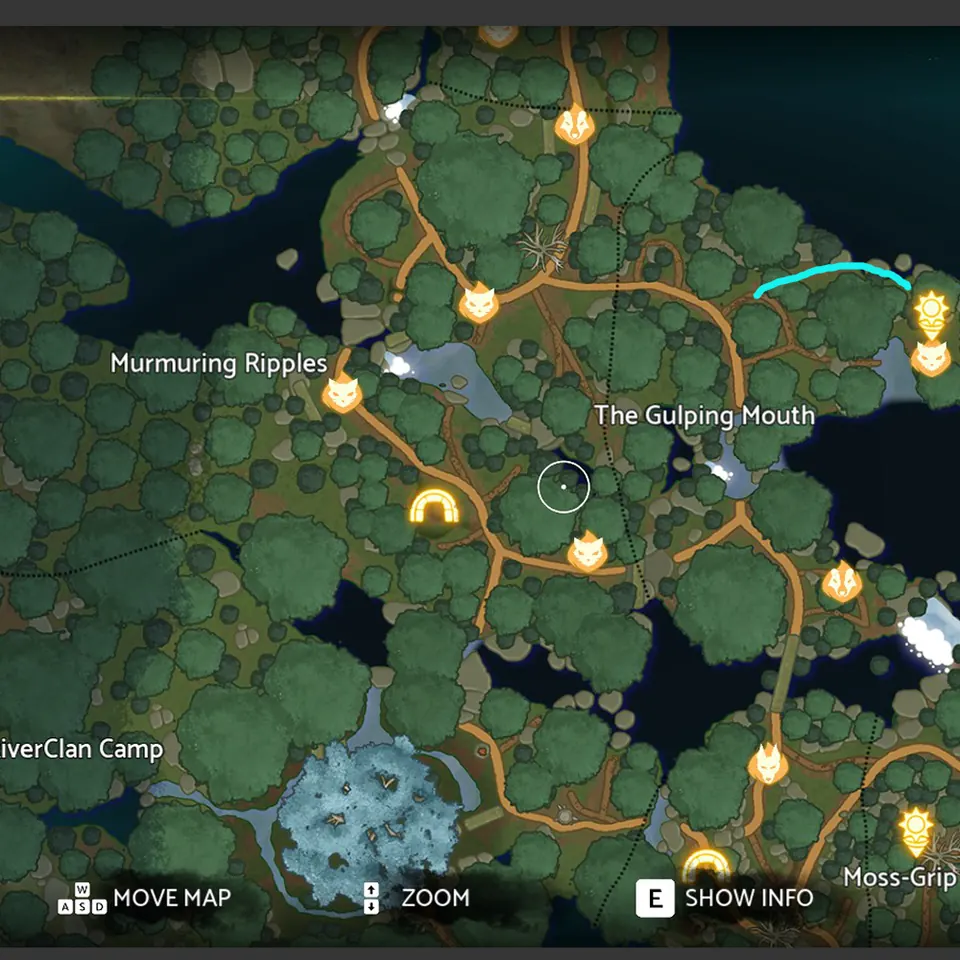
- From the travel log, follow the path to the right until you reach water with fish in it.
- Head uphill until you meet a second path.
- Before the end of that path, turn into the forest and follow the side of the hill to the spot.
RiverClan Sun Spot 3
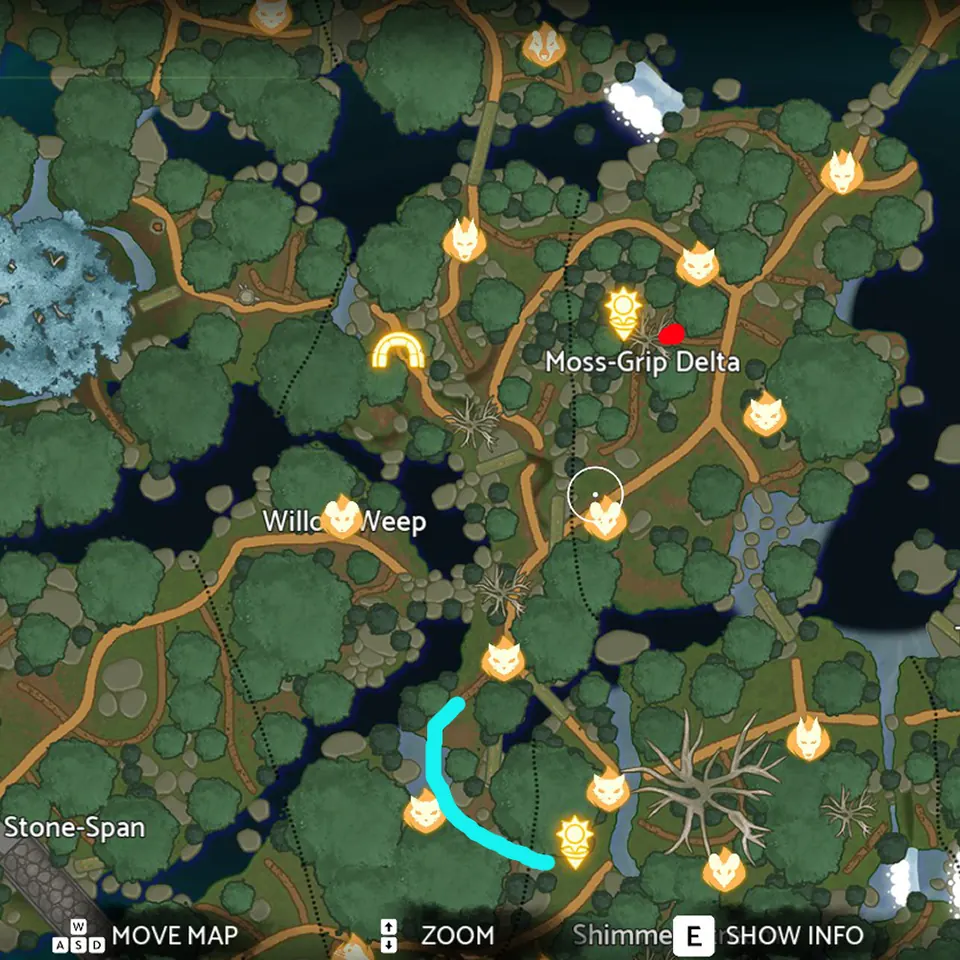
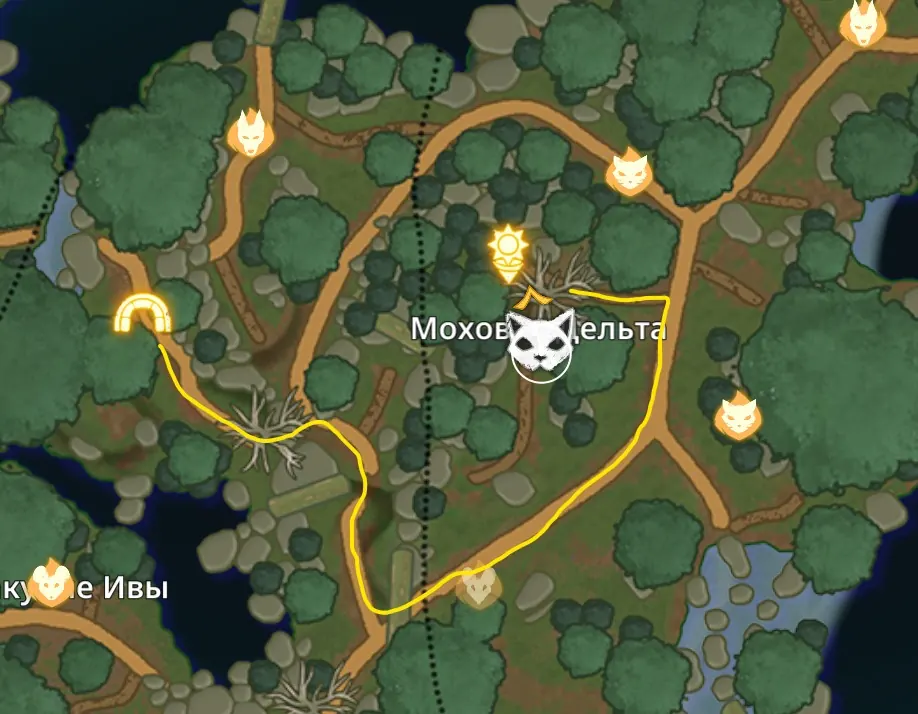
This spot is right in the middle of Moss-Grip Delta.
- From the travel log, walk straight to a tree and climb it.
- Drop down where the vine is, then walk down to a fork and go up.
- Follow the path into the delta and climb the rock to a tree.
- Jump from that tree down to the spot.
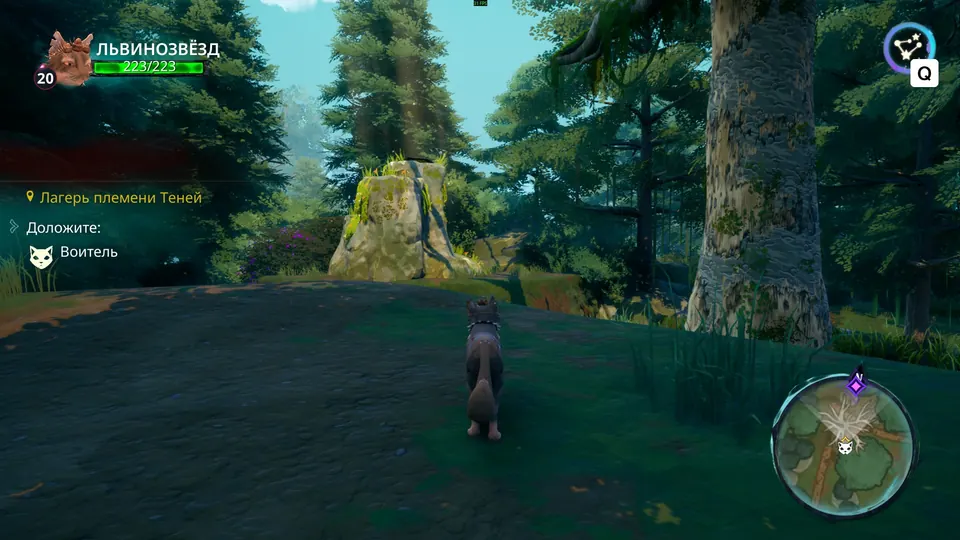
RiverClan Sun Spot 4
This spot sits at the edge of a well-lit area, so it is easy to notice. The task is to find the tree. The distance is about the same from either side, but if you come from the pasture, watch out for the dog.
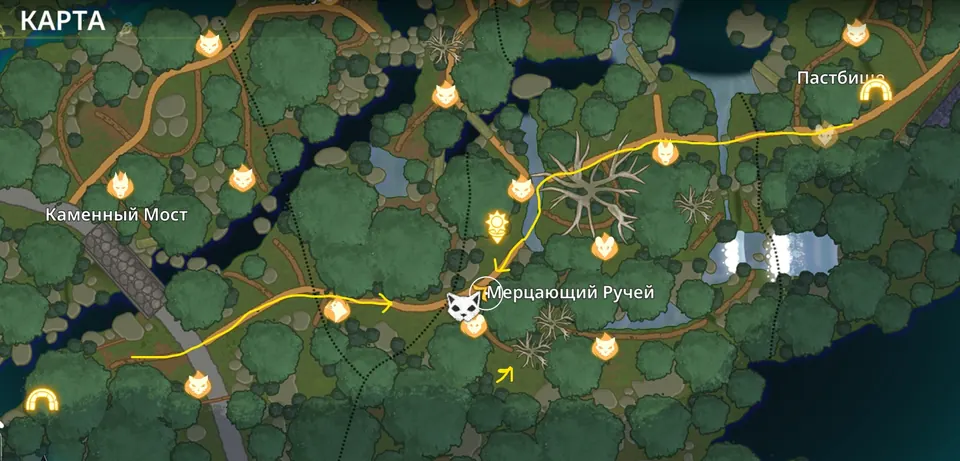
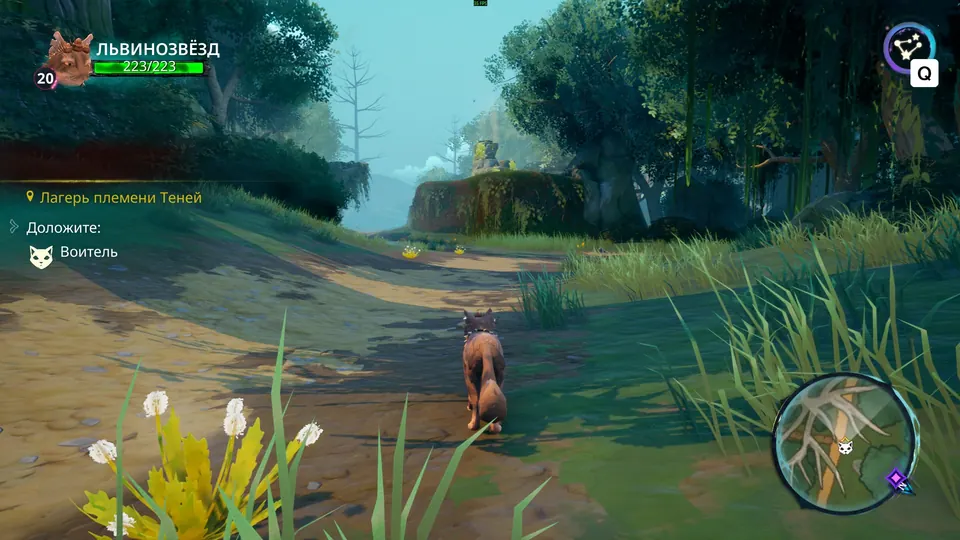
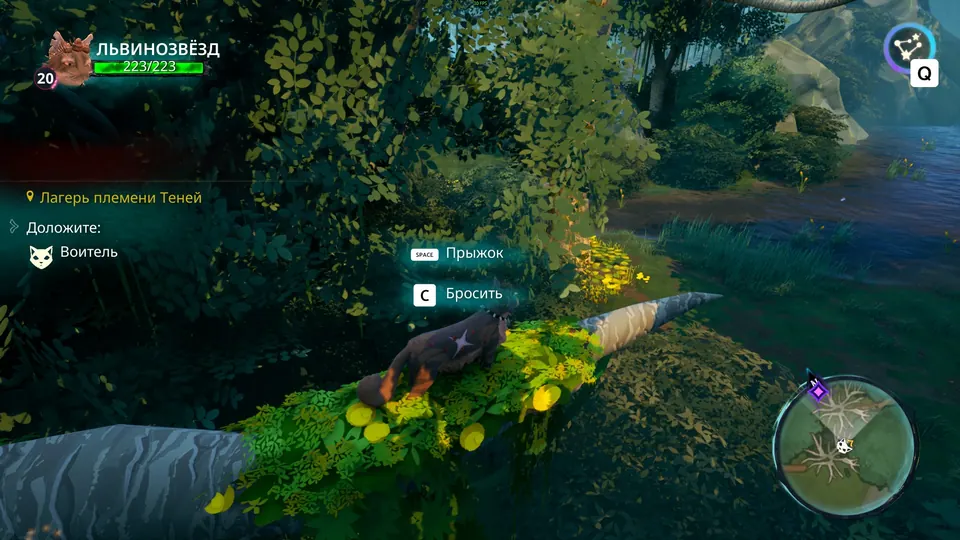
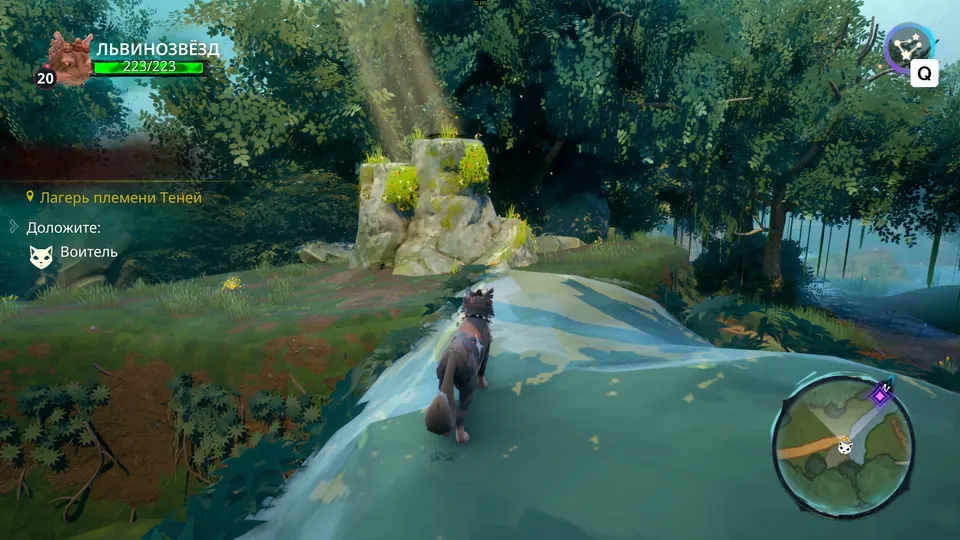
- Jump onto the tree. A second tree is visible on the left.
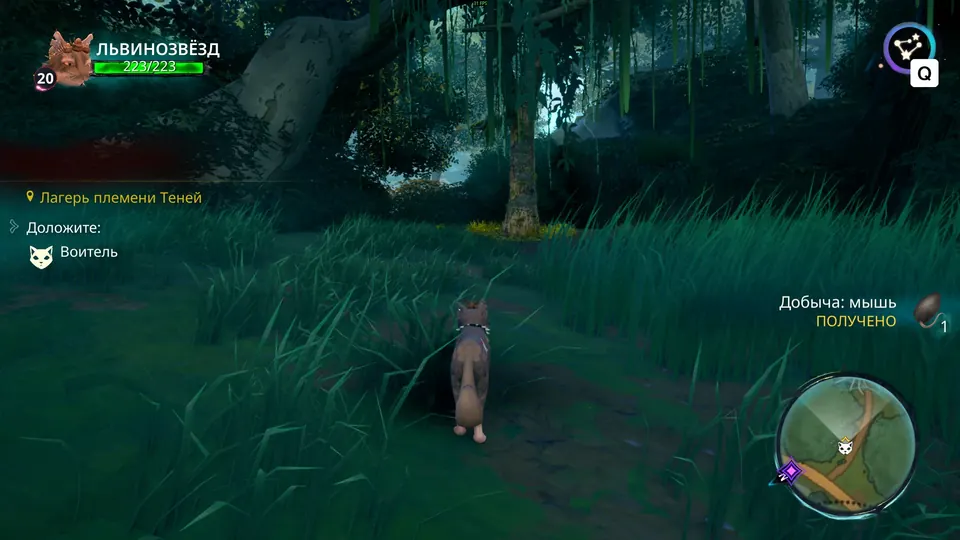
- Climb the second tree and drop down.
- Jump from the cliff straight to the spot.
WindClan Sun Spots
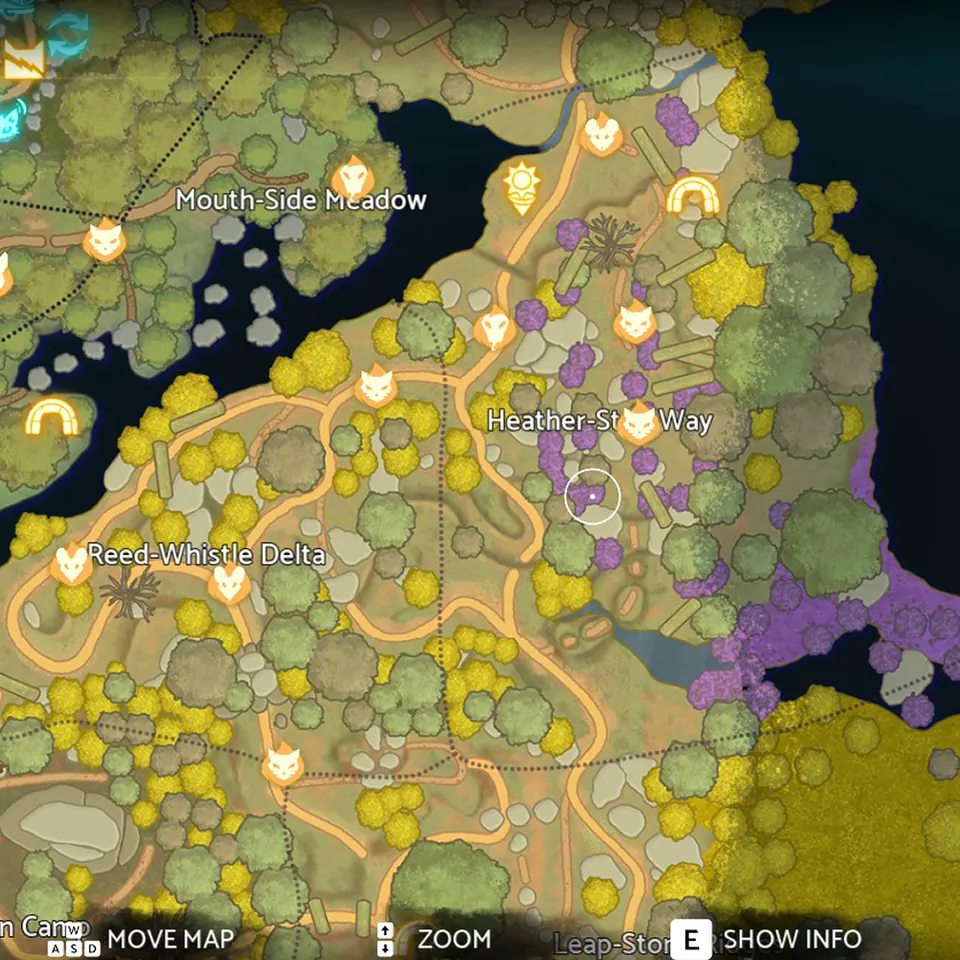
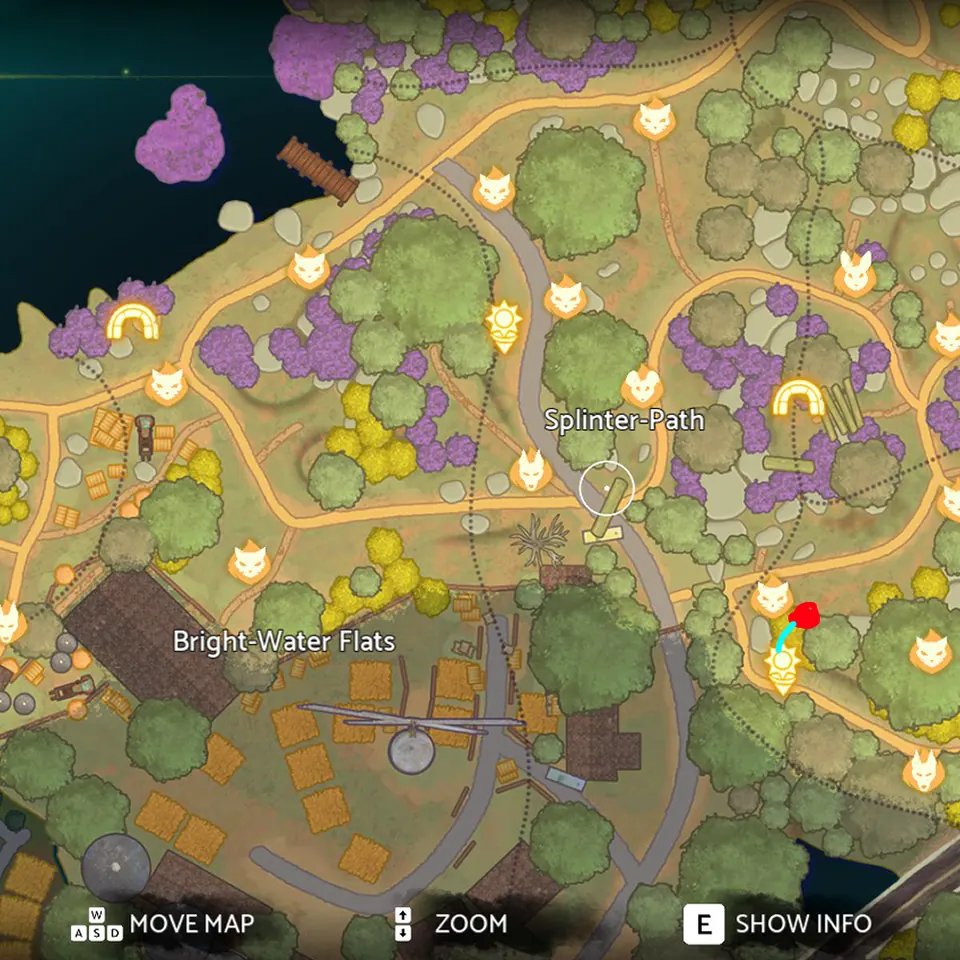
The WindClan spots are close together, and the flat, rocky ground makes them easier to find than the forest ones. Three are plain walks from a travel log. Spot 3 is a longer route with a rope to gnaw. Watch out for the dogs on the farm.
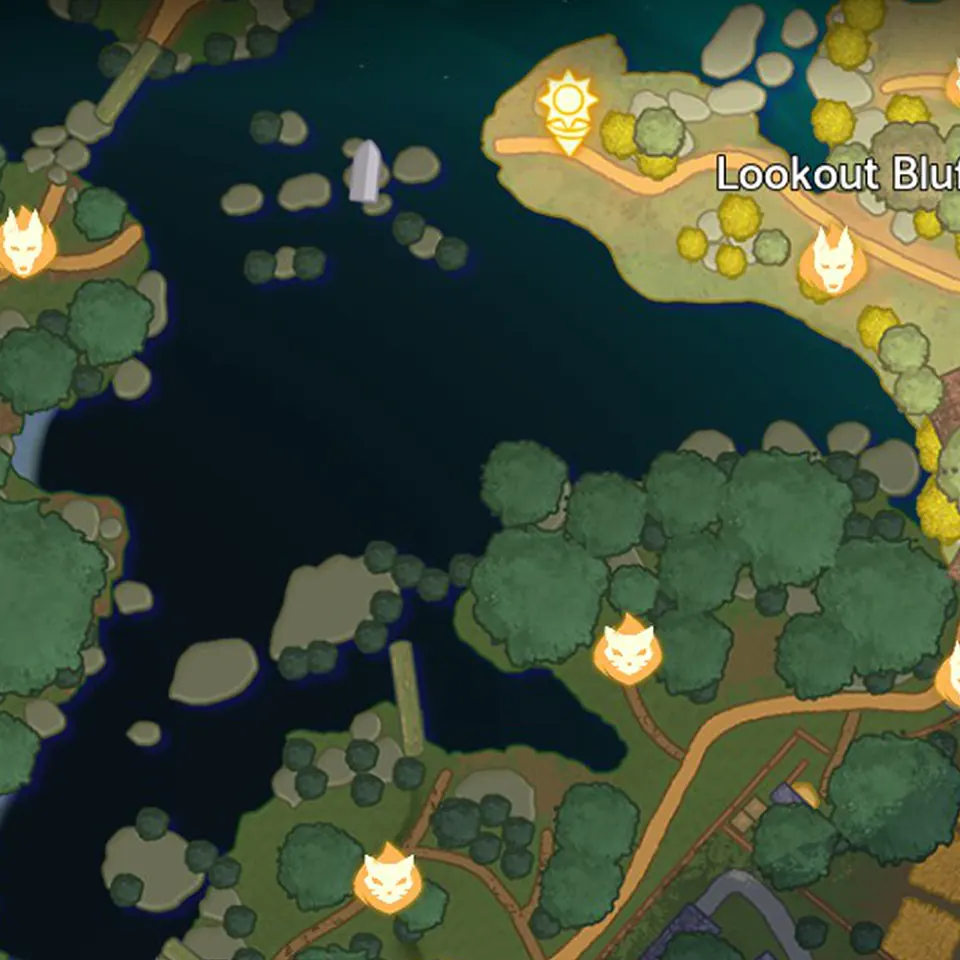
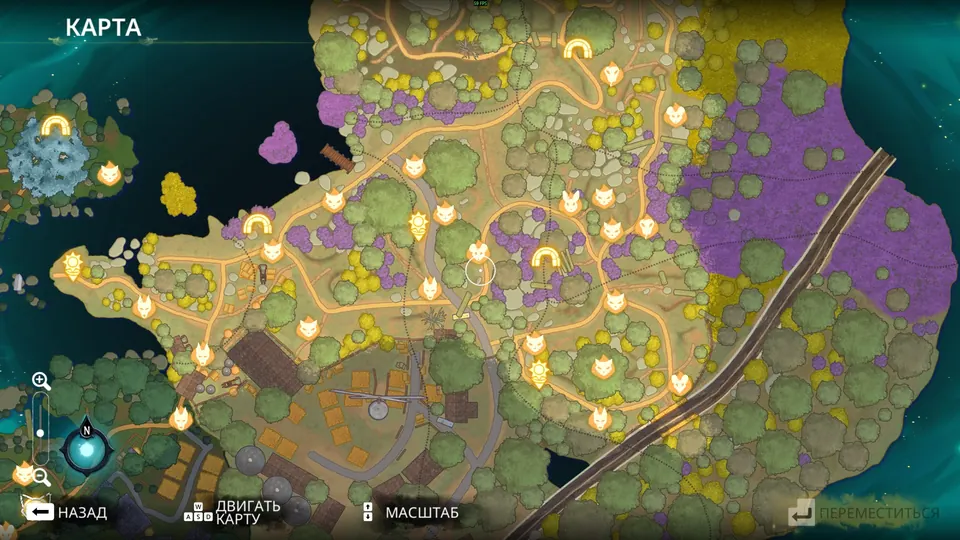
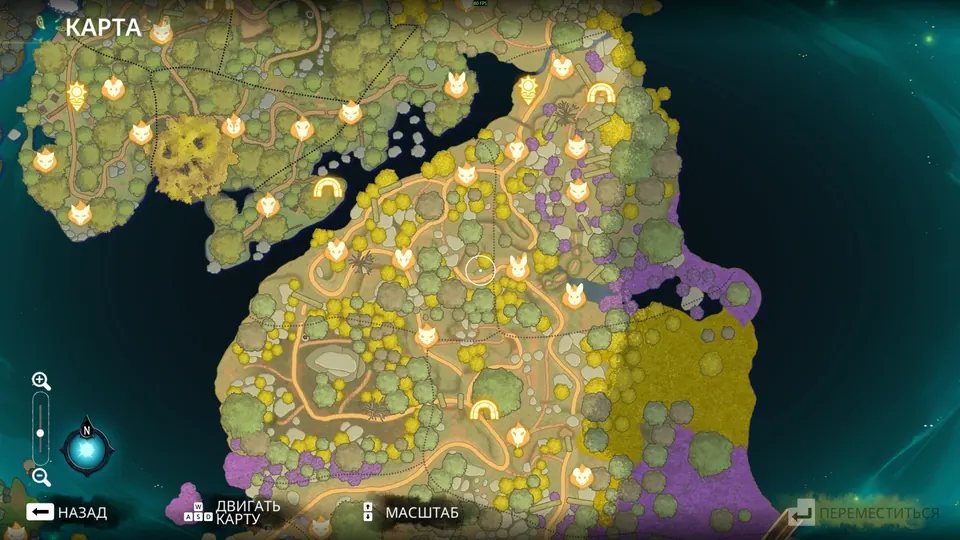
WindClan Sun Spot 1
If you are coming from RiverClan, run up and to the left. If you start at the travel log, run along the water in a straight line. Either way the spot is visible right away.
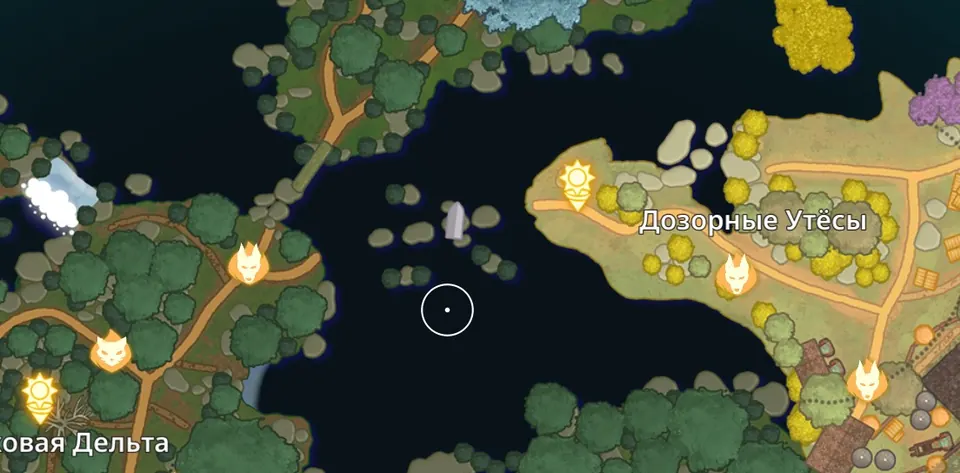
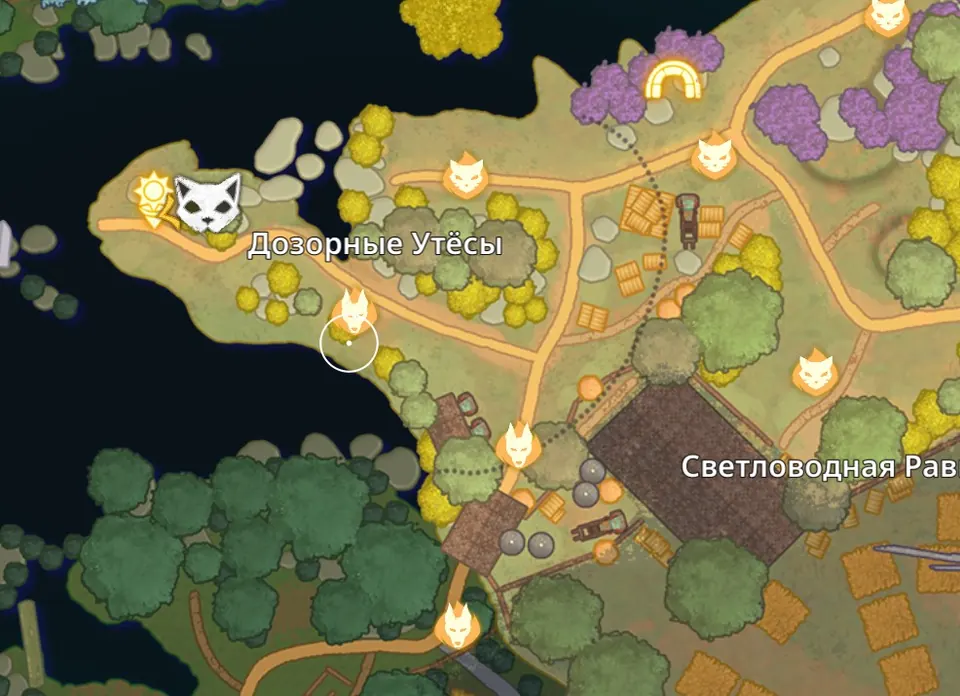
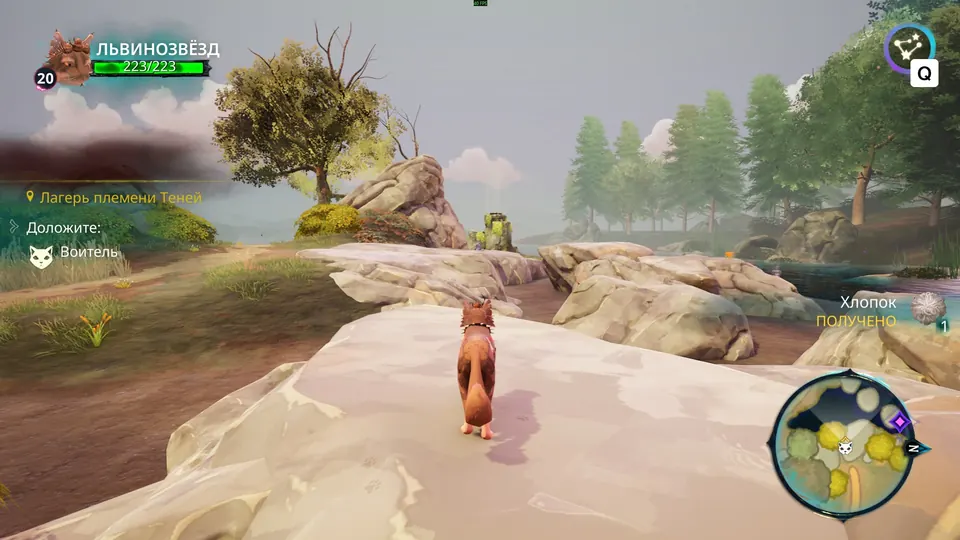
Near the first spot there is a passage that can be opened from both sides. Open it once, so you do not have to run along the low ground.
WindClan Sun Spot 2
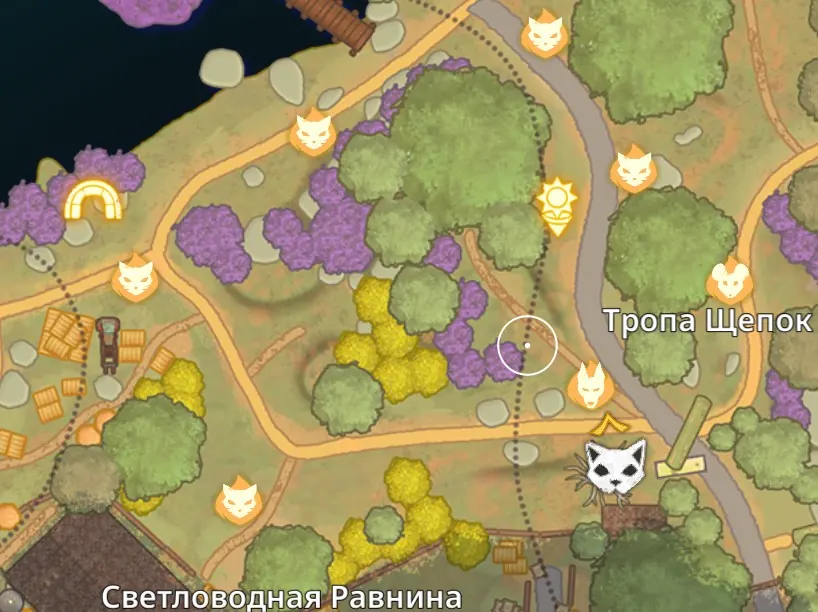
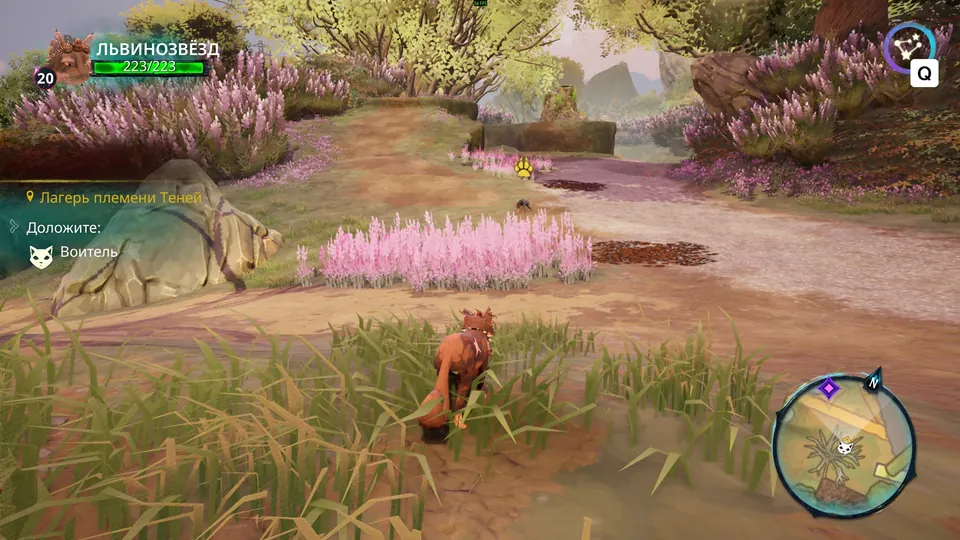
This spot is close to the first. From the travel log run down or up, then turn right onto the grey road on the map. The spot is right there.
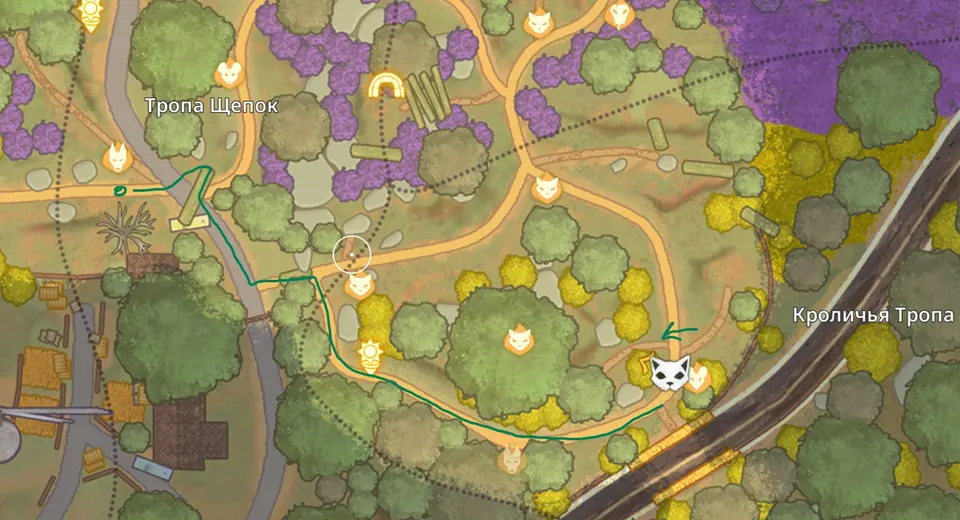
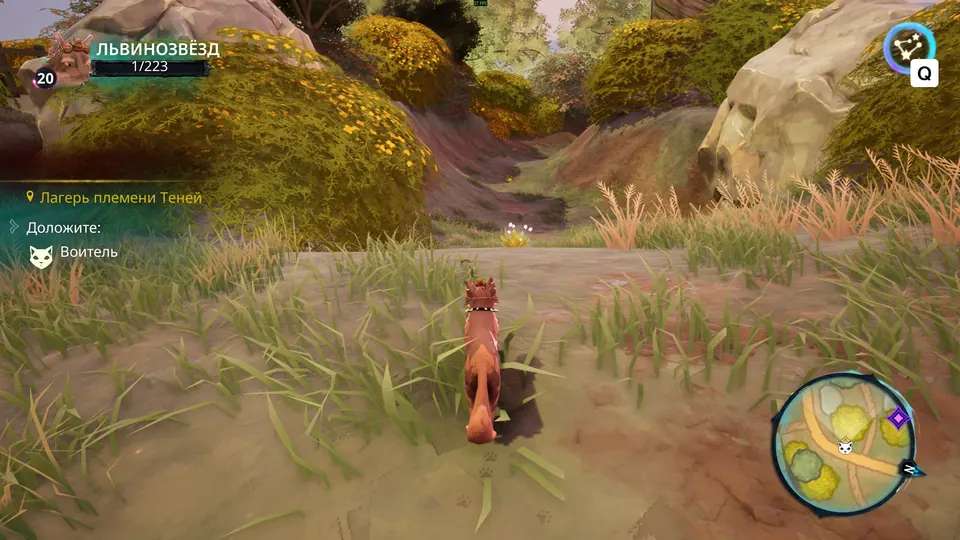
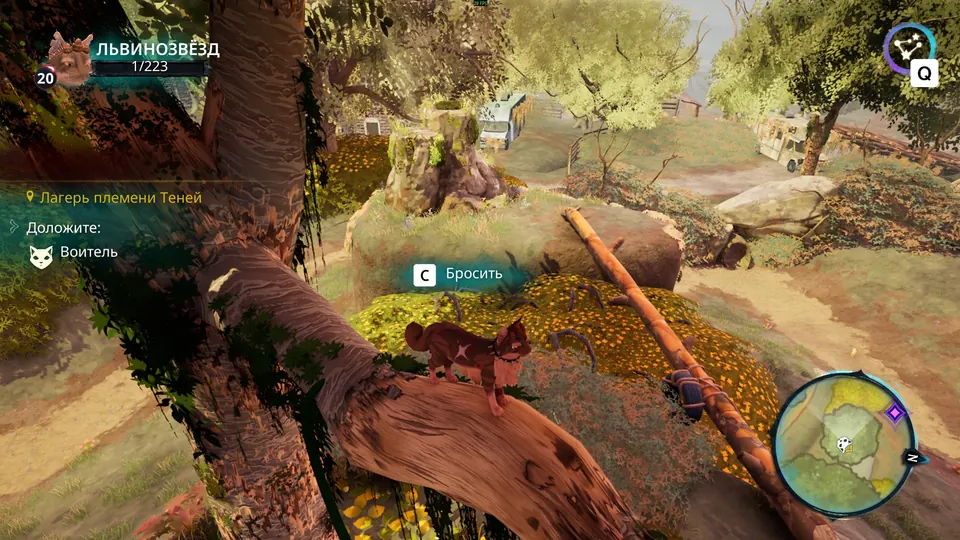
WindClan Sun Spot 3
This is the longest route of the four. Start from the second spot.
- Behind the second spot there is a tree. Ignore it and take the log instead.
- From the log, climb onto the van and jump down to the road.
- A small fence is ahead, so go left over the log.
- Turn right and follow the path forward, past the spot's position on the map.
- Keep going until you reach a dim path. There, turn left and climb the pebbles up to a tree.
- Jump to the neighbouring tree and gnaw through the rope to open the way. Only then can you reach the spot.
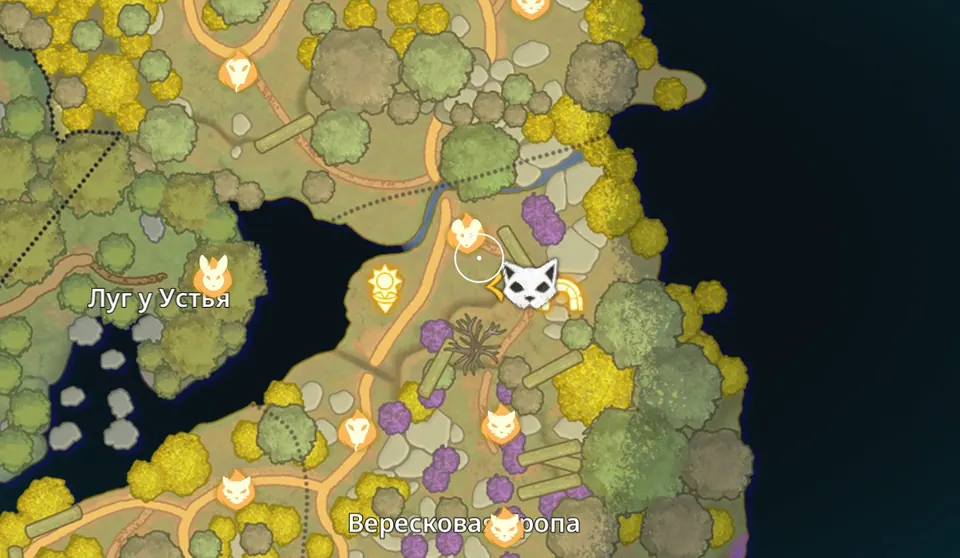
WindClan Sun Spot 4
This spot is visible straight from the travel log.
ShadowClan Sun Spots
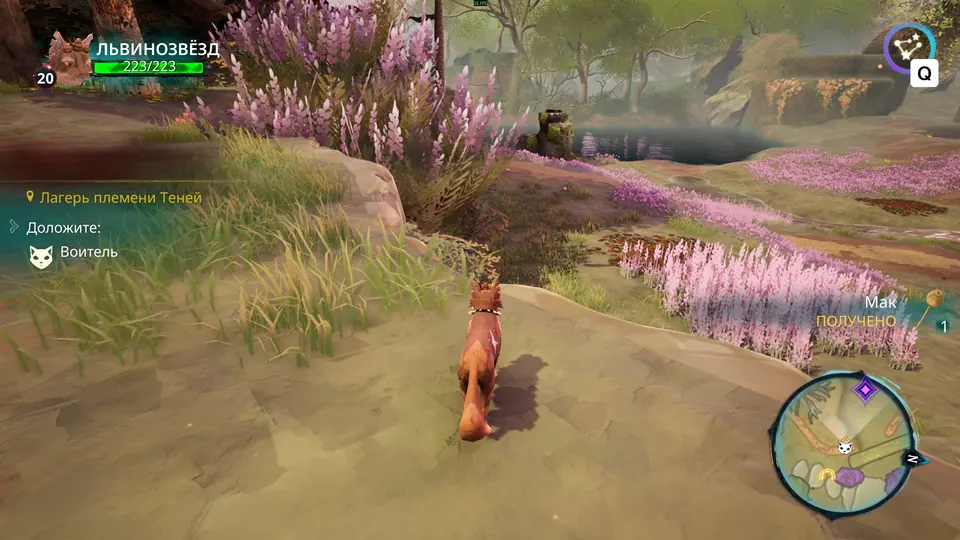
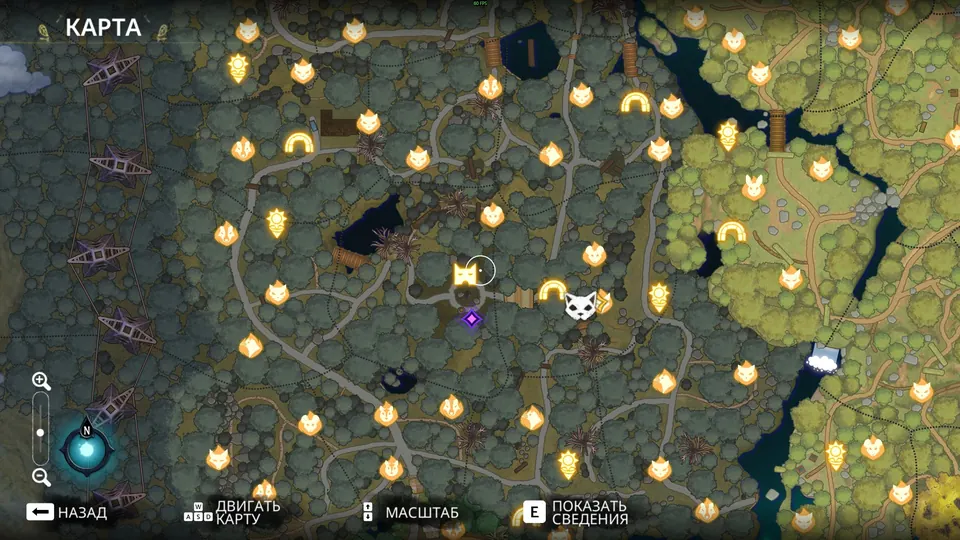
Spots 2 and 3 involve a tree or a vine to climb. Spot 4 is a long walk.
ShadowClan Sun Spot 1
This is right by the camp exit, very close to the travel log. Leave the camp and climb the log going up. The spot is straight ahead.
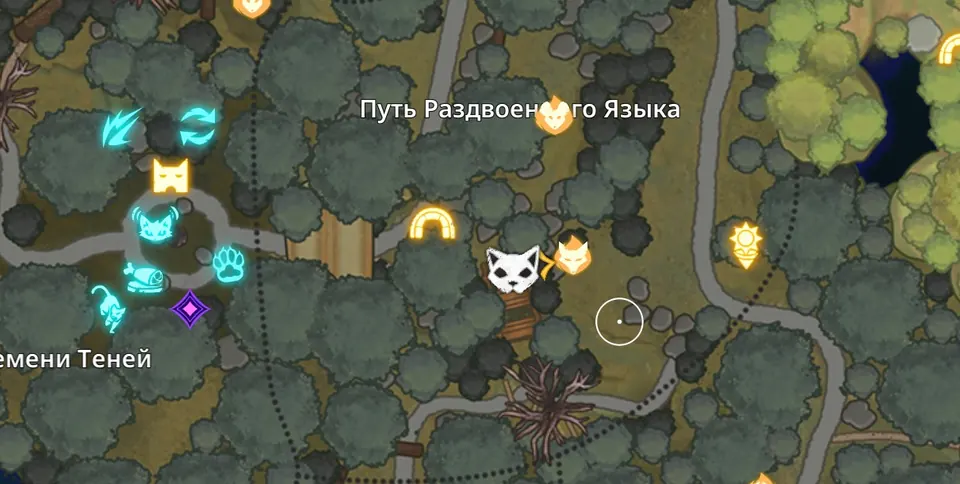
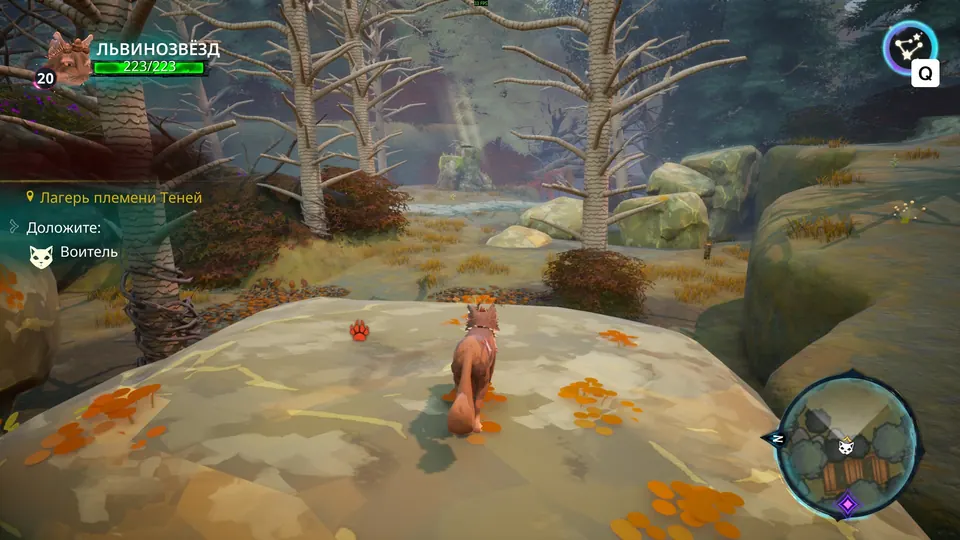
ShadowClan Sun Spot 2
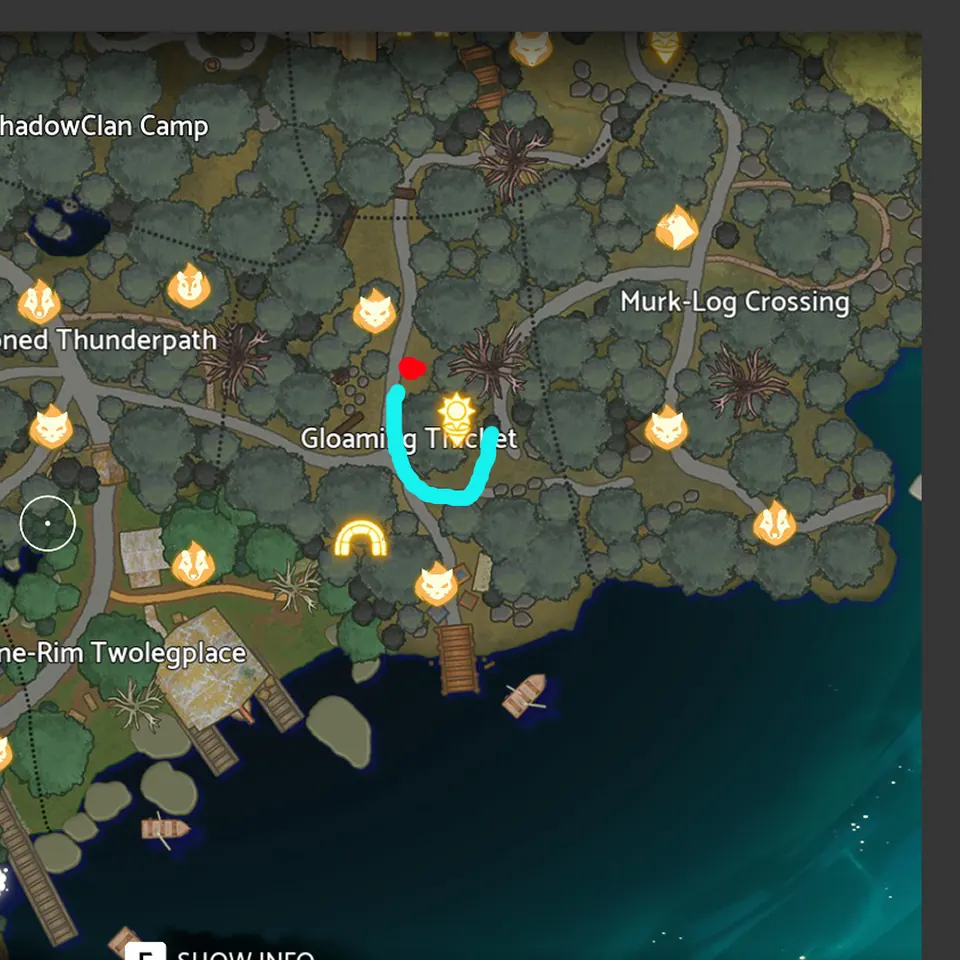
This one is close to the first. A travel log is nearby.
- After leaving the camp, go right, then up, and use a tree to cross onto the path toward Gloaming Thicket.
- Climb the rocks and jump to the left.
- A tree is straight ahead. Scramble up it and the spot is right in front of you.
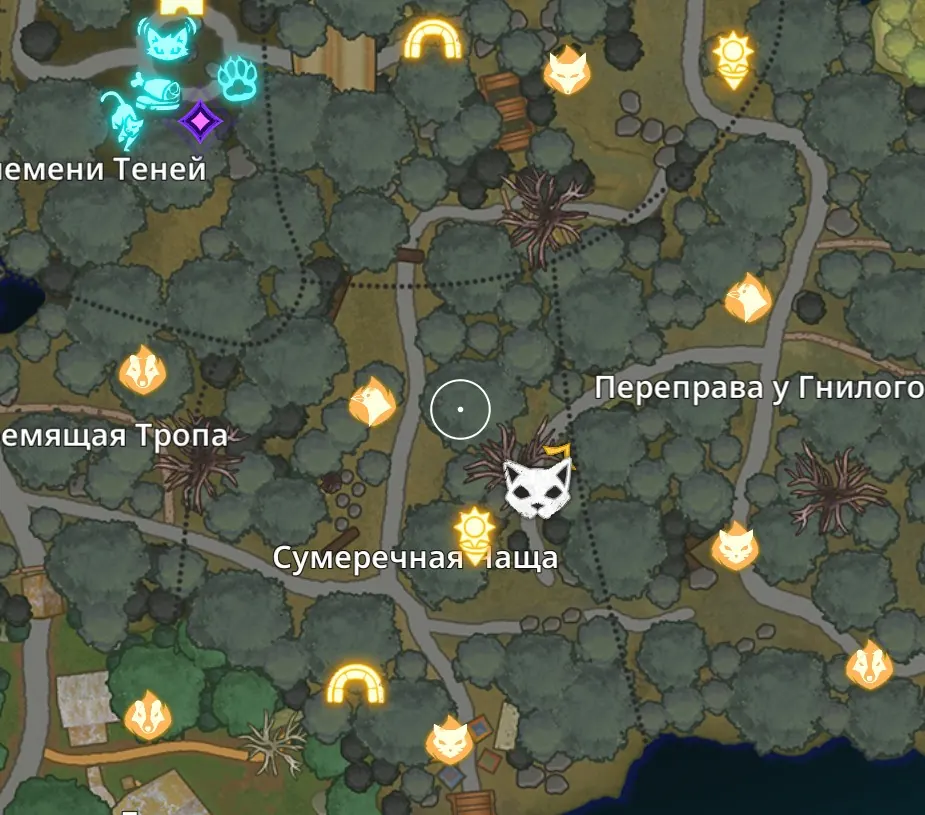
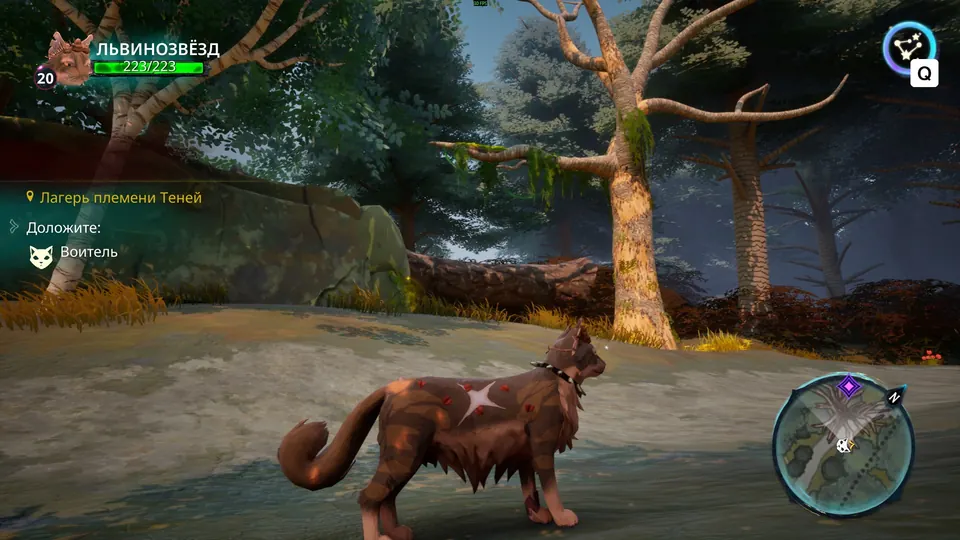
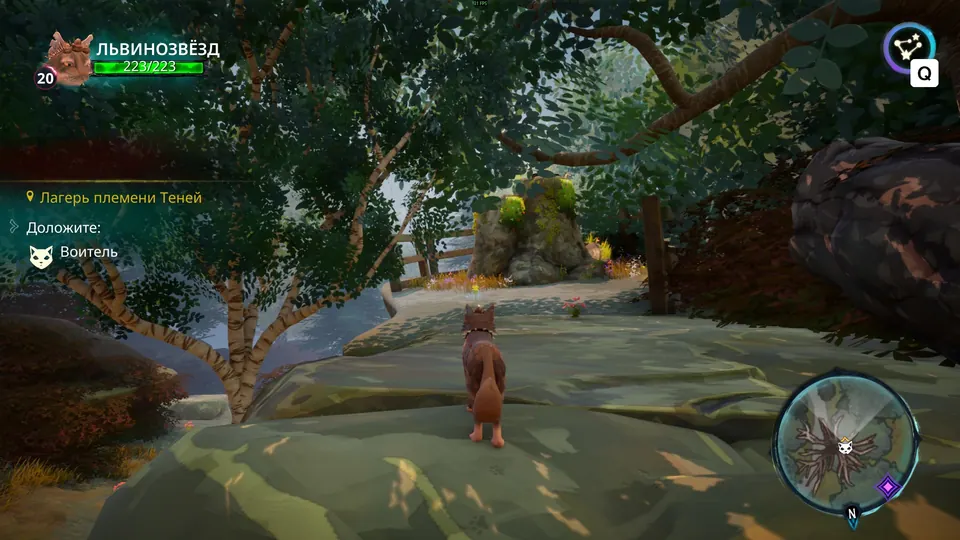
ShadowClan Sun Spot 3
- Leave the camp from the other side, past your own den.
- Climb the tree on the left, walk forward and drop down.
- A little further on there is a vine. Climb it to reach the spot.
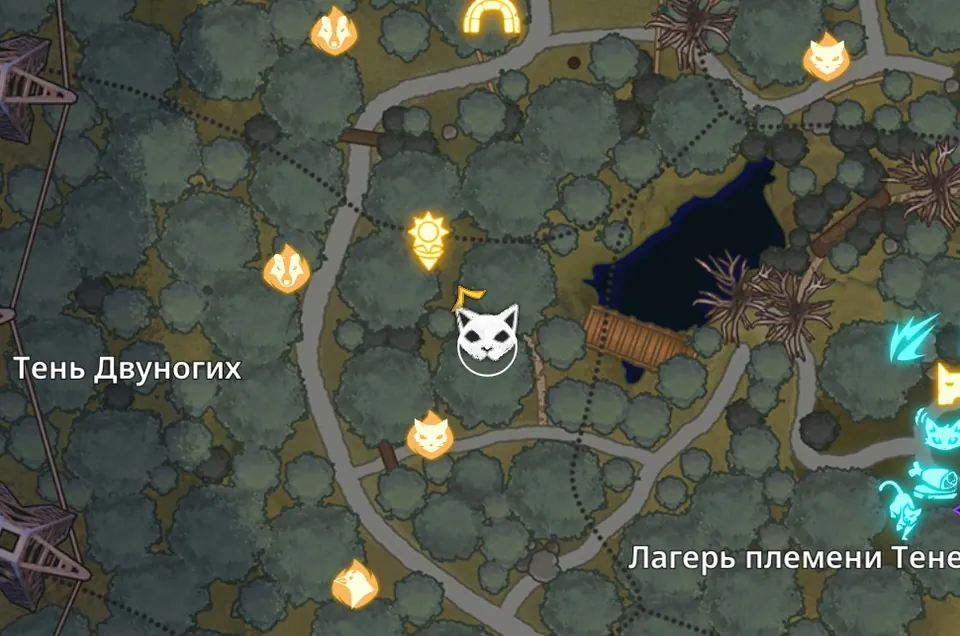
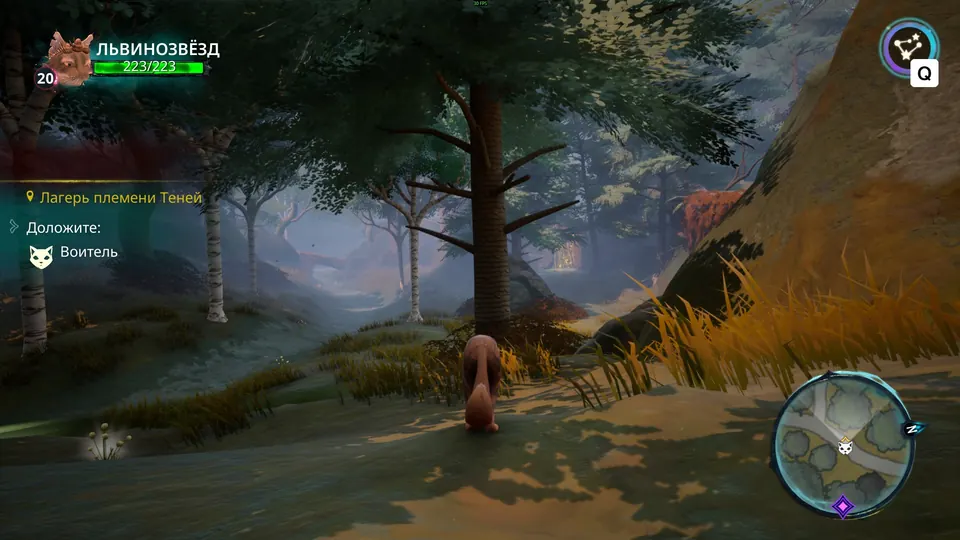
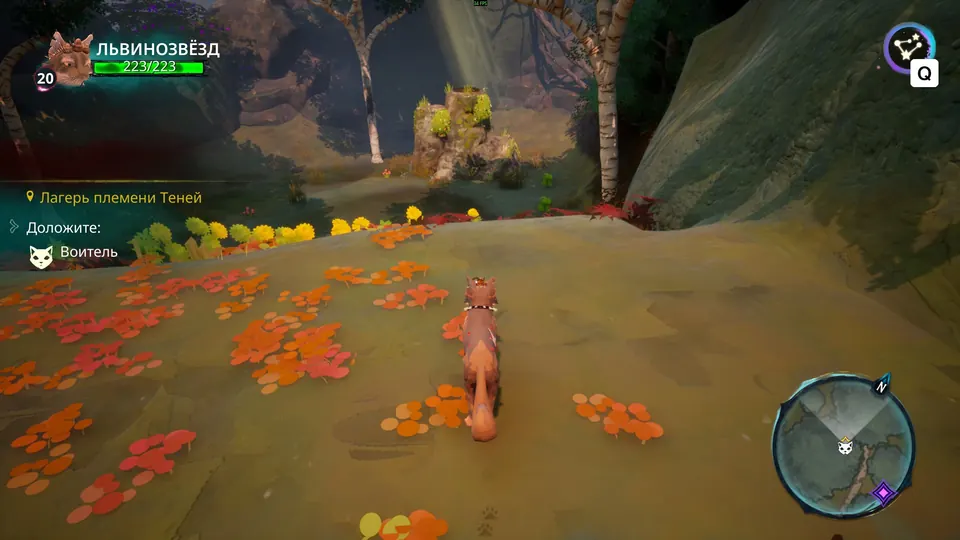
ShadowClan Sun Spot 4
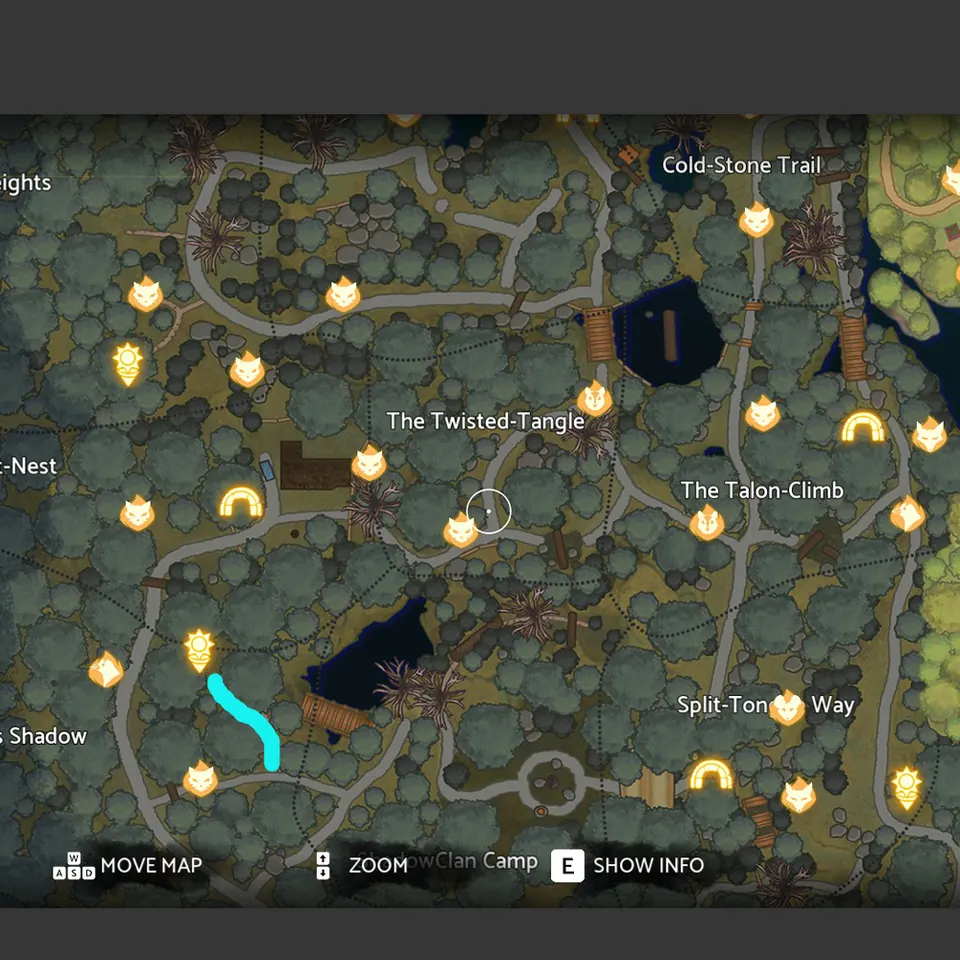
The nearest travel log for this spot is only past the bridge, so the route starts at the camp and crosses the bridge on foot.
- Leave the camp by the exit near the first spot's travel log and go up and to the left.
- Cross the bridge, turn left straight away and keep going until the path splits in two.
- Take the left branch to reach the spot.