Vampy's Big Day: All Gnome Locations
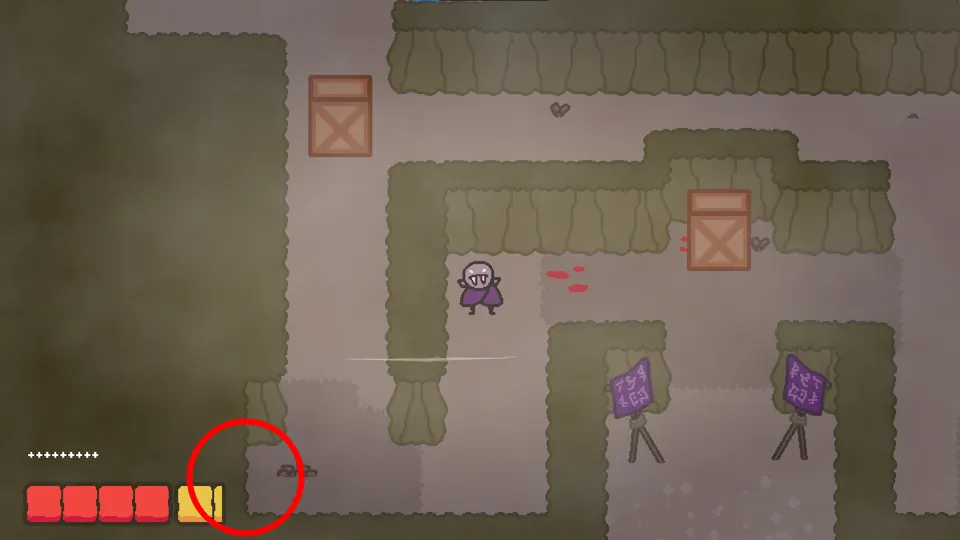
This page tells you where every gnome is in Vampy's Big Day, level by level, so you can collect them all. Many of them sit behind a hidden path, and the game gives you a visual hint for it: a small shadow along a wall, a dent in the wall, or darker grass.
Two gnomes are in plain sight (Level 1 and Level 6 Gnome 1). Every Level 2 route is measured from Barnaby, and Level 2 Gnome 5 can be lost if you kill Barnaby on the evil route.
| Level | Gnomes |
|---|---|
| Level 1 | 1 |
| Level 2 | 5 |
| Level 3 | 3 |
| Level 4 | 4 |
| Level 5 | 1 |
| Level 6 | 2 |
Spoiler note: this page names Barnaby, Glurk and Thora, and mentions the evil and good routes.
Level 1
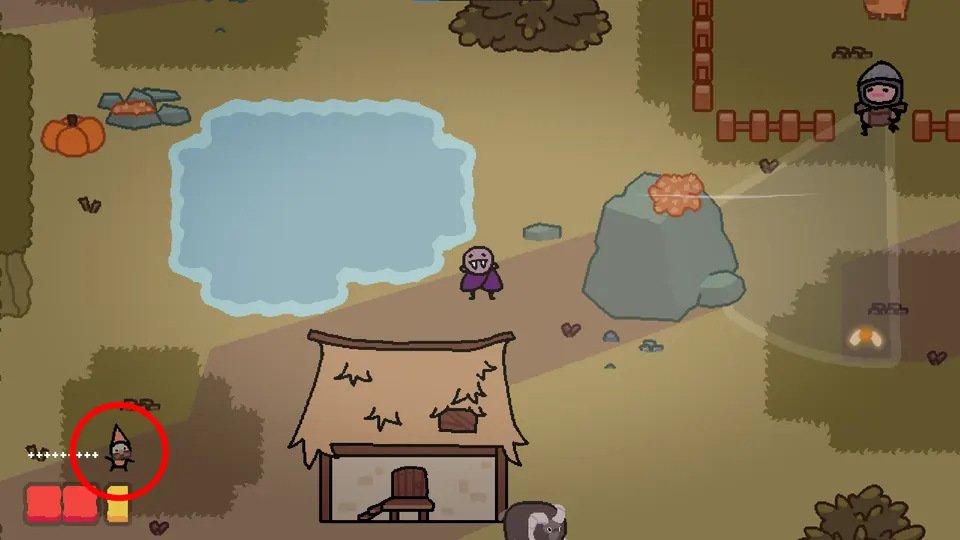
This gnome is not hidden. The big open village area is where the first guard stands. Look below the guard and off to the left and you will see it.
Level 2
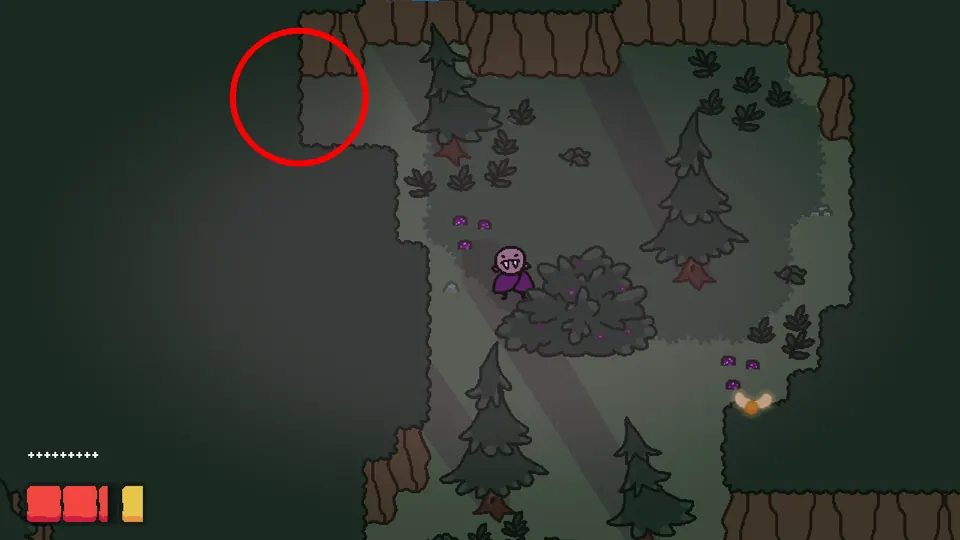
Level 2, Gnome 1
Take the first room to the left of Barnaby and head straight up. A hidden path opens off to the left, and the gnome is along it. This is the first room on the left route, while Gnome 2 is in the last room on that same route.
Level 2, Gnome 2
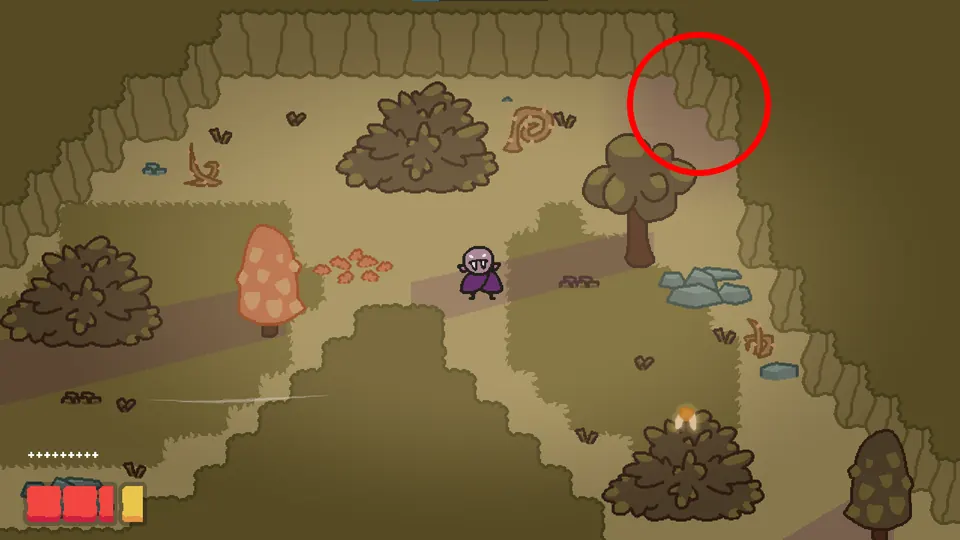
Follow the left path out from Barnaby until you reach the last room on it. A small shadow along the wall marks the hidden path there.
Level 2, Gnome 3
Take the path that goes right and then down from Barnaby. In the room just after the river, a small shadow on the right side of the room marks the hidden path to the gnome.
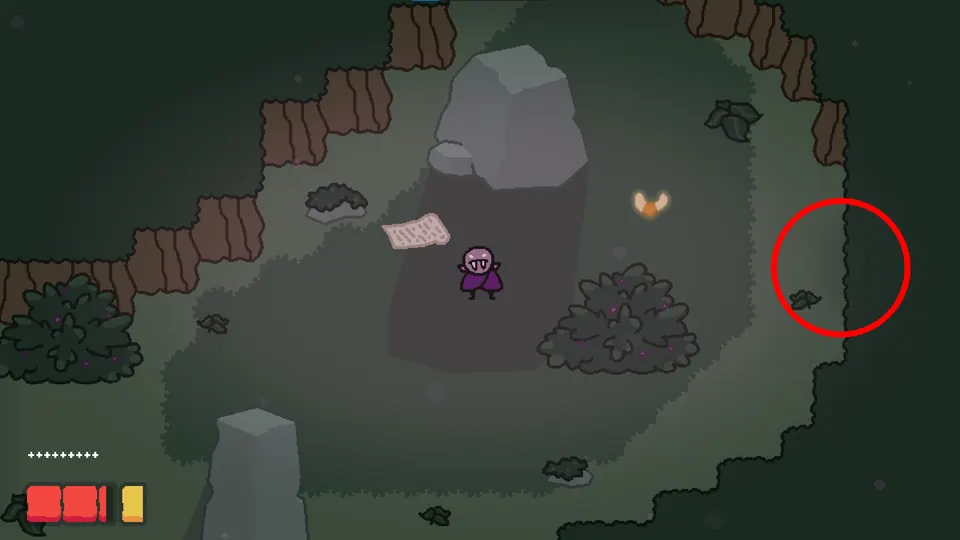
Level 2, Gnome 4
Go right from Barnaby to the room with the rope. Climb up and around the small lake, and the gnome is waiting at the end of that loop.
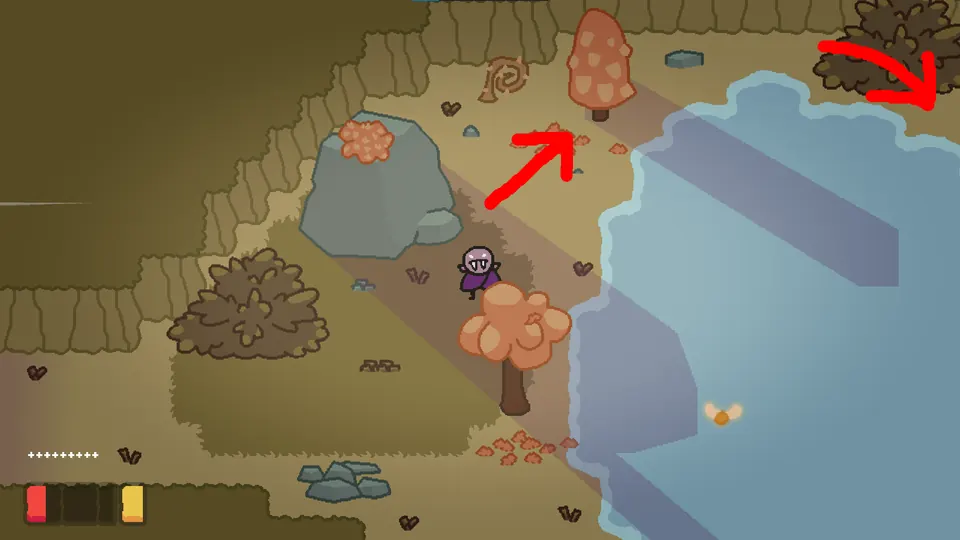
Level 2, Gnome 5
Wait until Barnaby hands you the key, then open the door and go up and to the right. A dent in the wall hides the path to this gnome.
This gnome can be missed. On the evil route, do not kill Barnaby, because that ends the level before you reach it.
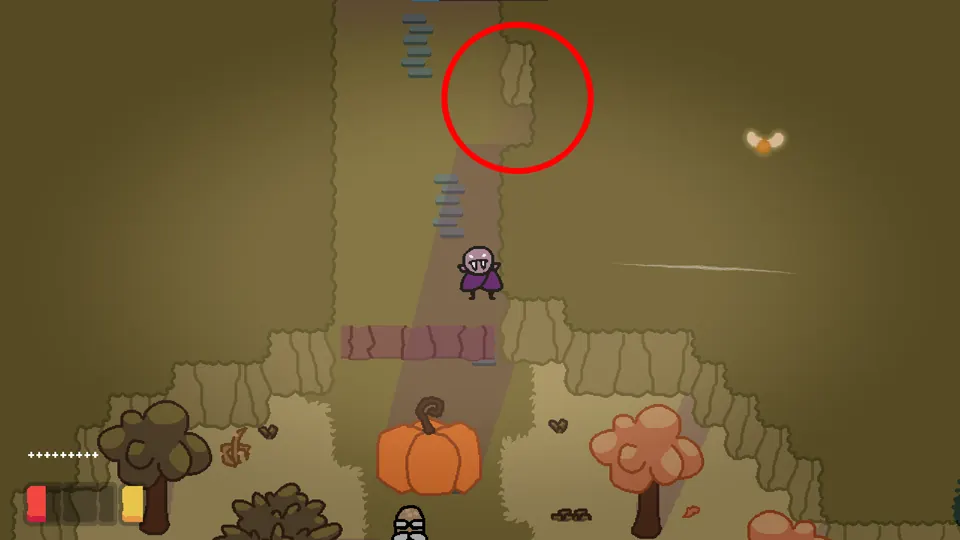
If you already finished the level, or killed Barnaby by mistake, players report that closing the game with Alt+F4 on the results screen still gives you the gnome. That was the reported behaviour at the time of writing.
Level 3
Level 3, Gnome 1
The spy section has a room with a hidden path in its bottom left corner. Look for a dent in the wall with darker grass around it.
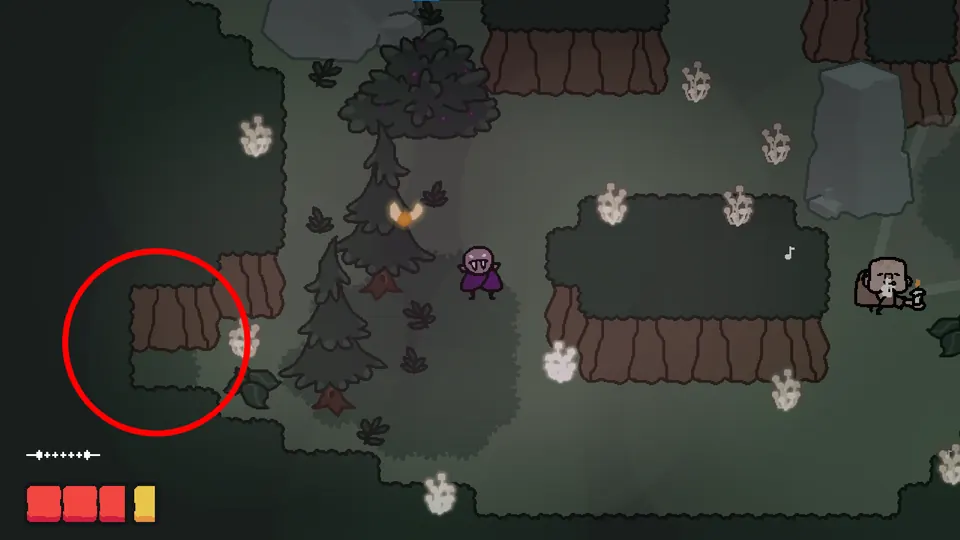
Level 3, Gnome 2
Find the room with hushrooms growing in the river. Above the last grub there is one more hushroom, and it leads to the gnome.
Finding that hushroom is easier if you bite, since biting makes the most sound. If you wake a grub by accident in a pacifist run, stay still until it falls asleep again. Grubs are blind and track you by sound.
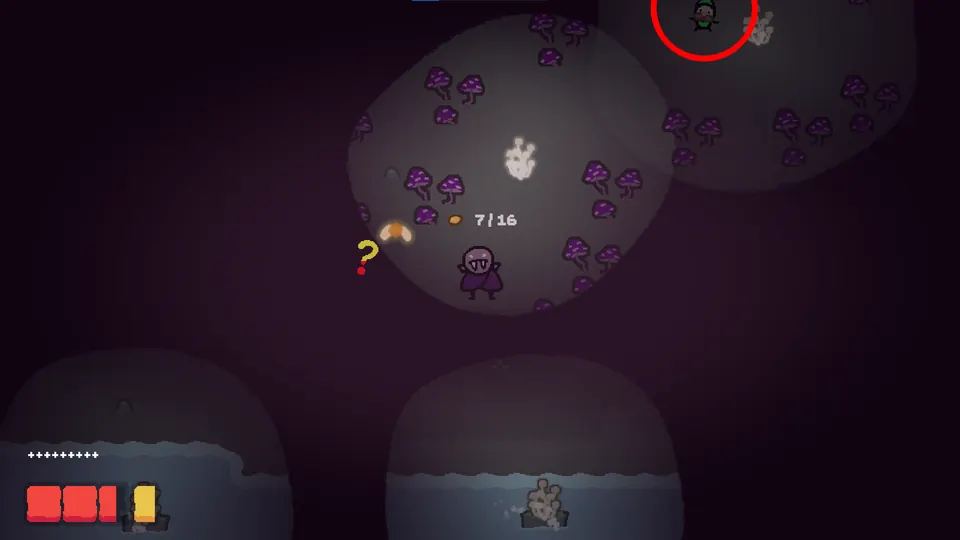
Level 3, Gnome 3
The silver key room holds this one. Walk straight down beneath the mushrooms and the gnome is at the bottom.
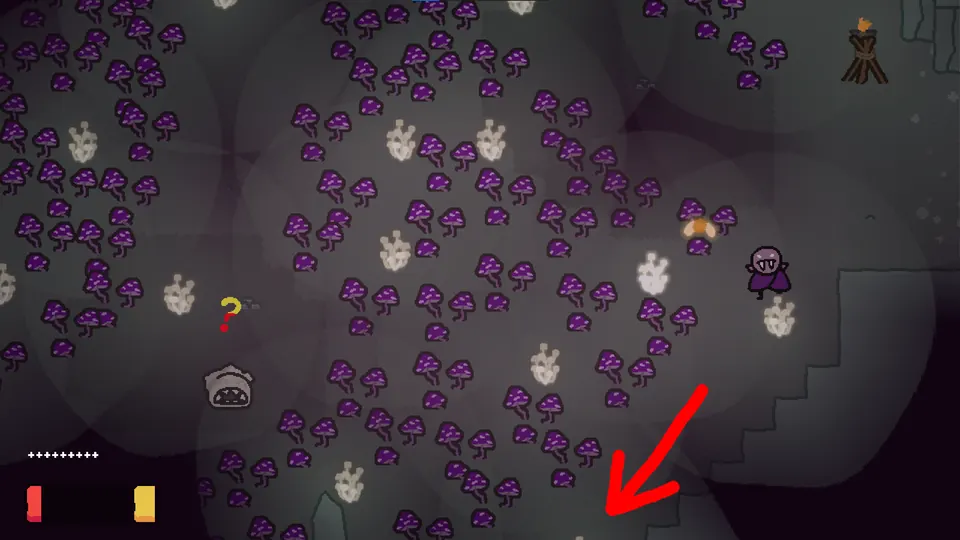
Level 4
Level 4, Gnome 1
Get Glurk over the river first. Then climb toward the upper right, where the gnome sits in a corner.
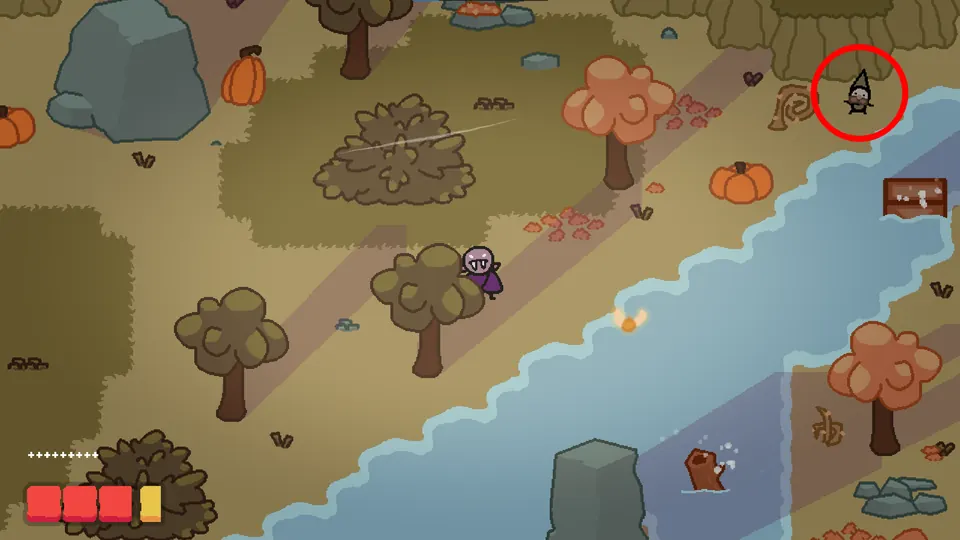
Level 4, Gnome 2
In the room with the helmet, one box is circled. Push or pull it out of the way and the gnome is behind it.
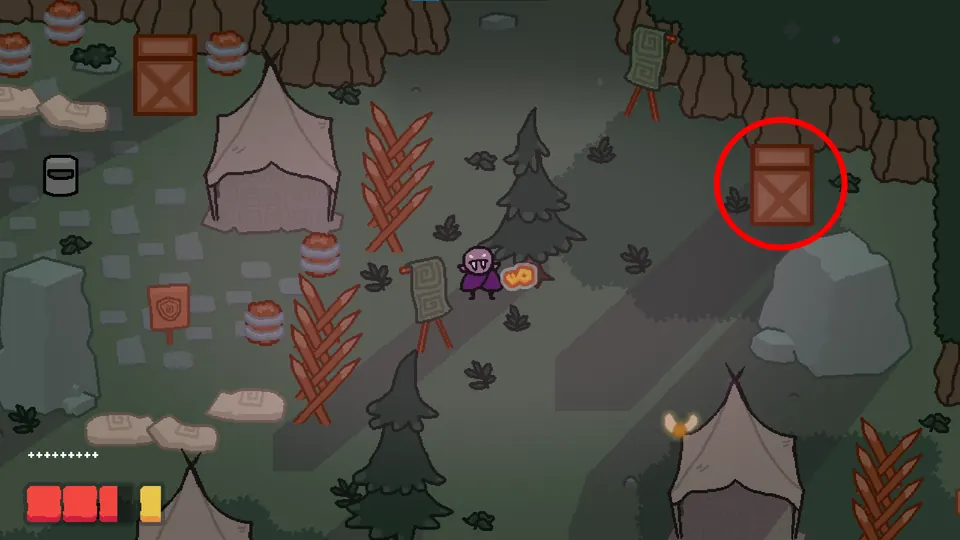
Level 4, Gnome 3
This one is in the room that needs a gold key to enter. At the bottom of the room, dark grass shows where the hidden path to the gnome begins. On the good route you can reach it another way: Thora shows you a secret path up in the room to the left of the Hollowseed room.
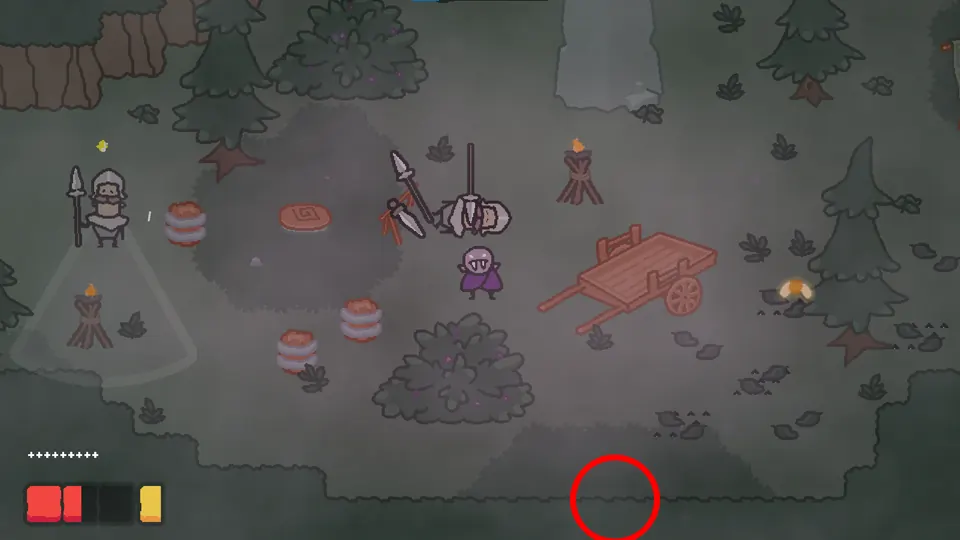
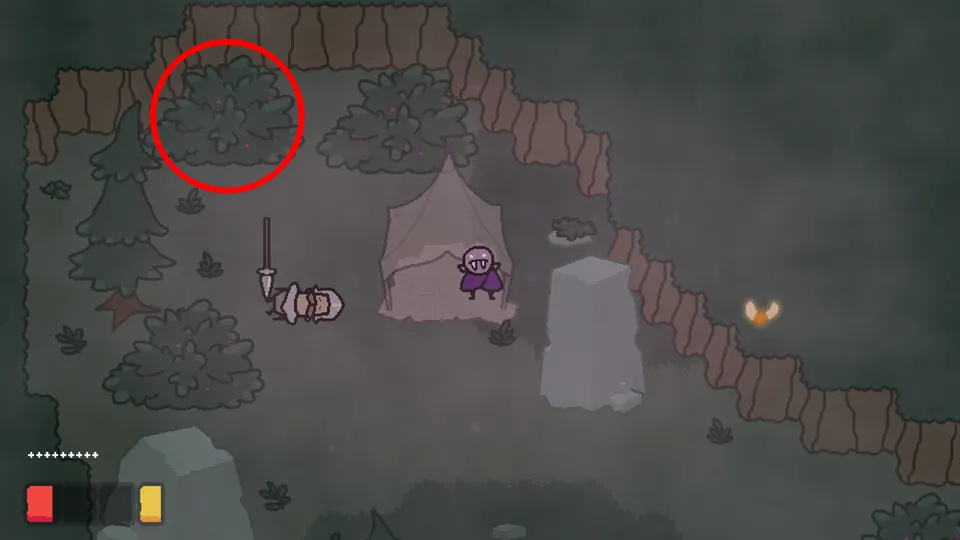
Level 4, Gnome 4
This gnome is in the same room Thora's secret path passes through, the one on the left of the Hollowseed room. It is tucked into the bush in the upper left.
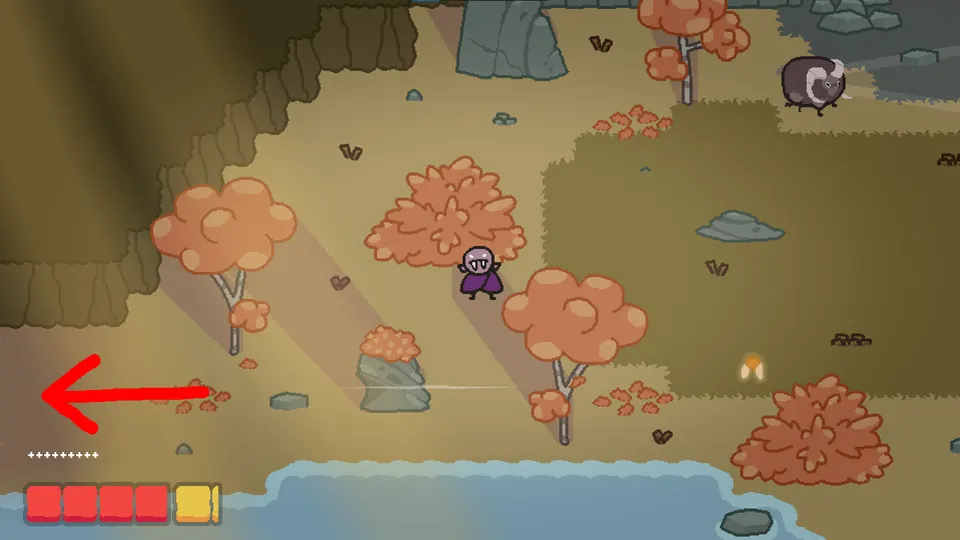
Level 5
Just ahead of the ram's cave, turn left and walk through the room transition. The gnome is in the next screen.
Level 6
Level 6, Gnome 1
Right before the room where Glurk waits, turn right. This gnome is easy to see.
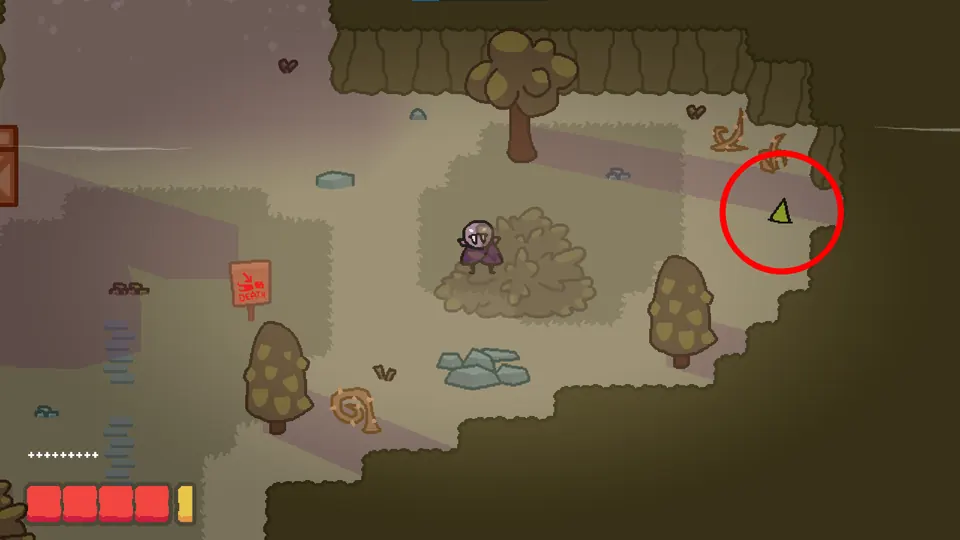
Level 6, Gnome 2
When the maze begins, move down and left. A dent in the wall there opens onto a hidden path, and the gnome is at its end.